23)Adjust with the [VOL +] key (adjusted value up) or [VOL
24)Press the X key to write the adjusted value.
25)Select manual mode of the test mode, and set item number 777 (see page 14).
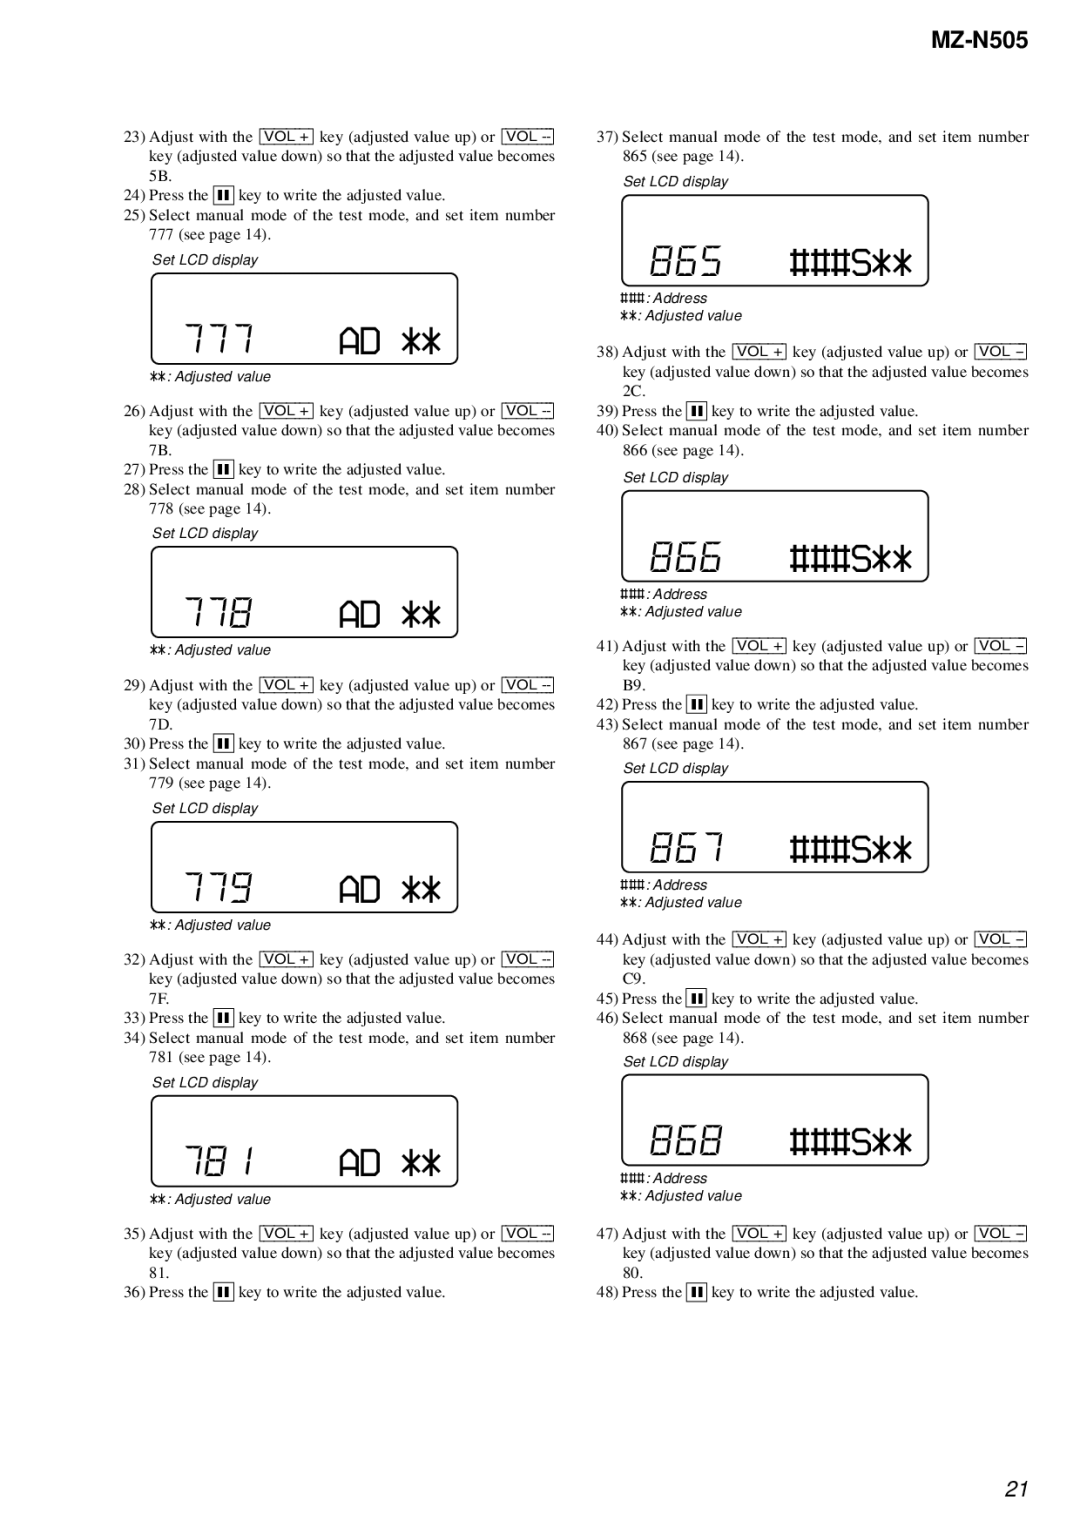
Set LCD display
777AD **
**: Adjusted value
26)Adjust with the [VOL +] key (adjusted value up) or [VOL
27)Press the X key to write the adjusted value.
28)Select manual mode of the test mode, and set item number 778 (see page 14).
Set LCD display
778AD **
**: Adjusted value
29)Adjust with the [VOL +] key (adjusted value up) or [VOL
30)Press the X key to write the adjusted value.
31)Select manual mode of the test mode, and set item number 779 (see page 14).
Set LCD display
779AD **
**: Adjusted value
32)Adjust with the [VOL +] key (adjusted value up) or [VOL
33)Press the X key to write the adjusted value.
34)Select manual mode of the test mode, and set item number 781 (see page 14).
Set LCD display
MZ-N505
37)Select manual mode of the test mode, and set item number 865 (see page 14).
Set LCD display
865###S**
###: Address
**: Adjusted value
38)Adjust with the [VOL +] key (adjusted value up) or [VOL
39)Press the X key to write the adjusted value.
40)Select manual mode of the test mode, and set item number 866 (see page 14).
Set LCD display
866###S**
###: Address
**: Adjusted value
41)Adjust with the [VOL +] key (adjusted value up) or [VOL
42)Press the X key to write the adjusted value.
43)Select manual mode of the test mode, and set item number 867 (see page 14).
Set LCD display
867###S**
###: Address
**: Adjusted value
44)Adjust with the [VOL +] key (adjusted value up) or [VOL
45)Press the X key to write the adjusted value.
46)Select manual mode of the test mode, and set item number 868 (see page 14).
Set LCD display
781AD **
**: Adjusted value
35)Adjust with the [VOL +] key (adjusted value up) or [VOL
36)Press the X key to write the adjusted value.
868###S**
###: Address
**: Adjusted value
47)Adjust with the [VOL +] key (adjusted value up) or [VOL
48)Press the X key to write the adjusted value.
21
