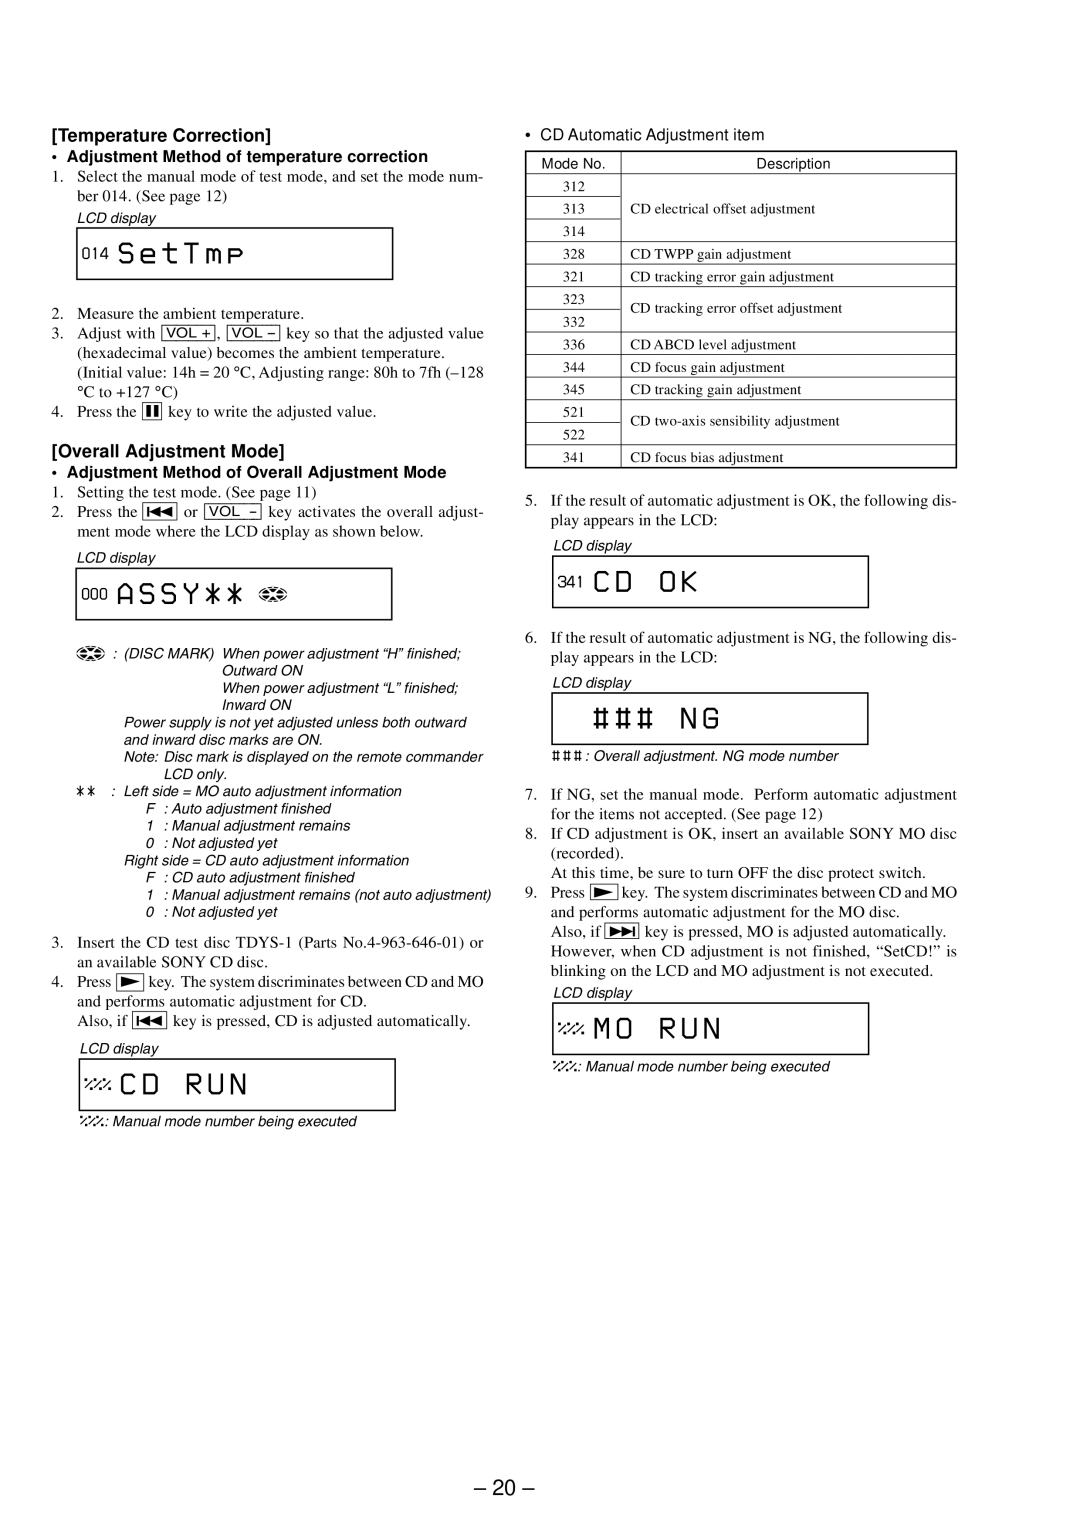
[Temperature Correction]
• Adjustment Method of temperature correction
1.Select the manual mode of test mode, and set the mode num- ber 014. (See page 12)
LCD display
014S e t T m p
2.Measure the ambient temperature.
3.Adjust with [VOL +], [VOL
(hexadecimal value) becomes the ambient temperature. (Initial value: 14h = 20 ° C, Adjusting range: 80h to 7fh
°C to +127 ° C)
4.Press the X key to write the adjusted value.
[Overall Adjustment Mode]
• Adjustment Method of Overall Adjustment Mode
1.Setting the test mode. (See page 11)
2.Press the . or [VOL
LCD display
000 A S S Y * * 
![]() : (DISC MARK) When power adjustment “H” finished; Outward ON
: (DISC MARK) When power adjustment “H” finished; Outward ON
When power adjustment “L” finished; Inward ON
Power supply is not yet adjusted unless both outward and inward disc marks are ON.
Note: Disc mark is displayed on the remote commander LCD only.
** : Left side = MO auto adjustment information F : Auto adjustment finished
1 : Manual adjustment remains
0 : Not adjusted yet
Right side = CD auto adjustment information
F : CD auto adjustment finished
1: Manual adjustment remains (not auto adjustment)
0: Not adjusted yet
3.Insert the CD test disc
4.Press N key. The system discriminates between CD and MO and performs automatic adjustment for CD.
Also, if . key is pressed, CD is adjusted automatically.
LCD display
%%% C D R U N
%%%: Manual mode number being executed
•CD Automatic Adjustment item
Mode No. | Description | |
312 |
| |
|
| |
313 | CD electrical offset adjustment | |
314 |
| |
|
| |
328 | CD TWPP gain adjustment | |
321 | CD tracking error gain adjustment | |
323 | CD tracking error offset adjustment | |
| ||
332 | ||
| ||
336 | CD ABCD level adjustment | |
|
| |
344 | CD focus gain adjustment | |
|
| |
345 | CD tracking gain adjustment | |
521 | CD | |
| ||
522 | ||
| ||
341 | CD focus bias adjustment |
5.If the result of automatic adjustment is OK, the following dis- play appears in the LCD:
LCD display
341 C D O K
6.If the result of automatic adjustment is NG, the following dis- play appears in the LCD:
LCD display
# # # N G
## # : Overall adjustment. NG mode number
7.If NG, set the manual mode. Perform automatic adjustment for the items not accepted. (See page 12)
8.If CD adjustment is OK, insert an available SONY MO disc (recorded).
At this time, be sure to turn OFF the disc protect switch.
9.Press N key. The system discriminates between CD and MO and performs automatic adjustment for the MO disc.
Also, if > key is pressed, MO is adjusted automatically. However, when CD adjustment is not finished, “SetCD!” is blinking on the LCD and MO adjustment is not executed.
LCD display
%%% M O R U N
%%%: Manual mode number being executed
– 20 –
