Amplifier Operations

Recording

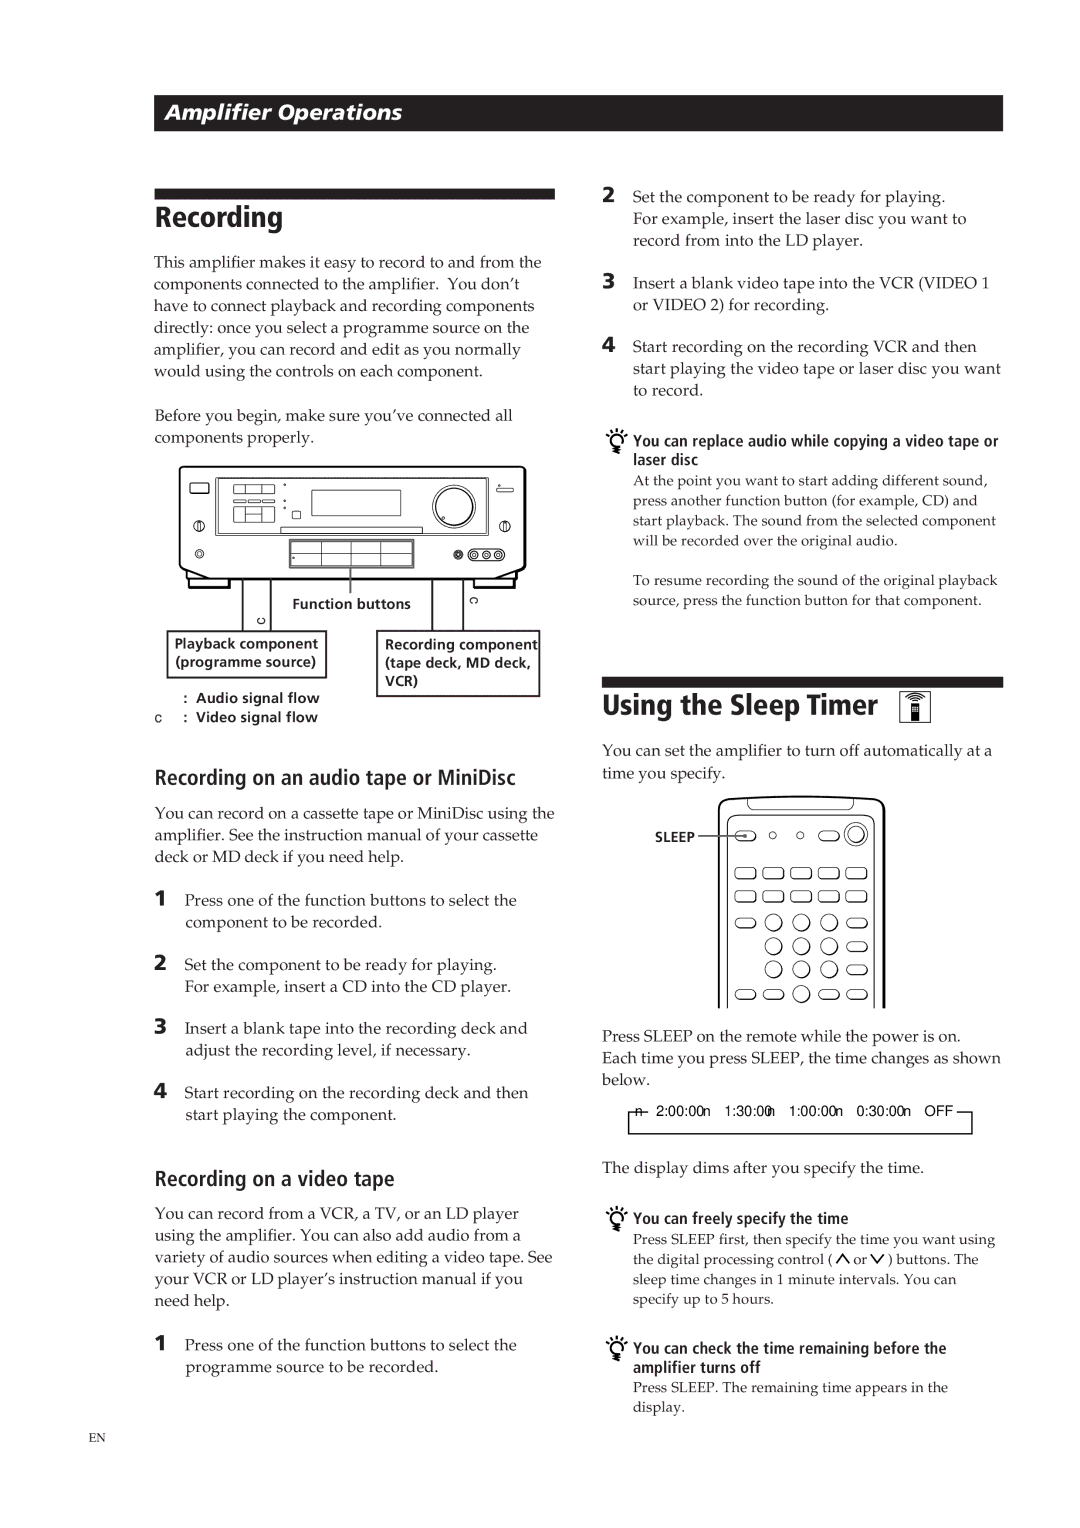
This amplifier makes it easy to record to and from the components connected to the amplifier. You don’t have to connect playback and recording components directly: once you select a programme source on the amplifier, you can record and edit as you normally would using the controls on each component.

Before you begin, make sure you’ve connected all components properly.

c

Function buttons

c


Playback component

Recording component

(programme source)

(tape deck, MD deck,


VCR)


: Audio signal flow

c: Video signal flow

Recording on an audio tape or MiniDisc

You can record on a cassette tape or MiniDisc using the amplifier. See the instruction manual of your cassette deck or MD deck if you need help.

1Press one of the function buttons to select the component to be recorded.

2Set the component to be ready for playing. For example, insert a CD into the CD player.

3Insert a blank tape into the recording deck and adjust the recording level, if necessary.

4Start recording on the recording deck and then start playing the component.

Recording on a video tape

You can record from a VCR, a TV, or an LD player using the amplifier. You can also add audio from a variety of audio sources when editing a video tape. See your VCR or LD player’s instruction manual if you need help.

1 Press one of the function buttons to select the programme source to be recorded.

2Set the component to be ready for playing. For example, insert the laser disc you want to record from into the LD player.

3Insert a blank video tape into the VCR (VIDEO 1 or VIDEO 2) for recording.

4Start recording on the recording VCR and then start playing the video tape or laser disc you want to record.

You can replace audio while copying a video tape or laser disc

At the point you want to start adding different sound, press another function button (for example, CD) and start playback. The sound from the selected component will be recorded over the original audio.

To resume recording the sound of the original playback source, press the function button for that component.

Using the Sleep Timer

You can set the amplifier to turn off automatically at a time you specify.

SLEEP

￿￿

Press SLEEP on the remote while the power is on. Each time you press SLEEP, the time changes as shown below.

n2:00:00 n1:30:00n1:00:00 n0:30:00 nOFF

The display dims after you specify the time.

You can freely specify the time

Press SLEEP first, then specify the time you want using the digital processing control ( or ) buttons. The sleep time changes in 1 minute intervals. You can specify up to 5 hours.

You can check the time remaining before the amplifier turns off

Press SLEEP. The remaining time appears in the display.

10EN

Page 10
Image 10
Sony TA-VE700 manual Using the Sleep Timer, 10EN, Recording on an audio tape or MiniDisc, Recording on a video tape

TA-VE700 specifications

The Sony TA-VE700 is a versatile and high-performance audio/video receiver that has gained recognition for its outstanding capabilities in home theater systems. Known for its robust build and rich feature set, this receiver is designed to enhance the audio-visual experience for users who demand quality.

One of the main features of the TA-VE700 is its powerful amplifier section. With a total power output of 100 watts per channel across five channels, it delivers dynamic sound that fills the room. The receiver supports various surround sound formats, including Dolby Digital and DTS, providing an immersive audio experience that complements movies and music alike.

The TA-VE700 incorporates a range of connectivity options, making it easy to integrate with various audio and visual sources. It offers multiple inputs for audio and video devices, including RCA, optical, and coaxial connections, ensuring compatibility with modern and legacy equipment. Additionally, it features a built-in radio tuner, allowing users to enjoy their favorite FM and AM stations without the need for an external unit.

In terms of video capabilities, the Sony TA-VE700 supports multiple video formats, making it suitable for different types of displays. It is equipped with S-Video and composite video inputs, ensuring compatibility with older devices while also supporting higher-quality video signals. This flexibility makes it a great choice for users with varied setups.

One notable technological advancement in the TA-VE700 is its sophisticated digital signal processing. This technology allows the receiver to decode complex audio formats accurately, ensuring that users experience every nuance in their favorite films and music genres. The receiver also features an adjustable 5-band equalizer, giving users the ability to tailor the sound output to their specific preferences.

Another characteristic that sets the TA-VE700 apart is its user-friendly interface. The receiver is equipped with an easy-to-read display and intuitive controls, making navigation straightforward. This user-centric design allows both novice and experienced users to set up and customize their audio settings with ease.

Overall, the Sony TA-VE700 stands out as a robust audio/video receiver, offering power, versatility, and advanced technologies. Its combination of features makes it a remarkable choice for home theater enthusiasts looking for a reliable and high-quality audio solution. Whether watching movies, playing video games, or listening to music, the TA-VE700 provides an exceptional audio experience that enhances every moment.