Hardware | Installation |
|
|
Install the Motherboard
Follow the steps below in order to perform the installation of your new
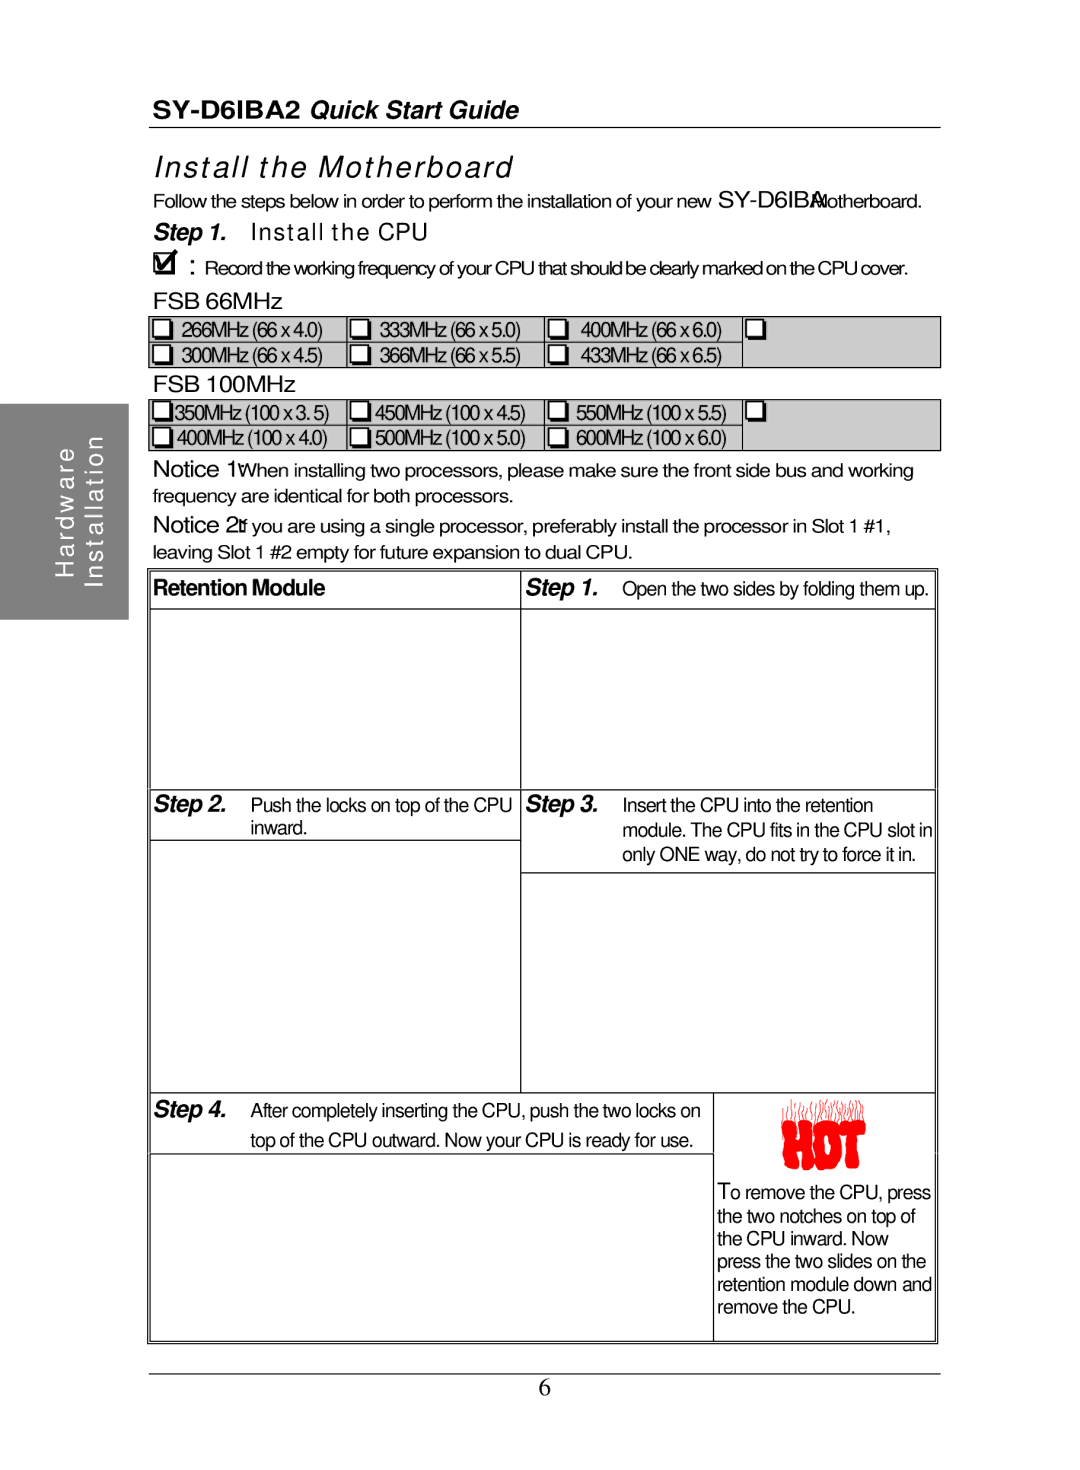
Step 1. Install the CPU
![]() : Record the working frequency of your CPU that should be clearly marked on the CPU cover.
: Record the working frequency of your CPU that should be clearly marked on the CPU cover.
FSB 66MHz
| 266MHz (66 x 4.0) |
| 333MHz (66 x 5.0) |
| 400MHz (66 x 6.0) |
|
|
| 300MHz (66 x 4.5) |
| 366MHz (66 x 5.5) |
| 433MHz (66 x 6.5) |
|
|
FSB 100MHz |
|
|
|
|
|
| |
| 350MHz (100 x 3. 5) |
| 450MHz (100 x 4.5) |
| 550MHz (100 x 5.5) |
|
|
| 400MHz (100 x 4.0) |
| 500MHz (100 x 5.0) |
| 600MHz (100 x 6.0) |
|
|
|
|
|
|
| |||
|
|
|
|
|
|
|
|
Notice 1: When installing two processors, please make sure the front side bus and working frequency are identical for both processors.
Notice 2: If you are using a single processor, preferably install the processor in Slot 1 #1, leaving Slot 1 #2 empty for future expansion to dual CPU.
Retention Module | Step 1. Open the two sides by folding them up. |
|
|
|
|
Step 2. Push the locks on top of the CPU inward.
Step 3. Insert the CPU into the retention module. The CPU fits in the CPU slot in only ONE way, do not try to force it in.
Step 4. After completely inserting the CPU, push the two locks on
top of the CPU outward. Now your CPU is ready for use.
To remove the CPU, press the two notches on top of the CPU inward. Now press the two slides on the retention module down and remove the CPU.
6
