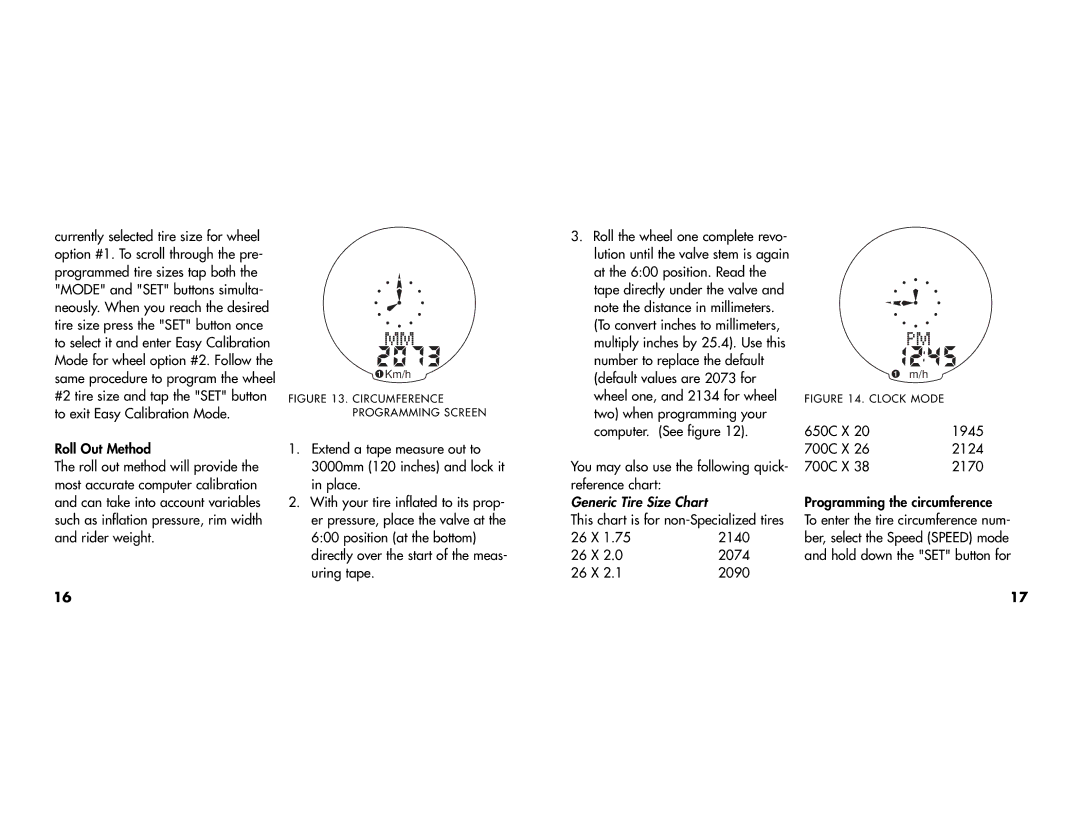
currently selected tire size for wheel option #1. To scroll through the pre- programmed tire sizes tap both the "MODE" and "SET" buttons simulta- neously. When you reach the desired tire size press the "SET" button once to select it and enter Easy Calibration Mode for wheel option #2. Follow the same procedure to program the wheel #2 tire size and tap the "SET" button to exit Easy Calibration Mode.
Roll Out Method
The roll out method will provide the most accurate computer calibration and can take into account variables such as inflation pressure, rim width and rider weight.
16
 Km/h
Km/h
FIGURE 13. CIRCUMFERENCE PROGRAMMING SCREEN
1.Extend a tape measure out to 3000mm (120 inches) and lock it in place.
2.With your tire inflated to its prop- er pressure, place the valve at the 6:00 position (at the bottom) directly over the start of the meas- uring tape.
3.Roll the wheel one complete revo- lution until the valve stem is again at the 6:00 position. Read the tape directly under the valve and note the distance in millimeters. (To convert inches to millimeters, multiply inches by 25.4). Use this number to replace the default (default values are 2073 for wheel one, and 2134 for wheel two) when programming your computer. (See figure 12).
You may also use the following quick- reference chart:
Generic Tire Size Chart
This chart is for non-Specialized tires
26 | X 1.75 | 2140 |
26 | X 2.0 | 2074 |
26 | X 2.1 | 2090 |
Km/h |
|
FIGURE 14. CLOCK MODE |
|
650C X 20 | 1945 |
700C X 26 | 2124 |
700C X 38 | 2170 |
Programming the circumference To enter the tire circumference num- ber, select the Speed (SPEED) mode and hold down the "SET" button for
17
