OPERATION
OPERATOR DIALOGUE
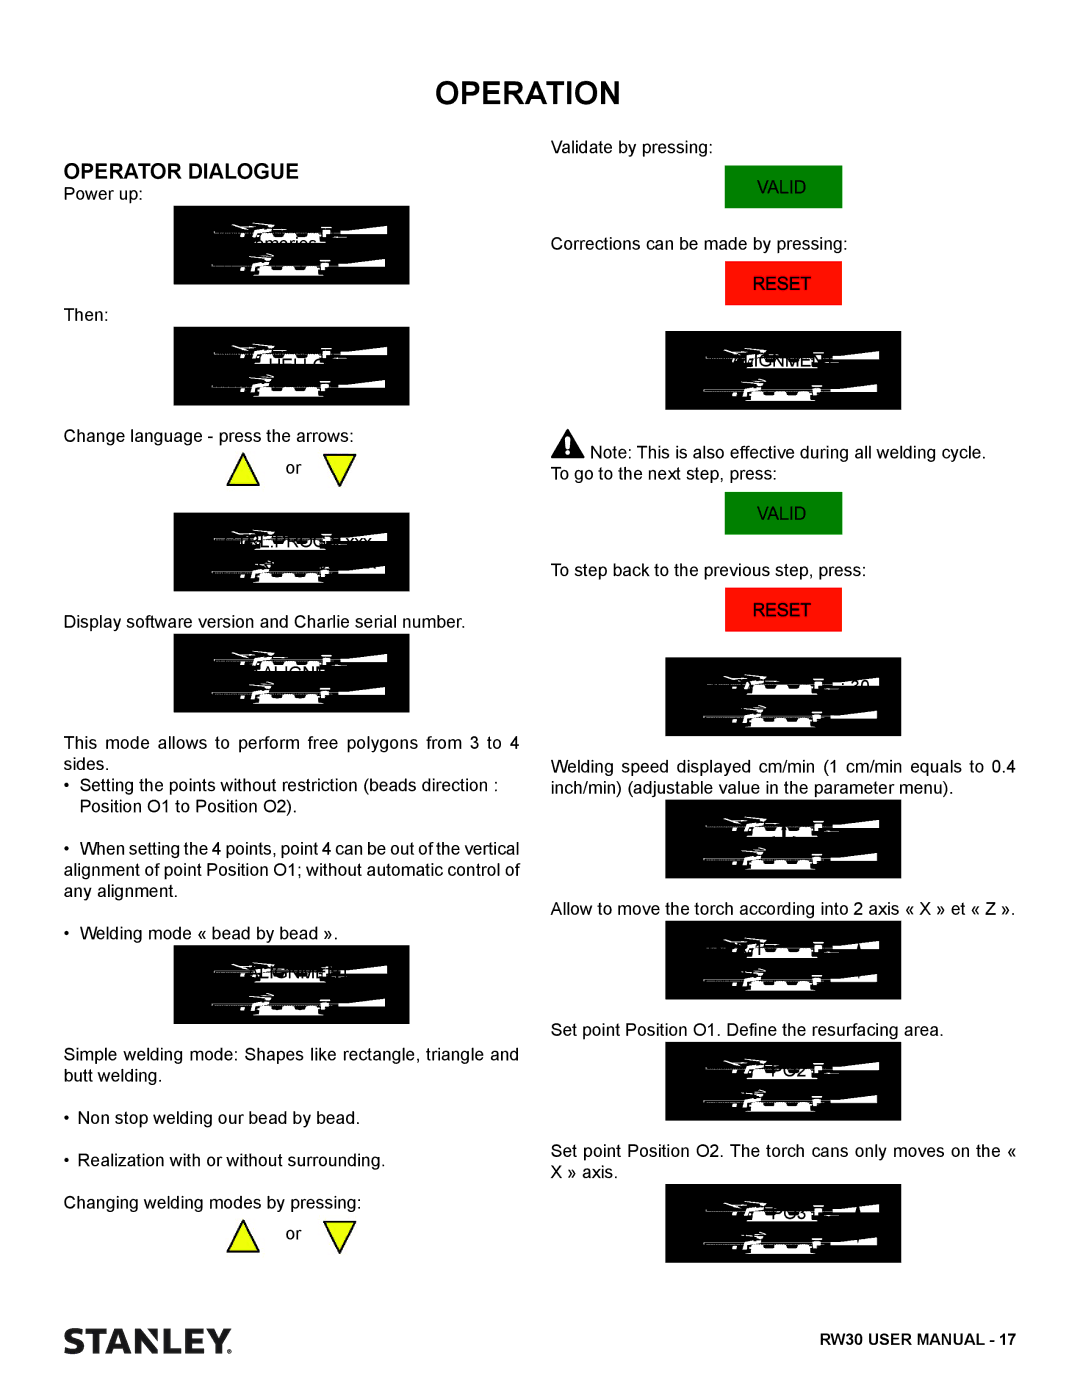
Power up:
Memories Test
Then:
HELLO
Change language - press the arrows: or
CTRL.PROG x.xxx
CHARLIE Nxxxxxxx
Display software version and Charlie serial number.
Validate by pressing:
Corrections can be made by pressing:
ALIGNMENT
OK
![]() Note: This is also effective during all welding cycle. To go to the next step, press:
Note: This is also effective during all welding cycle. To go to the next step, press:
To step back to the previous step, press:
NO ALIGNMENT
This mode allows to perform free polygons from 3 to 4 sides.
•Setting the points without restriction (beads direction :
Position O1 to Position O2).
•When setting the 4 points, point 4 can be out of the vertical alignment of point Position O1; without automatic control of any alignment.
•Welding mode « bead by bead ».
ALIGNMENT
OK
Simple welding mode: Shapes like rectangle, triangle and butt welding.
•Non stop welding our bead by bead.
•Realization with or without surrounding.
Changing welding modes by pressing: or
SPEED : 30 cm/mn
Welding speed displayed cm/min (1 cm/min equals to 0.4 inch/min) (adjustable value in the parameter menu).
Allow to move the torch according into 2 axis « X » et « Z ».
LAYER 1
TORCH: PO1
Set point Position O1. Define the resurfacing area.
PO2
TORCH:
Set point Position O2. The torch cans only moves on the « X » axis.
PO3
TORCH:
RW30 USER MANUAL - 17