72Troubleshooting
Adjusting the dot alignment
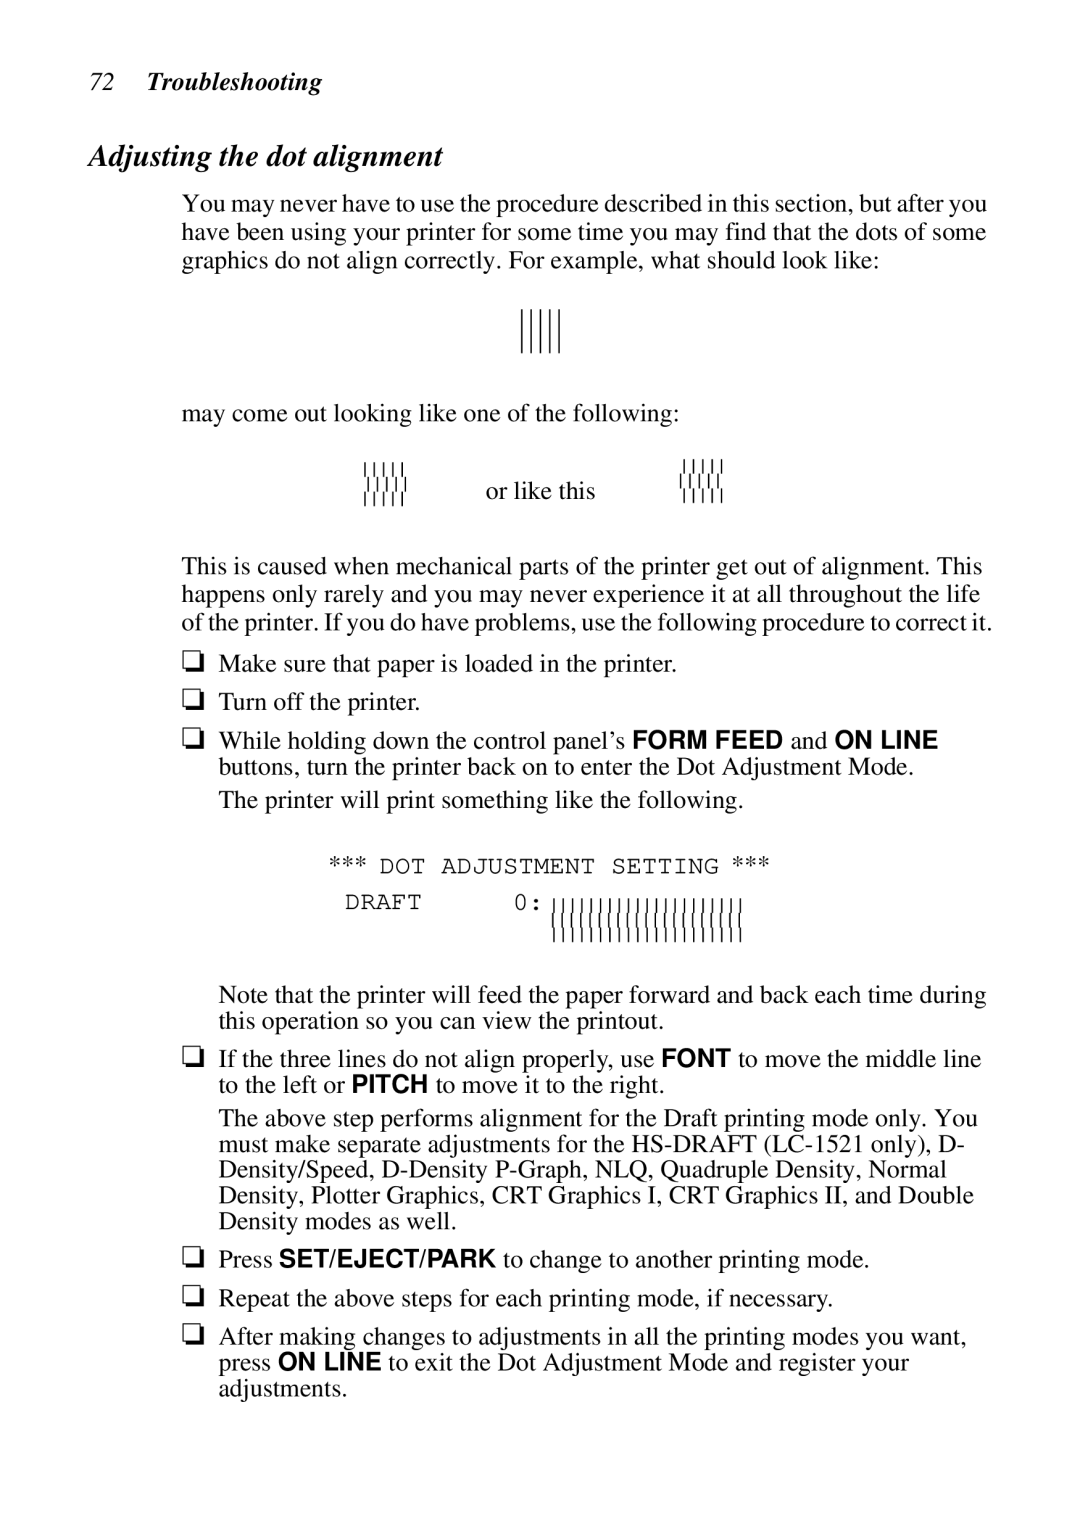
You may never have to use the procedure described in this section, but after you have been using your printer for some time you may find that the dots of some graphics do not align correctly. For example, what should look like:
may come out looking like one of the following:
or like this
This is caused when mechanical parts of the printer get out of alignment. This happens only rarely and you may never experience it at all throughout the life of the printer. If you do have problems, use the following procedure to correct it.
❏Make sure that paper is loaded in the printer.
❏Turn off the printer.
❏While holding down the control panel’s FORM FEED and ON LINE buttons, turn the printer back on to enter the Dot Adjustment Mode.
The printer will print something like the following.
*** DOT ADJUSTMENT SETTING ***
DRAFT 0: 


Note that the printer will feed the paper forward and back each time during this operation so you can view the printout.
❏If the three lines do not align properly, use FONT to move the middle line to the left or PITCH to move it to the right.