(e)Use a 5/32” Hex Key and thread into the handrail (2)
(f)Use a 5/32” Hex Key and thread into the handrail (2)
(g)Repeat steps 3(d) - 3(f) for other side.
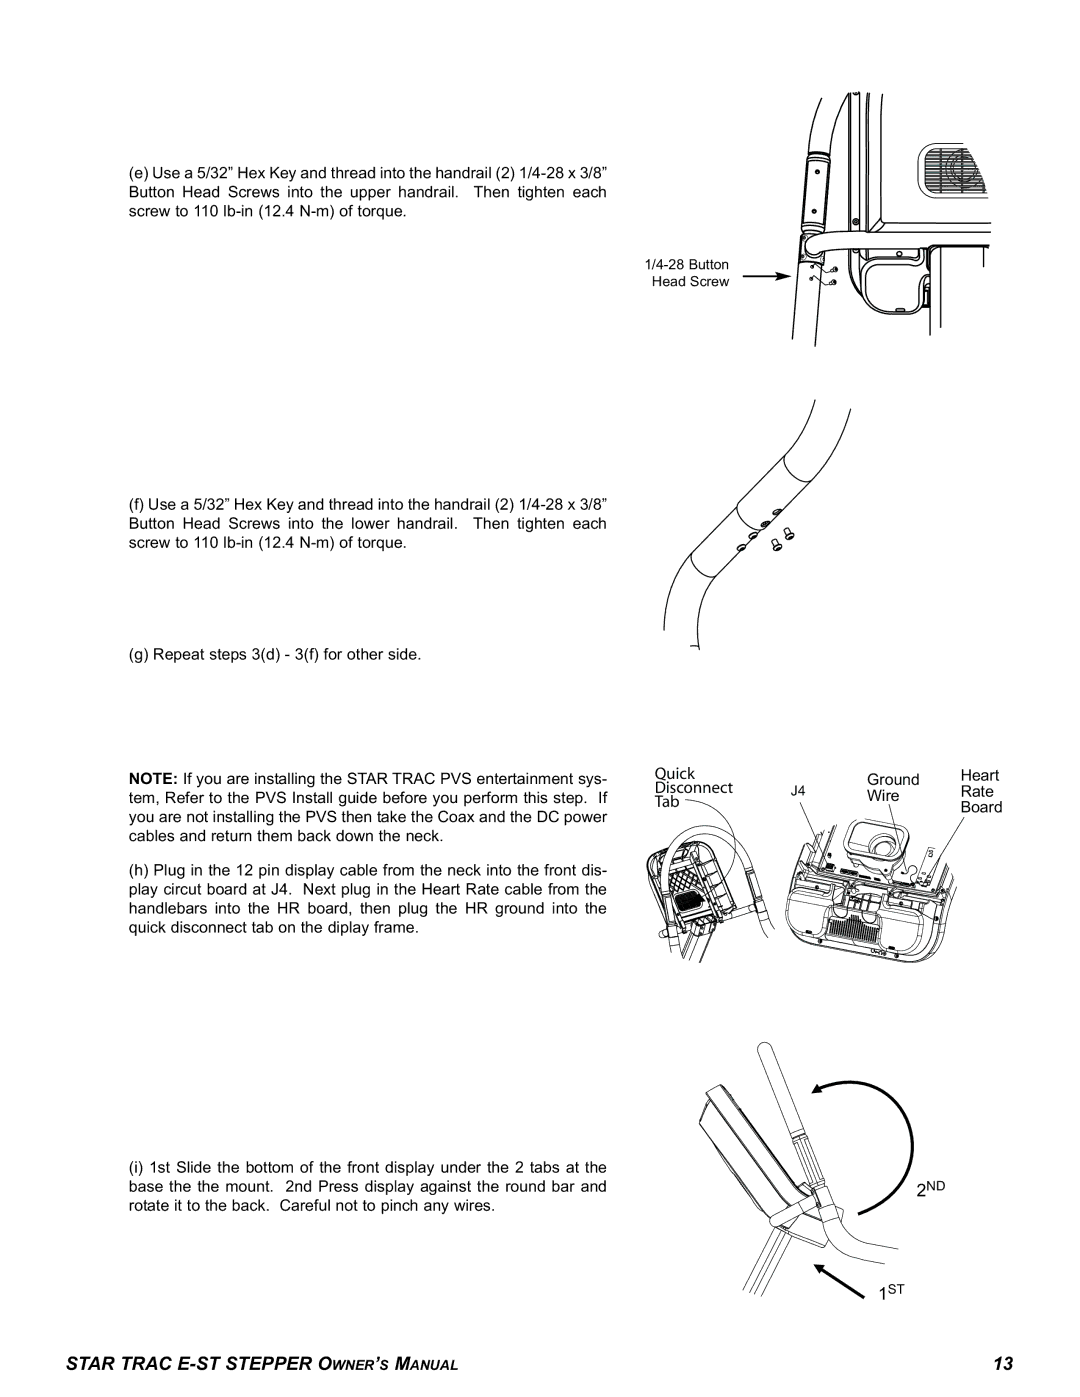
NOTE: If you are installing the STAR TRAC PVS entertainment sys- tem, Refer to the PVS Install guide before you perform this step. If you are not installing the PVS then take the Coax and the DC power cables and return them back down the neck.
(h)Plug in the 12 pin display cable from the neck into the front dis- play circut board at J4. Next plug in the Heart Rate cable from the handlebars into the HR board, then plug the HR ground into the quick disconnect tab on the diplay frame.
(i)1st Slide the bottom of the front display under the 2 tabs at the base the the mount. 2nd Press display against the round bar and rotate it to the back. Careful not to pinch any wires.
Head Screw
Quick |
| Ground | Heart | |
Disconnect | J4 | Wire | Rate | |
Tab | ||||
|
| Board |
2ND
1ST
STAR TRAC | 13 |