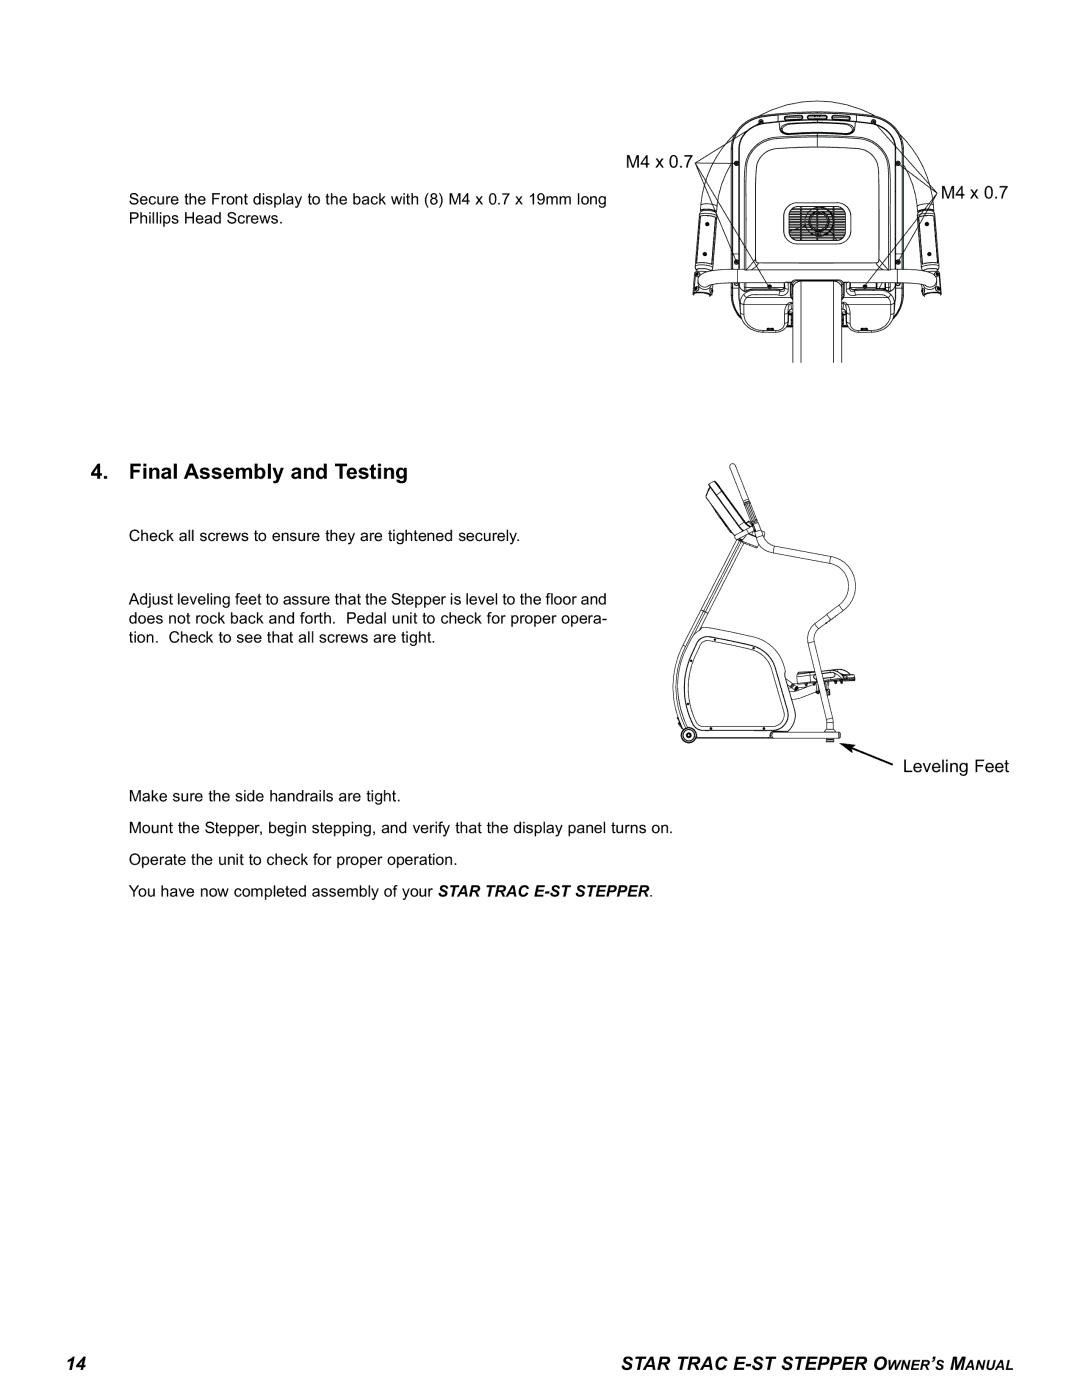
| M4 x 0.7 |
Secure the Front display to the back with (8) M4 x 0.7 x 19mm long | M4 x 0.7 |
Phillips Head Screws. |
|
4. Final Assembly and Testing
Check all screws to ensure they are tightened securely.
Adjust leveling feet to assure that the Stepper is level to the floor and does not rock back and forth. Pedal unit to check for proper opera- tion. Check to see that all screws are tight.
Leveling Feet
Make sure the side handrails are tight.
Mount the Stepper, begin stepping, and verify that the display panel turns on.
Operate the unit to check for proper operation.
You have now completed assembly of your STAR TRAC
14 | STAR TRAC |