Hardware Installation
1.Connect the included power adapter to an available wall outlet and the DC jack on the PoE injector.
2.Connect an Ethernet cable from the LAN port of the PoE Injector to your LAN switch or router.
3.Connect a second Ethernet cable from the PoE port of the PoE Injector, the other end of this cable will connect to the AP as instructed in the following steps.
4.Slide the bottom cover of the unit down to remove it and expose the ports.
5.Connect the Ethernet cable from the PoE port of the PoE Injector, to the LAN port on the AP (farthest from the reset button).
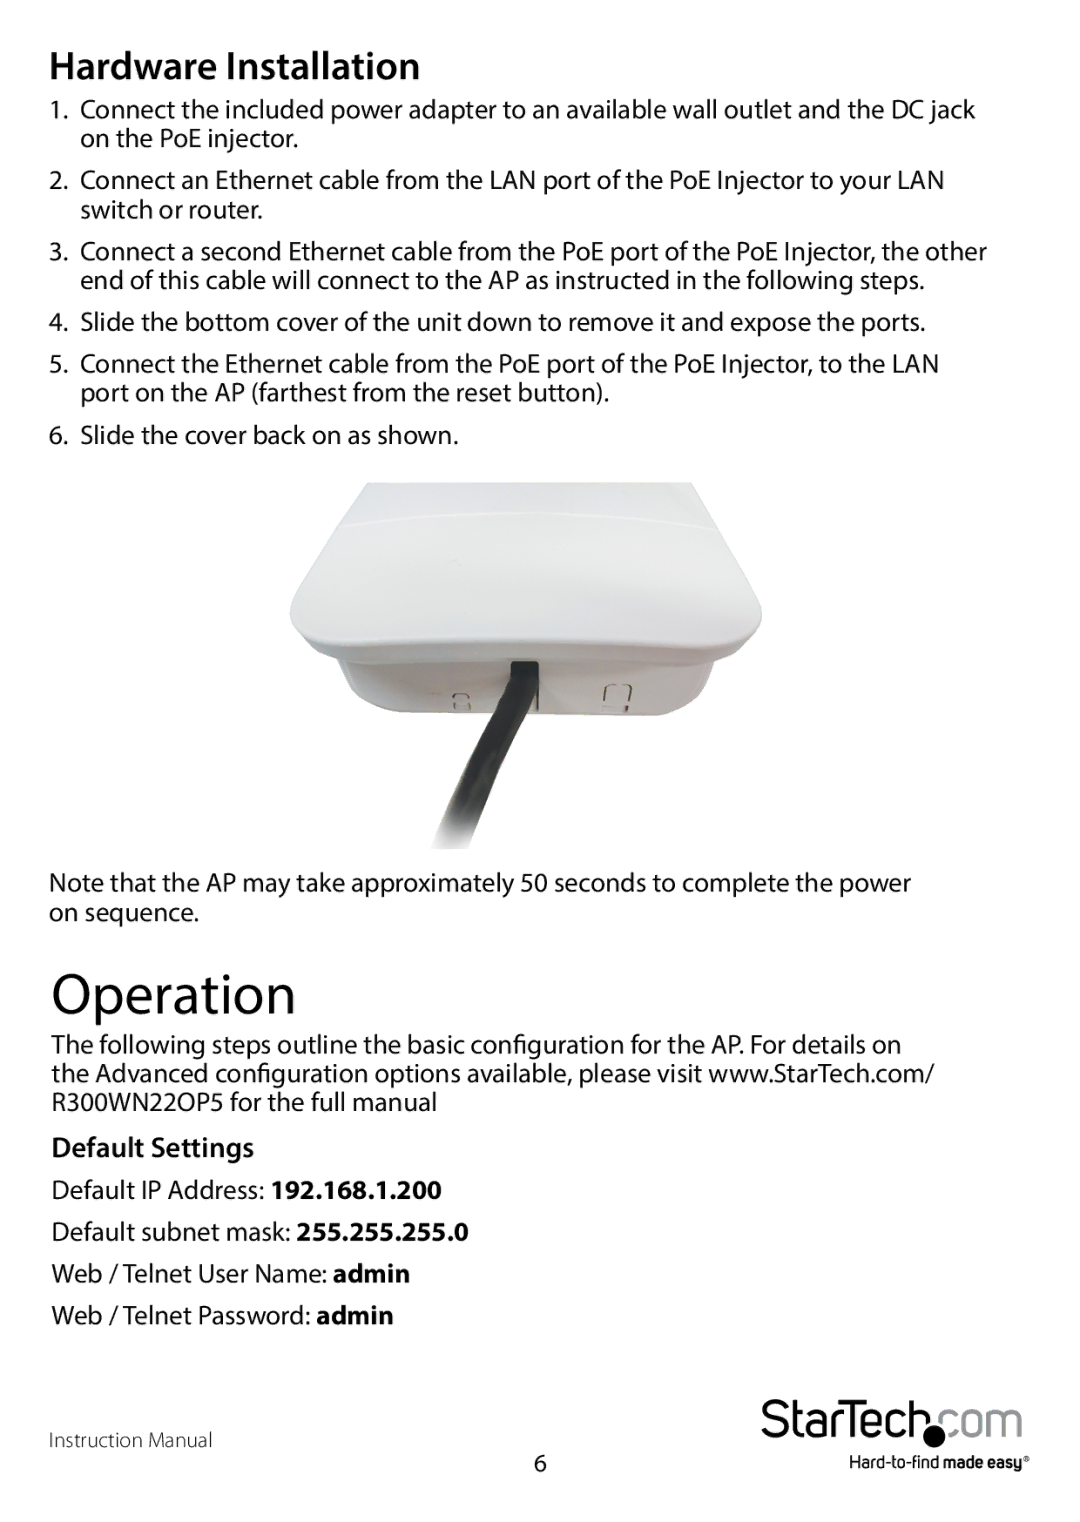
6.Slide the cover back on as shown.
Note that the AP may take approximately 50 seconds to complete the power on sequence.
Operation
The following steps outline the basic configuration for the AP. For details on the Advanced configuration options available, please visit www.StarTech.com/ R300WN22OP5 for the full manual
Default Settings
Default IP Address: 192.168.1.200
Default subnet mask: 255.255.255.0
Web / Telnet User Name: admin
Web / Telnet Password: admin
Instruction Manual
6