Installation | 9 |
|
|
Installing the Receiving Frame
The drive should be installed into the carrier before installing the receiving frame into the mounting bay of a computer or expansion chassis.
NOTE: Use a #2 Phillips screwdriver for this procedure.
1.Turn OFF power to the computer.
2.Open the computer system according to the manufacturer’s instructions. If neces- sary, temporarily remove any expansion boards that may make installation difficult.
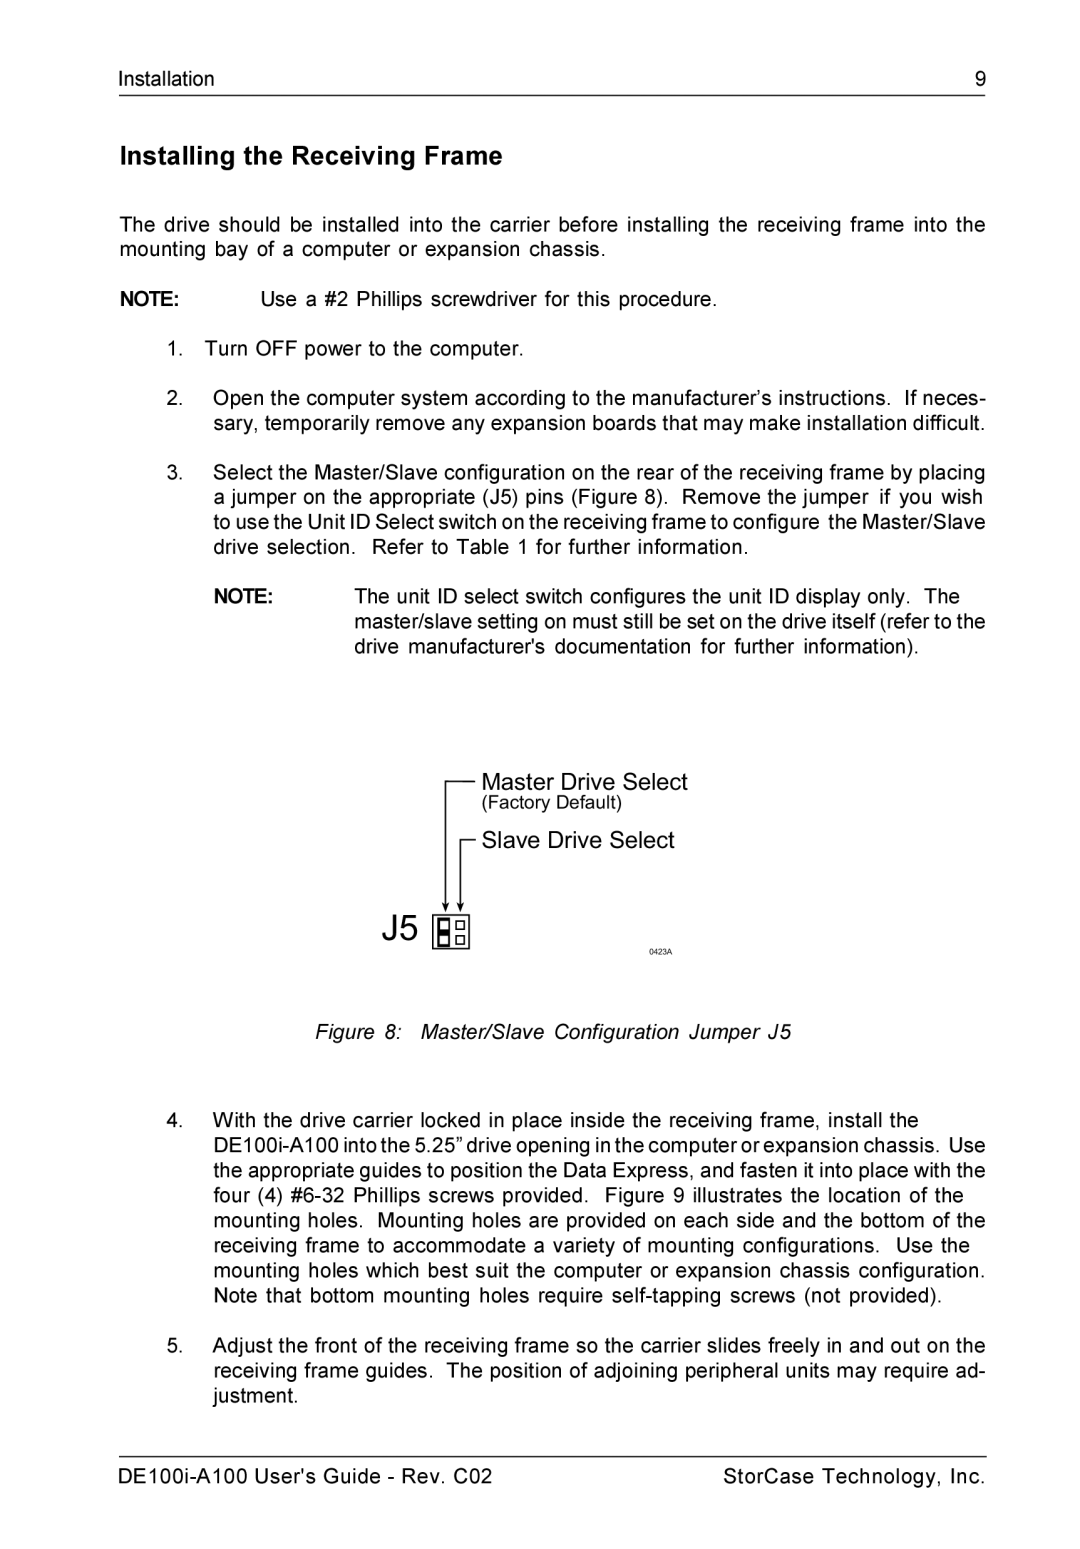
3.Select the Master/Slave configuration on the rear of the receiving frame by placing a jumper on the appropriate (J5) pins (Figure 8). Remove the jumper if you wish to use the Unit ID Select switch on the receiving frame to configure the Master/Slave drive selection. Refer to Table 1 for further information.
NOTE: The unit ID select switch configures the unit ID display only. The master/slave setting on must still be set on the drive itself (refer to the drive manufacturer's documentation for further information).
Master Drive Select
(Factory Default)
Slave Drive Select
J5 ![]()
![]()
![]()
![]()
0423A
Figure 8: Master/Slave Configuration Jumper J5
4.With the drive carrier locked in place inside the receiving frame, install the
5.Adjust the front of the receiving frame so the carrier slides freely in and out on the receiving frame guides. The position of adjoining peripheral units may require ad- justment.
StorCase Technology, Inc. |