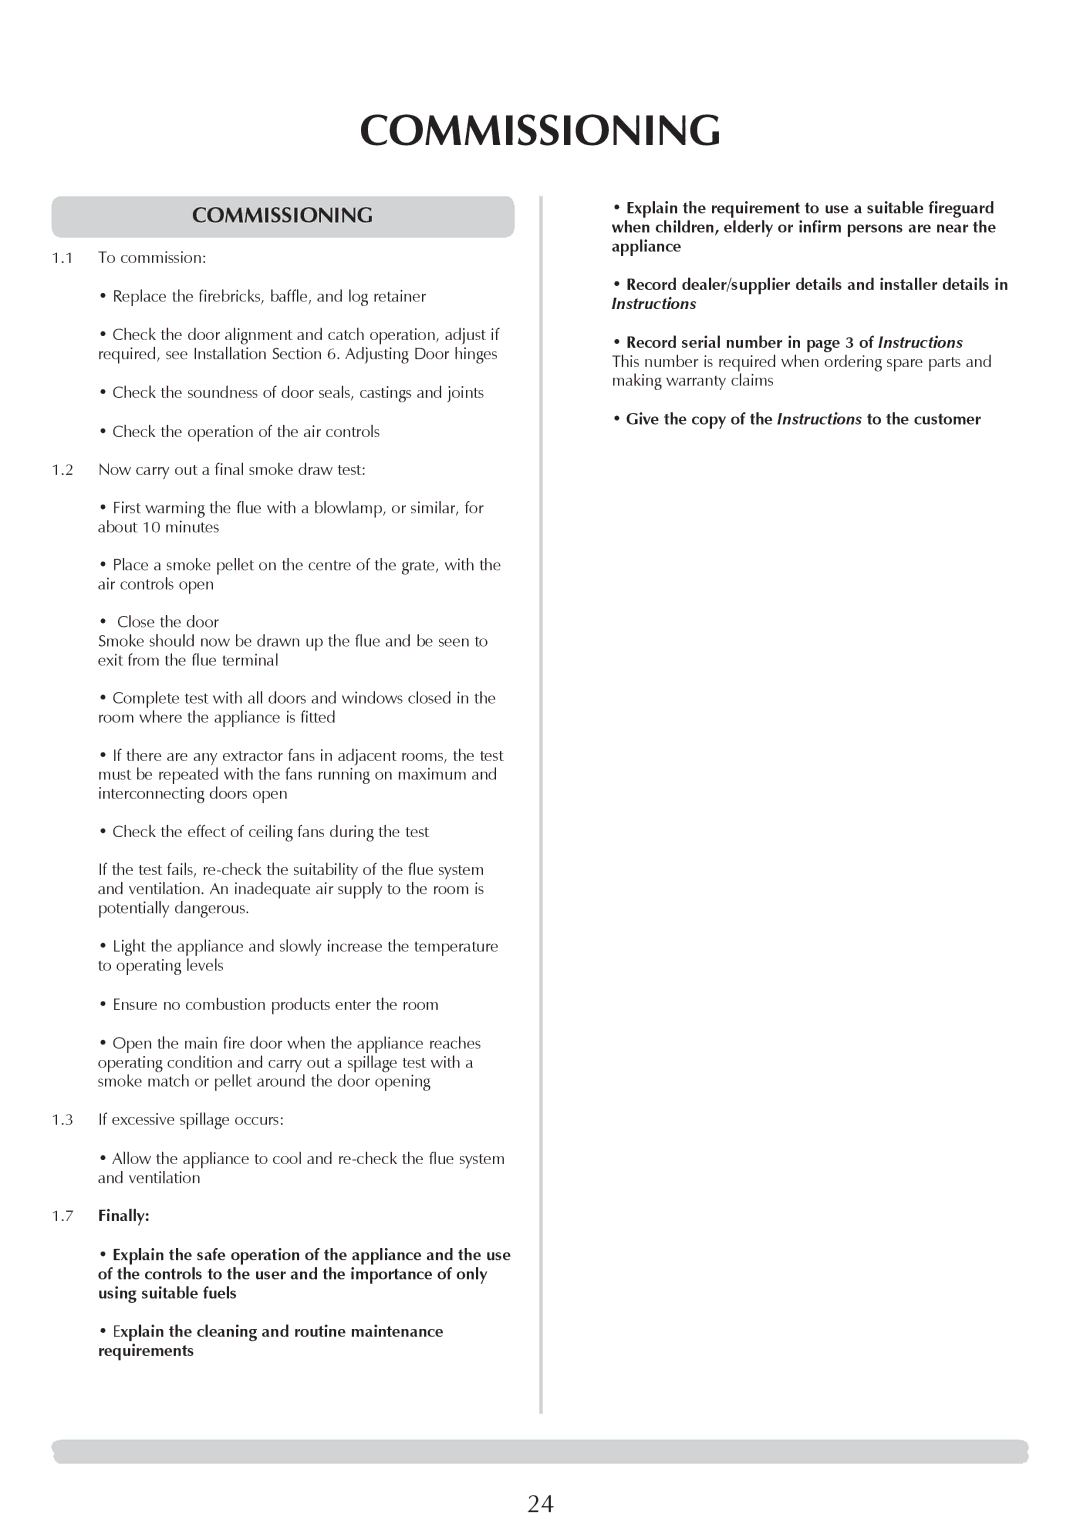
7100, 7104, 7102, 7120, 7103 specifications
Stovax is a renowned brand in the realm of wood burning and multi-fuel stoves, and their collection includes models such as the Stovax 7106, 7117, 7102, 7106lc, and 7162. Each model is designed to offer not only functional heating solutions but also aesthetic appeal, making them suitable for various interior styles.The Stovax 7106 model boasts a sleek design while efficiently generating heat for medium to large spaces. It features a large viewing glass that allows users to enjoy the mesmerizing flames of the fire, creating a cozy ambiance. The stove is equipped with an advanced combustion system, which promotes clean-burning technology and enhances efficiency, leading to reduced emissions and lower fuel consumption.
Stovax 7117 stands out for its impressive heating capability and modern appearance. This model is ideal for open-plan living spaces, providing substantial warmth with its robust construction. The 7117 also incorporates a high-efficiency turbo-burn technology that maximizes heat output while minimizing smoke emissions, ensuring a cleaner burn. This model offers a choice of a log store, adding practicality and style to its design.
The Stovax 7102 is tailored for smaller rooms while maintaining high performance. Its compact size does not compromise its efficiency, making it a perfect option for urban living or smaller homes. The 7102 still features a large glass window, ensuring a captivating view of the fire. It is designed with the same commitment to clean burning, leading to a sustainable heating solution.
For those who prefer the benefit of additional storage options, the Stovax 7106lc incorporates an integral log store, providing both functionality and aesthetic harmony. With its contemporary design, this model also remains user-friendly, ensuring easy loading of fuel while enabling homeowners to maintain a tidy living space.
Lastly, the Stovax 7162 is designed for larger homes or spaces requiring significant heating output. This model combines substantial size and style with unrivaled efficiency. The 7162 features advanced air management systems, allowing for precise control over the burn rate and heat output, ensuring the room remains comfortably warm with minimal effort.
In summary, Stovax models 7106, 7117, 7102, 7106lc, and 7162 are all exceptional choices for anyone looking to enhance their home’s heating while adding timeless elegance. With their cutting-edge technologies, clean-burning capabilities, and varied designs, they cater to diverse heating needs and preferences.

