ASSEMBLY
4.PEDAL ASSEMBLY ATTACHMENT
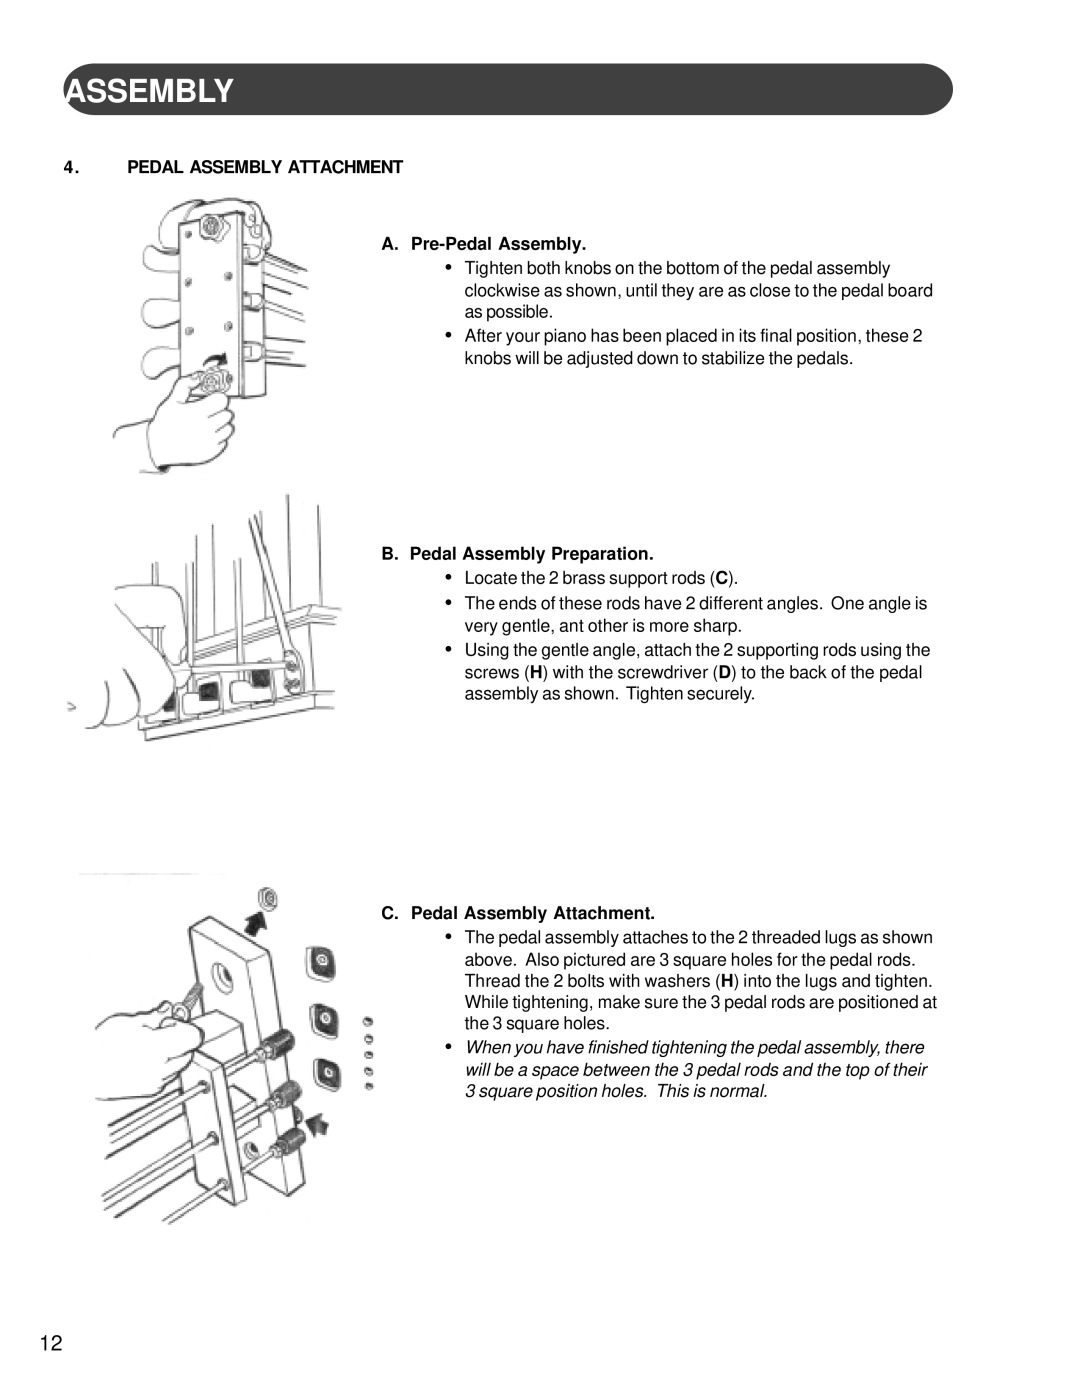
A. Pre-Pedal Assembly.
•Tighten both knobs on the bottom of the pedal assembly clockwise as shown, until they are as close to the pedal board as possible.
•After your piano has been placed in its final position, these 2 knobs will be adjusted down to stabilize the pedals.
B.Pedal Assembly Preparation.
•Locate the 2 brass support rods (C).
•The ends of these rods have 2 different angles. One angle is very gentle, ant other is more sharp.
•Using the gentle angle, attach the 2 supporting rods using the screws (H) with the screwdriver (D) to the back of the pedal assembly as shown. Tighten securely.
C.Pedal Assembly Attachment.
•The pedal assembly attaches to the 2 threaded lugs as shown above. Also pictured are 3 square holes for the pedal rods. Thread the 2 bolts with washers (H) into the lugs and tighten. While tightening, make sure the 3 pedal rods are positioned at the 3 square holes.
•When you have finished tightening the pedal assembly, there will be a space between the 3 pedal rods and the top of their 3 square position holes. This is normal.
12