SELECTING THE INPUT SIGNAL
POWER
VOL
MUTE
SCREEN MODE
STILL
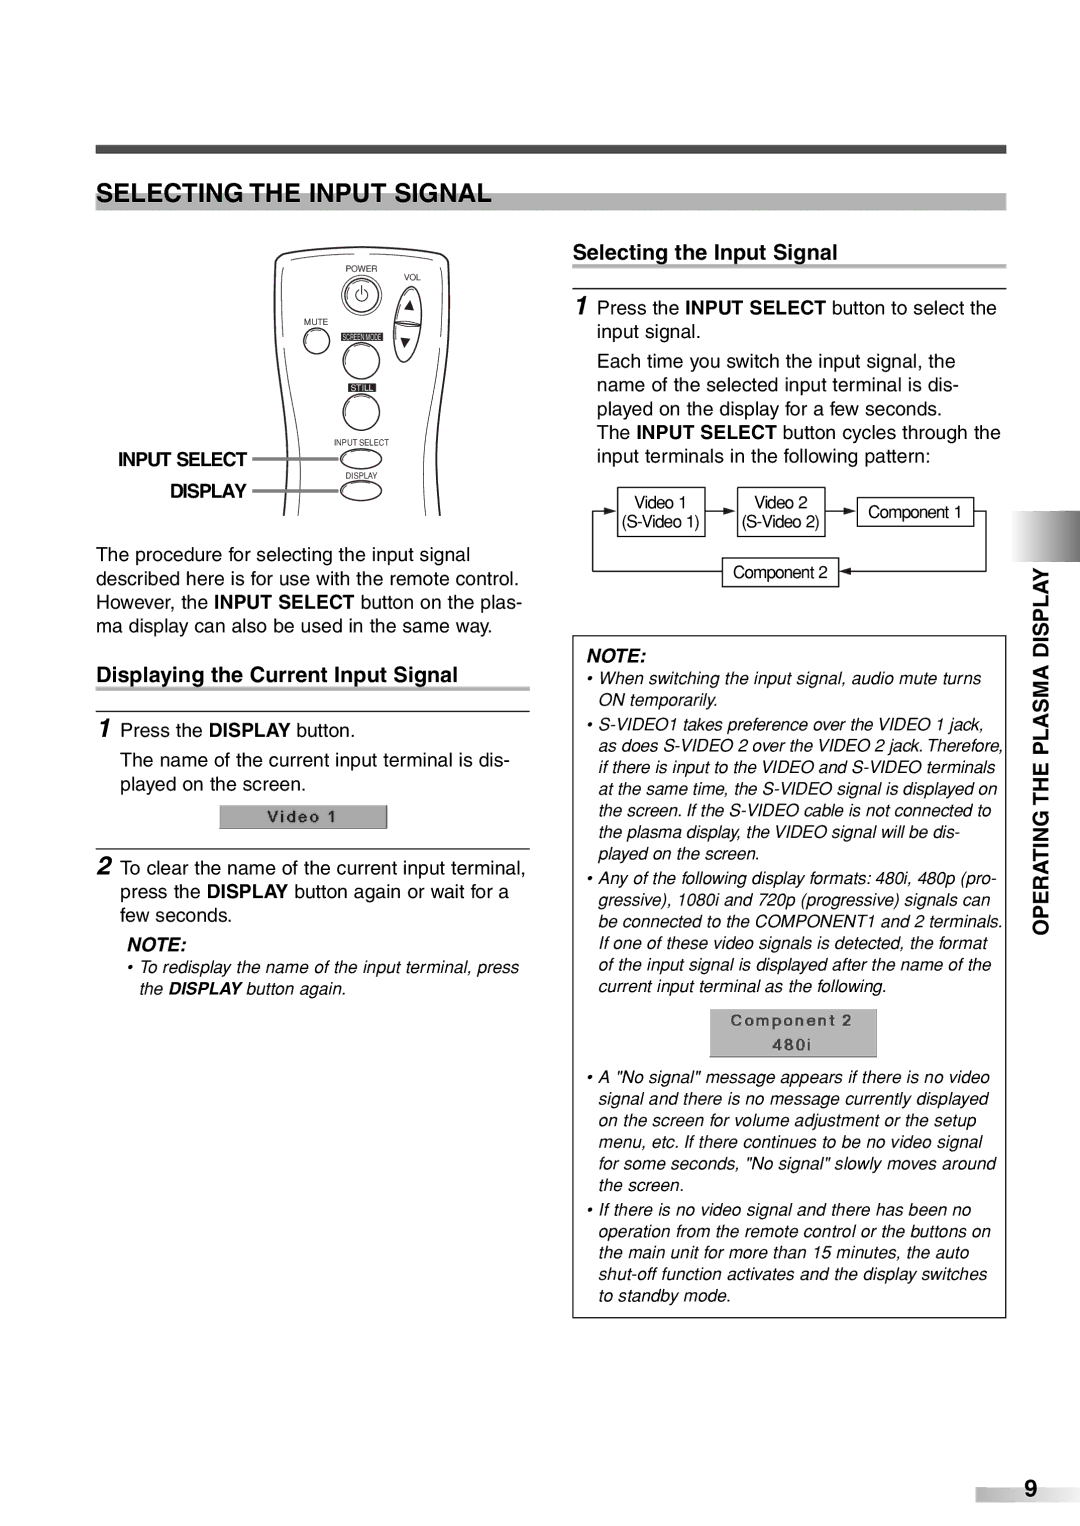
INPUT SELECT
INPUT SELECT
DISPLAY
DISPLAY
The procedure for selecting the input signal described here is for use with the remote control. However, the INPUT SELECT button on the plas- ma display can also be used in the same way.
Displaying the Current Input Signal
1 Press the DISPLAY button.
The name of the current input terminal is dis- played on the screen.
2 To clear the name of the current input terminal, press the DISPLAY button again or wait for a few seconds.
NOTE:
•To redisplay the name of the input terminal, press the DISPLAY button again.
Selecting the Input Signal
1 Press the INPUT SELECT button to select the input signal.
Each time you switch the input signal, the name of the selected input terminal is dis- played on the display for a few seconds.
The INPUT SELECT button cycles through the input terminals in the following pattern:
Video 1 | Video 2 | Component 1 | |
| |||
| Component 2 |
|
NOTE:
•When switching the input signal, audio mute turns ON temporarily.
•
•Any of the following display formats: 480i, 480p (pro- gressive), 1080i and 720p (progressive) signals can be connected to the COMPONENT1 and 2 terminals. If one of these video signals is detected, the format of the input signal is displayed after the name of the current input terminal as the following.
•A "No signal" message appears if there is no video signal and there is no message currently displayed on the screen for volume adjustment or the setup menu, etc. If there continues to be no video signal for some seconds, "No signal" slowly moves around the screen.
•If there is no video signal and there has been no operation from the remote control or the buttons on the main unit for more than 15 minutes, the auto
OPERATING THE PLASMA DISPLAY
9