<
<Printable discs aren’t recommended, as the label side might be sticky and damage the unit.
<Do not stick papers or protective sheets on the discs and do not use any protective coating spray.
<Use a soft
<Never use a stabilizer. Using commercially available CD stabilizers with this unit will damage the mechanisms and cause them to malfunction.
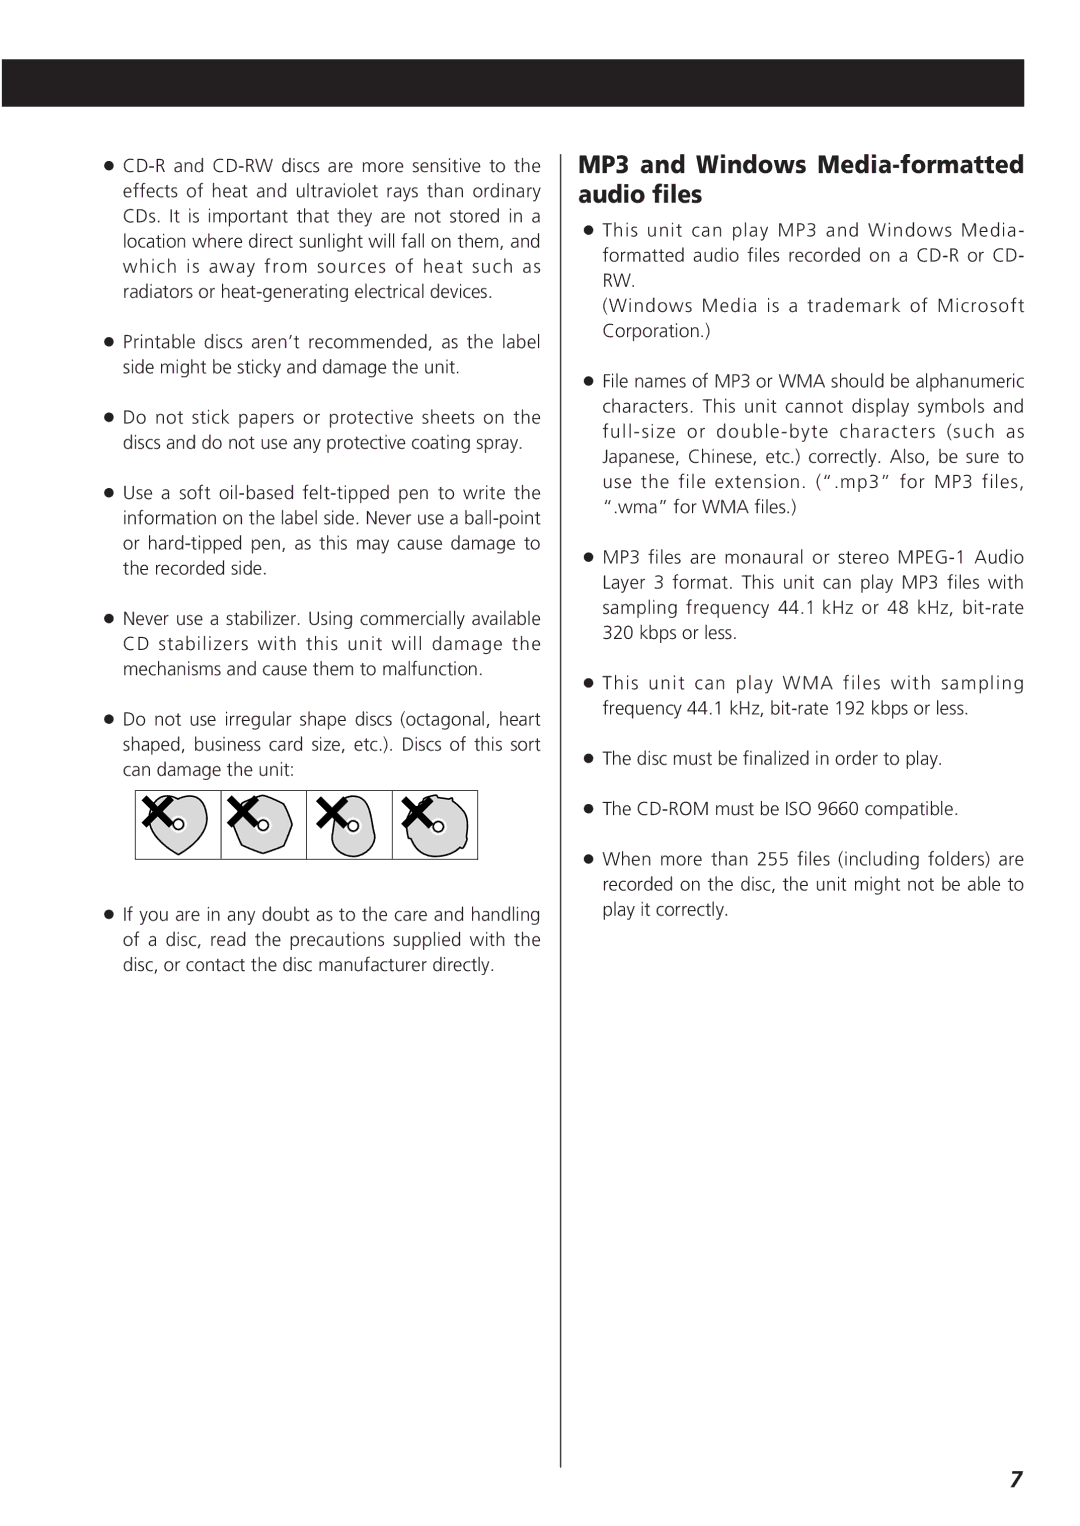
<Do not use irregular shape discs (octagonal, heart shaped, business card size, etc.). Discs of this sort can damage the unit:
<If you are in any doubt as to the care and handling of a disc, read the precautions supplied with the disc, or contact the disc manufacturer directly.
MP3 and Windows Media-formatted audio files
<This unit can play MP3 and Windows Media- formatted audio files recorded on a
(Windows Media is a trademark of Microsoft Corporation.)
<File names of MP3 or WMA should be alphanumeric characters. This unit cannot display symbols and
<MP3 files are monaural or stereo
<This unit can play WMA files with sampling frequency 44.1 kHz,
<The disc must be finalized in order to play.
<The
<When more than 255 files (including folders) are recorded on the disc, the unit might not be able to play it correctly.
7