8.Plug the short telephone line cord into the PHONE LINE jack on the back of the unit.
9.Feed the short line cord through the grooves provided so that the base area is flat and ready to mount on the wall.
10.Plug the other end of the line cord into a modular phone jack.
11.Slip the mounting holes over
the wall plate posts and slide the unit down firmly into place. (Wall plate not included.)
12.Raise the base antenna.
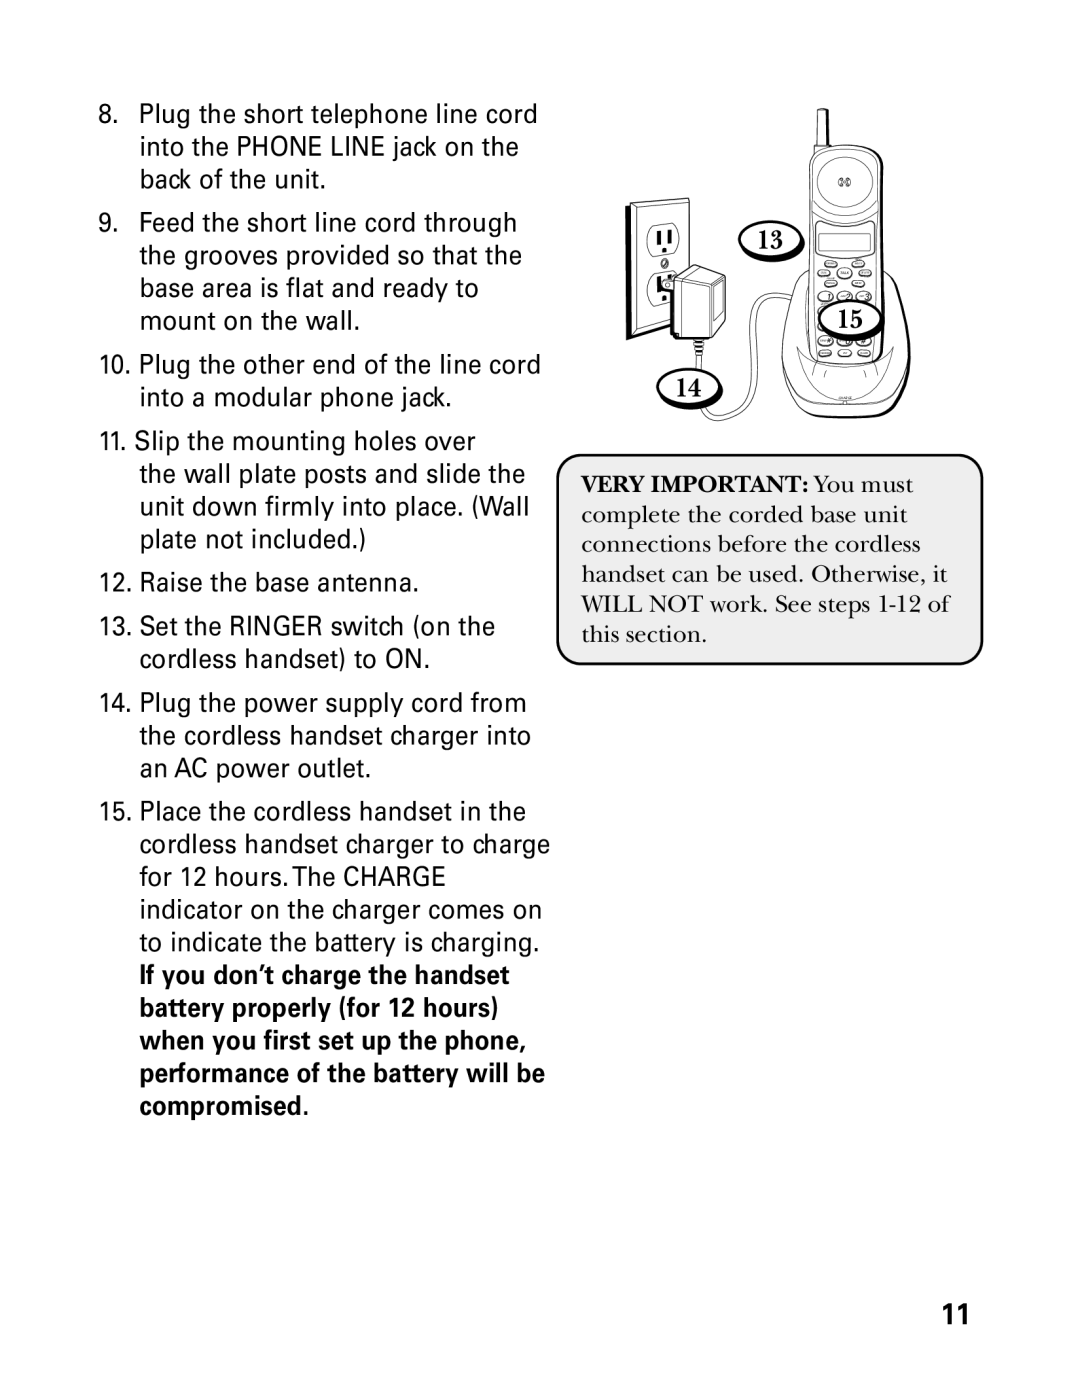
13.Set the RINGER switch (on the cordless handset) to ON.
14.Plug the power supply cord from the cordless handset charger into an AC power outlet.
15.Place the cordless handset in the cordless handset charger to charge for 12 hours. The CHARGE indicator on the charger comes on to indicate the battery is charging.
If you don’t charge the handset battery properly (for 12 hours) when you first set up the phone, performance of the battery will be compromised.
13
TALK
1 2 3
ER
4 156
7 8 9
* 0 #
14
CHARGE
VERY IMPORTANT: You must complete the corded base unit connections before the cordless handset can be used. Otherwise, it WILL NOT work. See steps
11
