
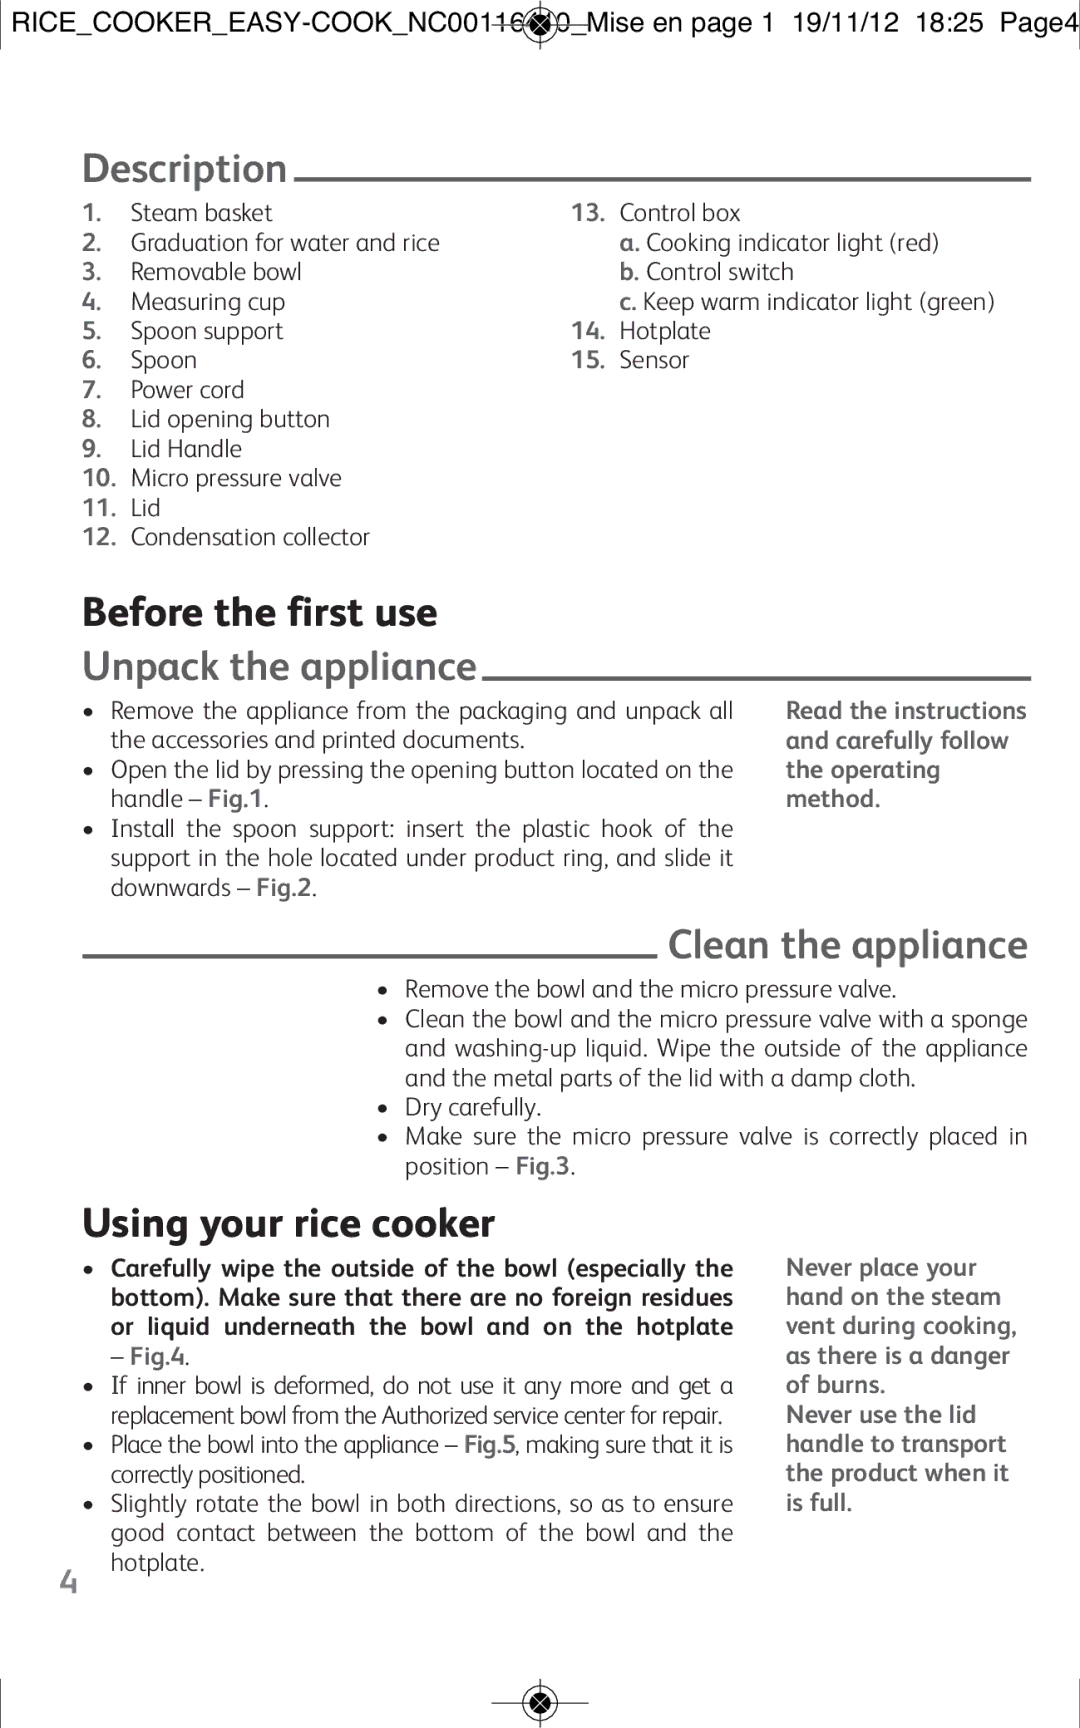
RK101827, RK101825, RK1018TH specifications
Tefal has established itself as a leader in kitchen appliances, consistently delivering innovative products that cater to various cooking needs. Among their notable offerings are the Tefal RK1018TH, RK101825, and RK101827 rice cookers, each designed to simplify rice preparation while enhancing the cooking experience.The Tefal RK1018TH, known for its user-friendly design, features a 1.8-liter capacity that is ideal for families or small gatherings. One of its standout technologies is the "Keep Warm" function, which maintains the optimal temperature for freshly cooked rice without overcooking it. This model comes with a non-stick pot, ensuring easy cleaning and preventing rice from sticking to the surface. The RK1018TH operates with one-touch cooking, making it as simple as pressing a button. Its durable construction and sleek exterior allow it to fit seamlessly into any kitchen décor while ensuring longevity.
Moving to the RK101825, this model elevates the rice cooking experience with its advanced features. It includes a steaming basket, providing additional versatility for preparing steamed vegetables or fish simultaneously while cooking rice. The RK101825 boasts a variety of cooking programs, catering to different rice types and cooking preferences, including white rice, brown rice, and porridge. Its digital display and intuitive controls make it easy to navigate through various settings, which is perfect for tech-savvy home cooks. Furthermore, the automatic shut-off feature ensures safety by preventing overheating.
The Tefal RK101827 is another impressive addition to the lineup, celebrated for its multifunctionality. Like its counterparts, it offers a large capacity and versatile cooking options, but it also includes a unique delay timer function, allowing users to set the cooker to prepare rice at a future time. This feature is perfect for those with busy schedules who wish to have warm rice ready when they return home. The RK101827 is equipped with high-precision temperature control to ensure evenly cooked rice every time and features a removable non-stick bowl for easy cleaning.
In summary, the Tefal RK1018TH, RK101825, and RK101827 rice cookers each bring unique features and technologies to the table, enhancing the enjoyment and efficiency of rice cooking. Their convenient functionalities, user-friendly designs, and durable construction make them valuable additions to any kitchen, catering to diverse culinary needs. Whether you seek simplicity, versatility, or multifunctionality, Tefal's rice cookers meet the demands of modern cooking with ease and excellence.