•WB (White Balance) - Allows the camera to adjust to light conditions using preset selections (auto, sun, shade, tungsten, fluorescent).
•TV Mode - Choose the TV standard that you use in your country for the video you record.
•Language - Let you to choose different languages for Camera menu.
•Step 5 Press OK to select a menu option. The selected option will be highlighted.
•Step 6 Press ![]() to cycle through the available settings.
to cycle through the available settings.
•Step 7 Press OK to choose a setting.
•Step 8 Press ![]() to move down the menu screen and choose Exit. Then, press OK to exit the menu screen.
to move down the menu screen and choose Exit. Then, press OK to exit the menu screen.
Hooking Up to Your Computer
You need to connect the camera to your computer’s USB port to transfer photos into your computer. This section shows how you can connect the camera to your computer.
You must install the Dual Camera Driver from the Digital Camera CD before connecting in order for your computer to function properly using the USB. See the section, “Installing Software” on page 14 for details on how to install the driver.
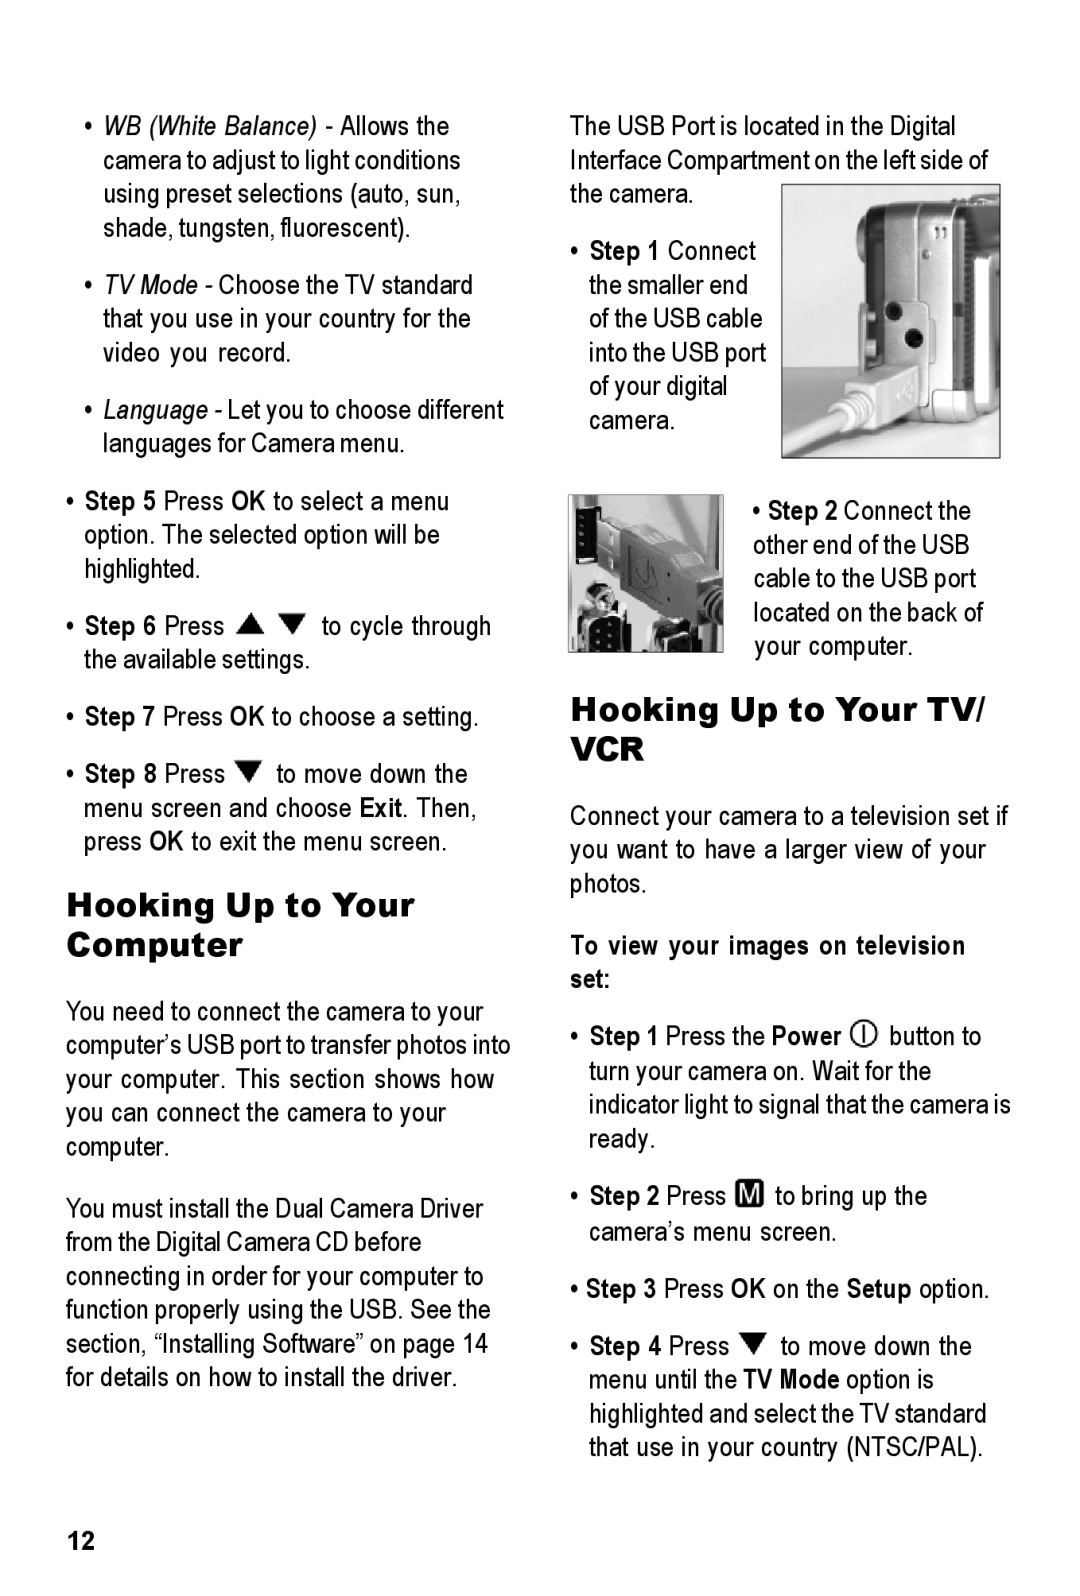
The USB Port is located in the Digital Interface Compartment on the left side of the camera.
•Step 1 Connect the smaller end of the USB cable into the USB port of your digital camera.
•Step 2 Connect the other end of the USB cable to the USB port located on the back of your computer.
Hooking Up to Your TV/
VCR
Connect your camera to a television set if you want to have a larger view of your photos.
To view your images on television set:
•Step 1 Press the Power ![]() button to turn your camera on. Wait for the indicator light to signal that the camera is ready.
button to turn your camera on. Wait for the indicator light to signal that the camera is ready.
•Step 2 Press ![]() to bring up the camera’s menu screen.
to bring up the camera’s menu screen.
•Step 3 Press OK on the Setup option.
•Step 4 Press ![]() to move down the menu until the TV Mode option is highlighted and select the TV standard that use in your country (NTSC/PAL).
to move down the menu until the TV Mode option is highlighted and select the TV standard that use in your country (NTSC/PAL).
12
