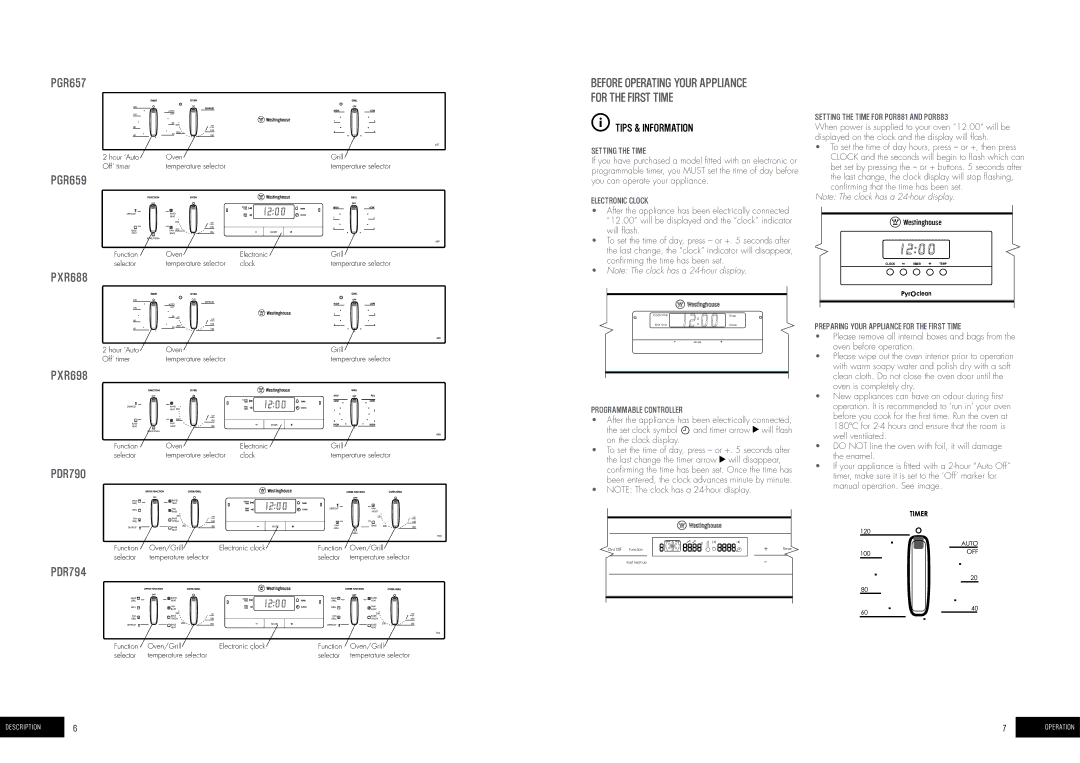
POR883, POR668, POR881, POR783, POR667 specifications
Thermador, a leading name in luxury kitchen appliances, offers a range of professional-grade cooking products that embody style and functionality. Among its popular models are the Thermador PDR790, PGR657, PDR794, PGR659, and PORS668L/R. Each of these ranges features innovative technologies and design elements to elevate the cooking experience.The Thermador PDR790 is particularly notable for its 36-inch Professional Series design, featuring a powerful dual-fuel cooking option with a gas oven and a powerful convection oven that ensures even baking. One of its standout features is the patented Star Burners, which provide a more optimal flame pattern for uniform cooking. The robust stainless-steel construction not only enhances the durability of the appliance but also gives it a timeless appeal.
Similarly, the PGR657 model brings the advantage of versatility to the kitchen with its combination of high-performance gas cooking and an electric oven. This model features additional cooking modes, including True Convection, which allows users to bake multiple dishes at once without flavor transfer. The continuous grates provide ease of movement for pots and pans, adding to user convenience.
The PDR794 model, another gem in the Thermador lineup, offers a comprehensive cooking experience with its induction cooktop. This technology provides precision cooking with instant heat adjustments, making it easier to achieve the desired cooking temperatures. The induction feature allows for quick and efficient meal preparation while ensuring safety with its automatic shut-off and cool-to-the-touch surface.
The PGR659 model is designed for those who appreciate both aesthetics and functionality. Offering a sleek design, it features a high-performance gas range combined with a professional-grade broiler for perfect searing results. Moreover, its stainless-steel finish comes equipped with an elegant control panel for easy operation.
Lastly, the PORS668L/R introduces the luxury of dual-fuel performance. This model combines a gas cooktop with an electric convection oven, allowing for versatile cooking methods. With multiple oven modes, including self-clean and delayed start, it makes meal preparation and cleanup a breeze.
Together, these Thermador models combine cutting-edge technology, durable construction, and thoughtful design to meet the needs of modern chefs. Each range is engineered to deliver exceptional performance, making them a valuable addition to any gourmet kitchen. With features that prioritize usability and efficiency, Thermador continues to set the standard for luxury cooking appliances.

