Fix Duct to transition and seal with tape.
For both installation method:
11.Wiring the HOOD:
WARNING
Electrical Shock Hazard
Warning: Turn off power at the service panel before wiring this unit.
120 VAC, 15 or 20 Amp circuit required.
ELECTRICAL GROUNDING INSTRUCTIONS THIS APPLIANCE IS FITTED WITH AN ELECTRICAL JUNCTION BOX WITH 3 WIRES, ONE OF WHICH (GREEN/YELLOW) SERVES TO GROUND THE APPLIANCE. TO PROTECT YOU AGAINST ELECTRIC SHOCK, THE GREEN AND YELLOW WIRE MUST BE CONNECTED TO THE GROUNDING WIRE IN YOUR
HOME ELECTRICAL SYSTEM, AND IT MUST UNDER NO CIRCUMSTANCES BE CUT OR REMOVED.
Failure to do so can result in death or electrical shock.
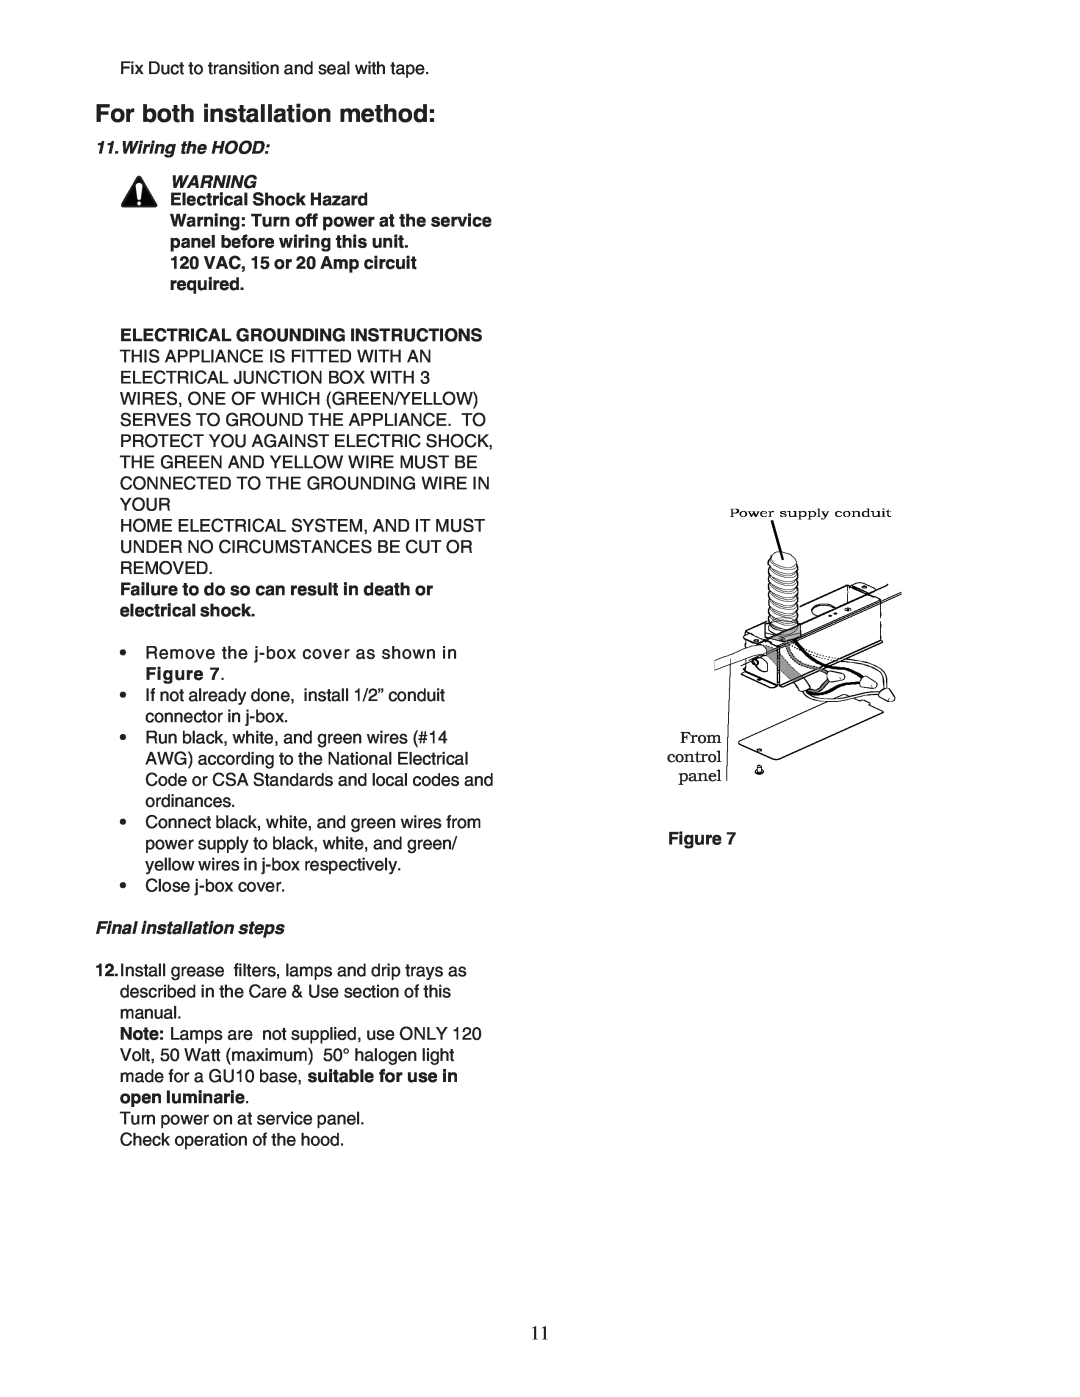
•Remove the
•If not already done, install 1/2” conduit connector in
•Run black, white, and green wires (#14 AWG) according to the National Electrical Code or CSA Standards and local codes and ordinances.
•Connect black, white, and green wires from power supply to black, white, and green/ yellow wires in
•Close
Final installation steps
12.Install grease filters, lamps and drip trays as described in the Care & Use section of this manual.
Note: Lamps are not supplied, use ONLY 120 Volt, 50 Watt (maximum) 50° halogen light made for a GU10 base, suitable for use in open luminarie.
Turn power on at service panel. Check operation of the hood.
From control panel
Figure 7
11