Topcom Babytalker 2500
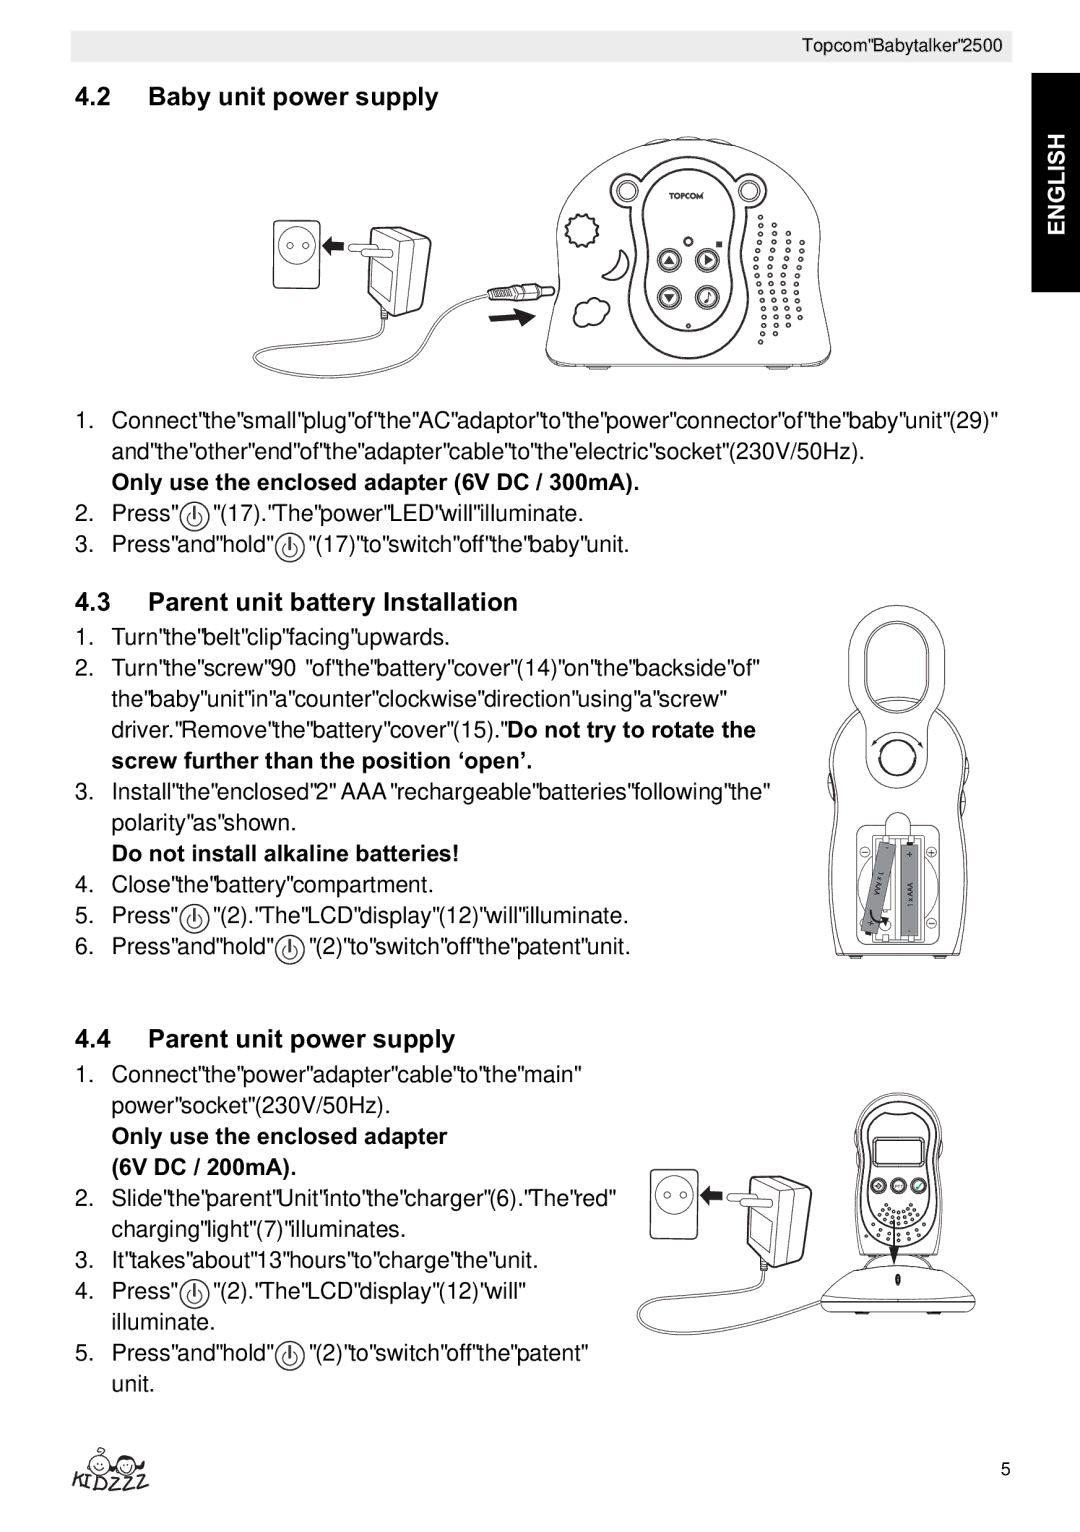
4.2Baby unit power supply
ENGLISH
1.Connect the small plug of the AC adaptor to the power connector of the baby unit (29) and the other end of the adapter cable to the electric socket (230V/50Hz).
Only use the enclosed adapter (6V DC / 300mA).
2. | Press |
| (17). The power LED will illuminate. | ||
| |||||
3. | Press and hold |
| (17) to switch off the baby unit. | ||
| |||||
| |||||
4.3Parent unit battery Installation
1.Turn the belt clip facing upwards.
2.Turn the screw 90° of the battery cover (14) on the backside of the baby unit in a counter clockwise direction using a screw driver. Remove the battery cover (15). Do not try to rotate the screw further than the position ‘open’.
3.Install the enclosed 2 ‘AAA’ rechargeable batteries following the
polarity as shown.
| Do not install alkaline batteries! | - | + | ||
|
|
|
| ||
4. | Close the battery compartment. |
|
| ||
5. | Press | (2). The LCD display (12) will illuminate. |
| - | |
6. | Press and hold | (2) to switch off the patent unit. |
|
| |
4.4Parent unit power supply
1.Connect the power adapter cable to the main power socket (230V/50Hz).
Only use the enclosed adapter (6V DC / 200mA).
2.Slide the parent Unit into the charger (6). The red charging light (7) illuminates.
3.It takes about 13 hours to charge the unit.
4.Press ![]() (2). The LCD display (12) will illuminate.
(2). The LCD display (12) will illuminate.
5.Press and hold ![]() (2) to switch off the patent unit.
(2) to switch off the patent unit.
PTT |
5