Satellite 2400 Series Disassembly Overview, cont.
" "
#
!
!
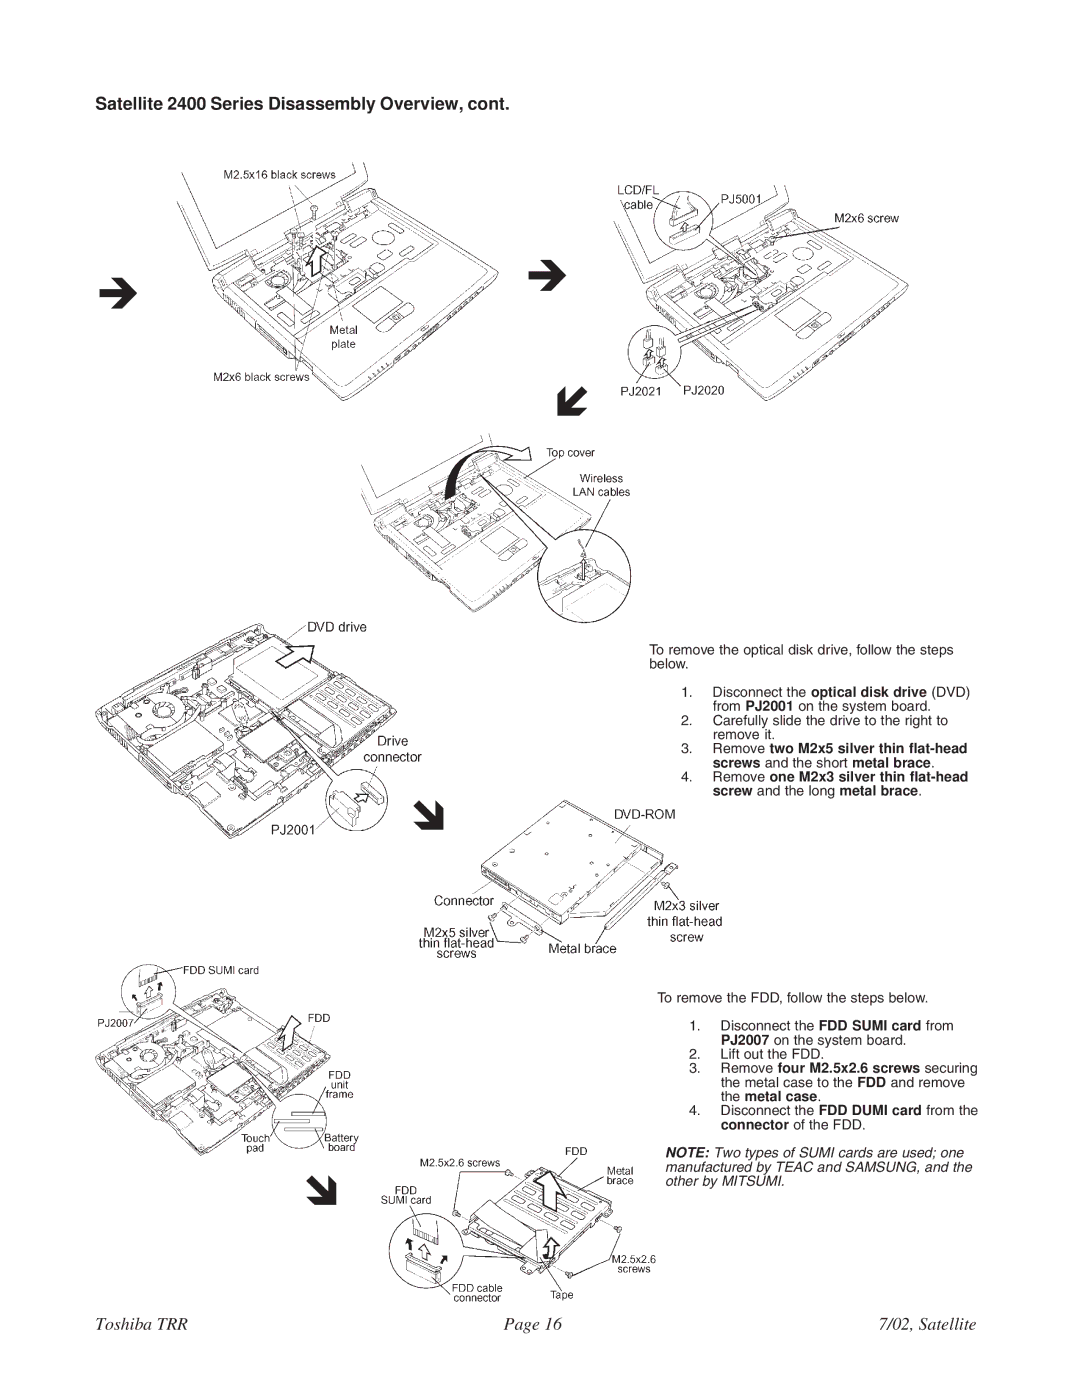
To remove the optical disk drive, follow the steps below.
1.Disconnect the optical disk drive (DVD) from PJ2001 on the system board.
2.Carefully slide the drive to the right to remove it.
3.Remove two M2x5 silver thin
4.Remove one M2x3 silver thin
To remove the FDD, follow the steps below.
1.Disconnect the FDD SUMI card from PJ2007 on the system board.
2.Lift out the FDD.
3.Remove four M2.5x2.6 screws securing the metal case to the FDD and remove the metal case.
4.Disconnect the FDD DUMI card from the connector of the FDD.
NOTE: Two types of SUMI cards are used; one manufactured by TEAC and SAMSUNG, and the other by MITSUMI.
Toshiba TRR | Page 16 | 7/02, Satellite |