Selecting the video input source
Press INPUT to view a signal from another device connected to your TV, such as a VCR or DVD player. You can select ANT, VIDEO 1, VIDEO 2, ColorStream HD, HDMI or PC depend- ing on which input jacks you used to connect your devices (see “Connecting your TV” on page 9).
SOURCE SELECTION
0 . ANT
1 . VIDEO1
2 . VIDEO2
3 . ColorStream HD
4 . HDMI
5 . PC
[0 - 5] : SELECT
Pressing INPUT on the remote control displays the current signal source (press INPUT again or
Please note the following regarding the HDMI source selection:
The HDMI IN jack is not intended for connection to and should not be used with a PC (personal computer). See “Connecting an HDMI or a DVI device to the HDMI input” on page 15 and “Connecting a PC” on page 16 for
You also can use the Channel 3 / 4 buttons to select the video input source. In addition to cycling through your programmed channels (page 23), the Channel 3 / 4 buttons will also cycle through the video input sources, in the order illustrated below.
ANT (programmed channel) | VIDEO1 | VIDEO2 | |
PC | HDMI | ColorStream HD | |
Labeling the video input sources
The video label feature allows you to label each input source for your TV from the following preset list of labels:
–: Uses the default label name VCR : Video cassette recorder DVD : DVD video
DTV : Digital TV
SAT : Satellite box
CBL : Cable box
details.
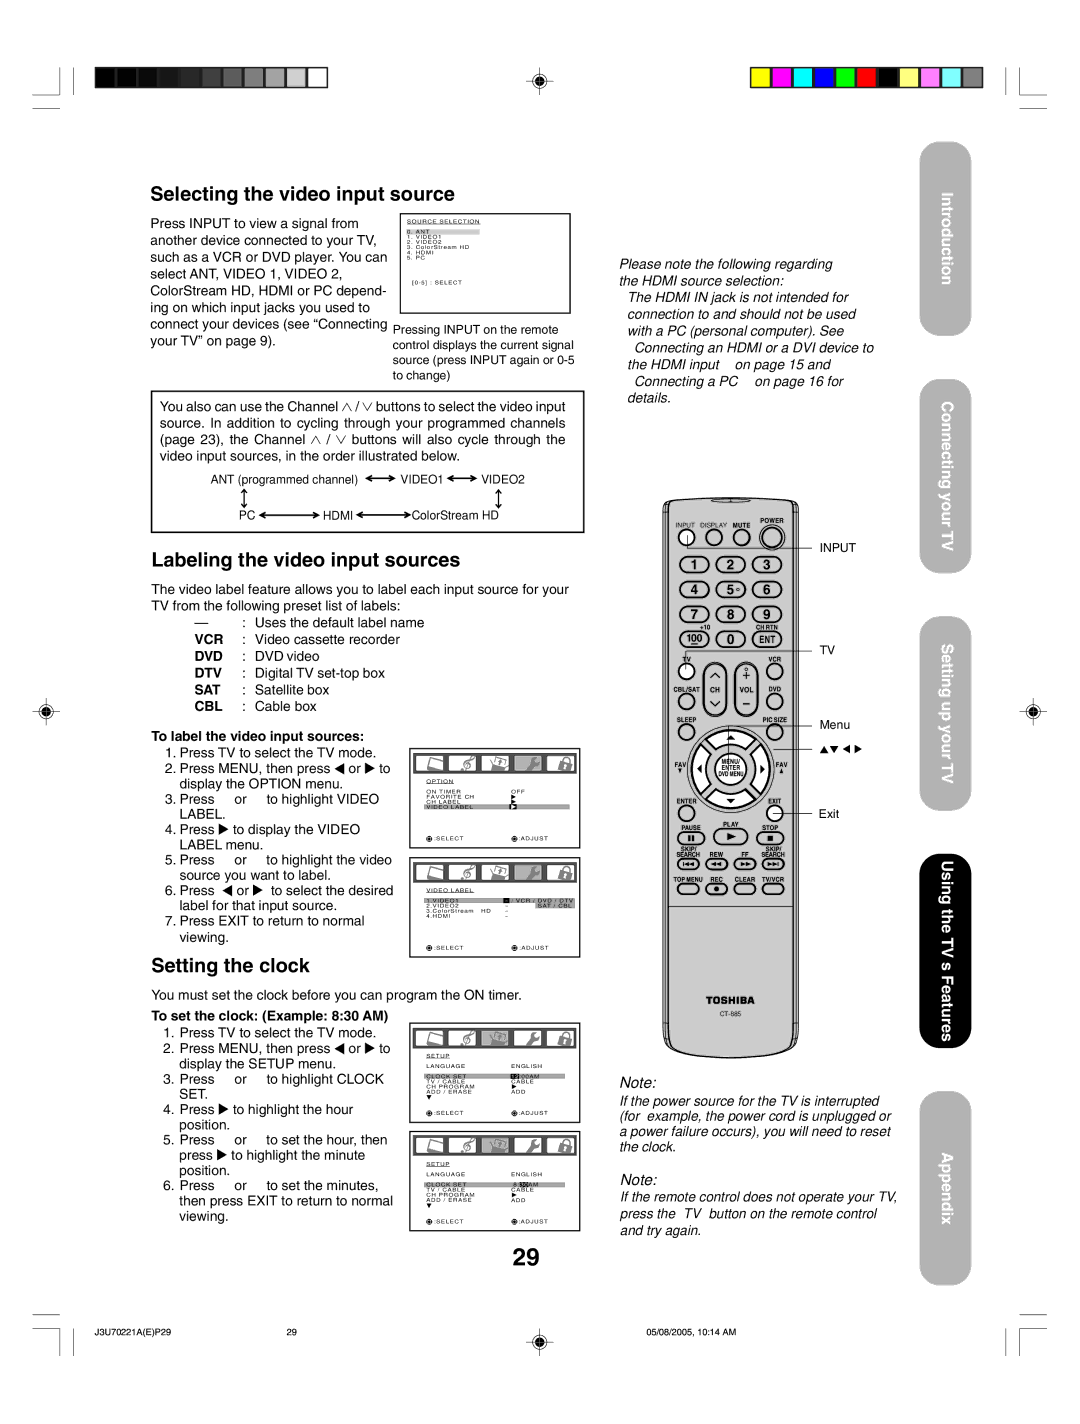
INPUT DISPLAY
INPUT
TV
Menu
To label the video input sources:
1.Press TV to select the TV mode.
2.Press MENU, then press ![]() or
or ![]() to display the OPTION menu.
to display the OPTION menu.
3.Press ▲ or ▼ to highlight VIDEO LABEL.
4.Press ![]() to display the VIDEO LABEL menu.
to display the VIDEO LABEL menu.
5.Press ▲ or ▼ to highlight the video source you want to label.
6.Press ![]() or
or ![]() to select the desired label for that input source.
to select the desired label for that input source.
7.Press EXIT to return to normal viewing.
Setting the clock
OPTION |
|
ON TIMER | OFF / OFF / SET |
FAVORITE CH |
|
CH LABEL |
|
VIDEO LABEL |
|
:SELECT | :ADJUST |
VIDEO LABEL |
|
|
| |
1 | . VIDEO1 |
| ||
2 | . VIDEO2 |
| - | SAT / CBL |
3 | . ColorStream | HD | - |
|
4 | . HDMI |
| - |
|
| :SELECT |
|
| :ADJUST |
Exit
Introduction
Connecting your TV
Setting up your TV
Using the TV’s
You must set the clock before you can program the ON timer.
To set the clock: (Example: 8:30 AM)
1.Press TV to select the TV mode.
2.Press MENU, then press ![]() or
or ![]() to display the SETUP menu.
to display the SETUP menu.
3.Press ▲ or ▼ to highlight CLOCK SET.
4.Press ![]() to highlight the hour position.
to highlight the hour position.
5.Press ▲ or ▼ to set the hour, then press ![]() to highlight the minute position.
to highlight the minute position.
6.Press ▲ or ▼ to set the minutes, then press EXIT to return to normal viewing.
SETUP |
|
LANGUAGE | ENGLISH |
CLOCK SET | 12 :00AM |
TV / CABLE | CABLE |
CH PROGRAM |
|
ADD / ERASE | ADD |
:SELECT | :ADJUST |
SETUP |
|
LANGUAGE | ENGLISH |
CLOCK SET | 8: 30 AM |
TV / CABLE | CABLE |
CH PROGRAM |
|
ADD / ERASE | ADD |
:SELECT | :ADJUST |
| 29 |
Note:
If the power source for the TV is interrupted (for example, the power cord is unplugged or a power failure occurs), you will need to reset the clock.
Note:
If the remote control does not operate your TV, press the “TV” button on the remote control and try again.
Features
Appendix
J3U70221A(E)P29 | 29 | 05/08/2005, 10:14 AM |