
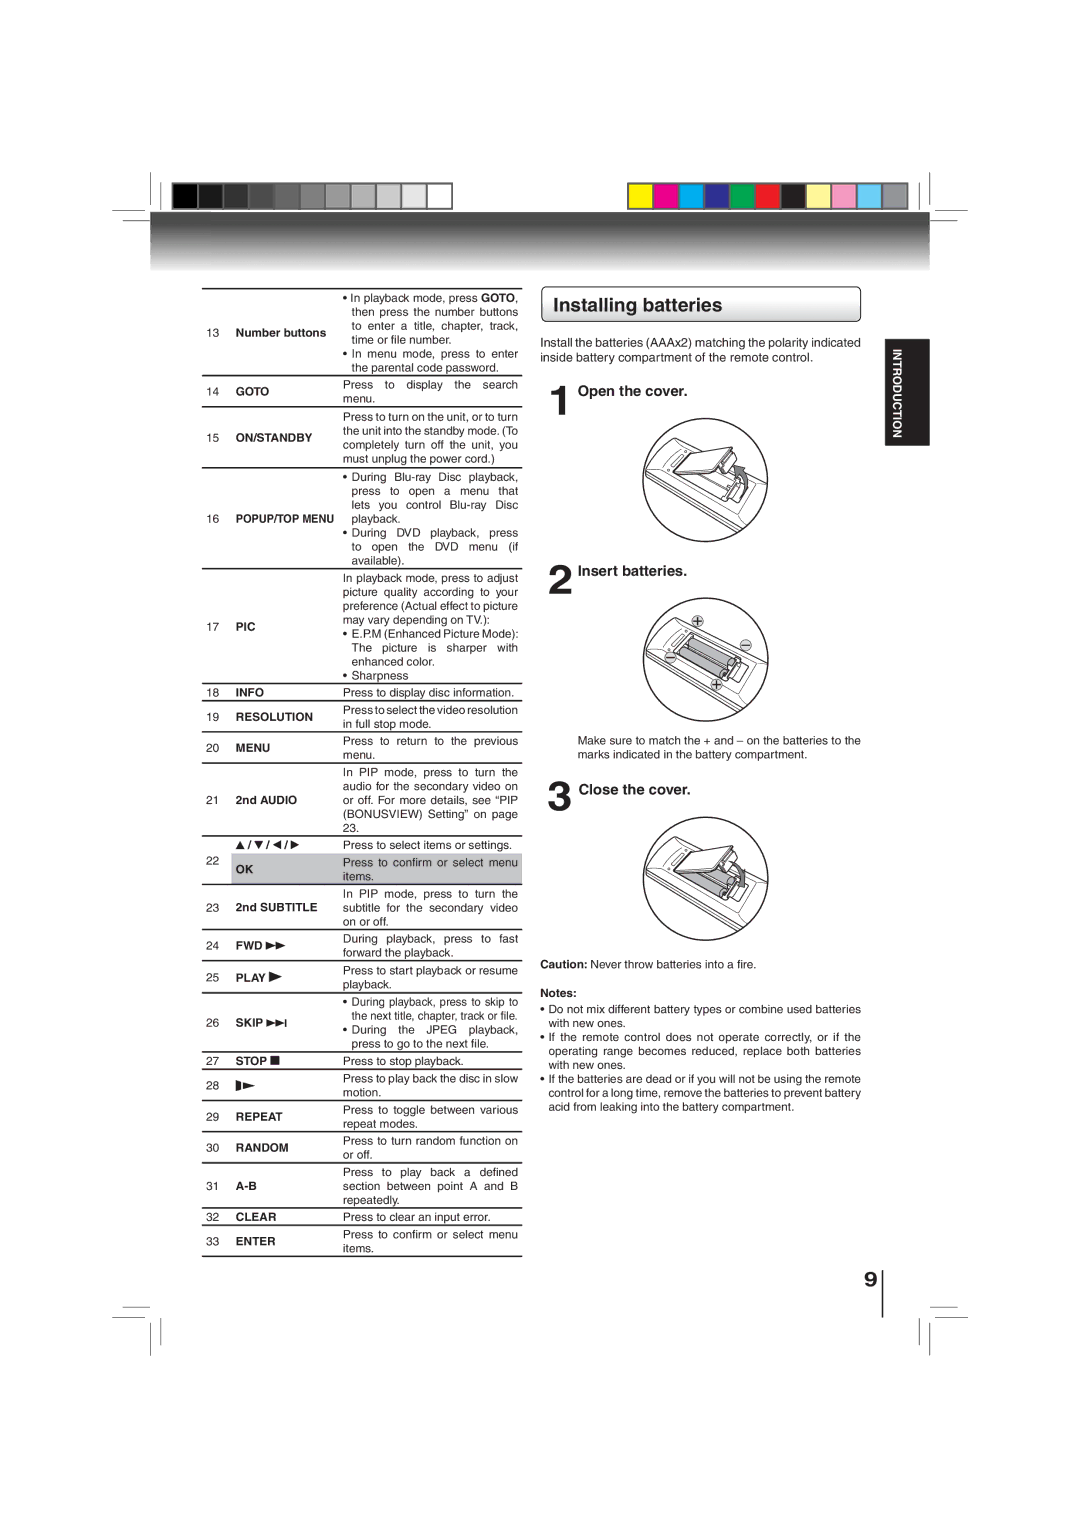
BDX3000KU specifications
The Toshiba BDX3000KU is a versatile Blu-ray Disc player that combines quality performance with a host of innovative features, making it a popular choice among home entertainment enthusiasts. Designed to deliver stunning video and audio quality, this model supports full high-definition playback, providing an immersive cinematic experience right in the comfort of your home.One of the key highlights of the BDX3000KU is its support for Blu-ray 3D playback. This feature allows users to enjoy an enhanced viewing experience by offering three-dimensional films that add depth and realism to the action on screen. Coupled with its ability to upscale standard DVDs to near HD quality, the BDX3000KU ensures that even older media can be enjoyed in an improved format.
In terms of audio performance, the player is equipped with advanced audio technologies that provide rich sound quality. The BDX3000KU supports various audio formats, including Dolby TrueHD and DTS-HD Master Audio, ensuring that users can experience their favorite movies and music with clarity and precision.
Connectivity is another strong suit of the BDX3000KU. The player features built-in Wi-Fi, allowing for easy access to streaming services such as Netflix, YouTube, and Pandora. This integration not only makes it convenient for users to access their favorite online content but also offers the opportunity to browse and enjoy a wide array of movies, shows, and music without the need for additional devices.
The BDX3000KU also includes USB and HDMI outputs, enhancing its compatibility with various devices such as TVs and sound systems. The USB port allows users to connect external drives to play a range of media files including music and photos, adding to the multimedia capabilities of the player.
The user interface of the Toshiba BDX3000KU is designed to be intuitive and easy to navigate, making it simple for users to find their favorite content. Additionally, the player supports a range of disc formats, including Blu-ray, DVDs, and CDs, making it a versatile addition to any home entertainment setup.
Overall, the Toshiba BDX3000KU stands out due to its combination of high-quality video and audio performance, extensive connectivity options, and user-friendly design. With the growing demand for multimedia consumption, this Blu-ray player proves to be a reliable option for anyone looking to enhance their viewing experience.