Customizing the Function Settings
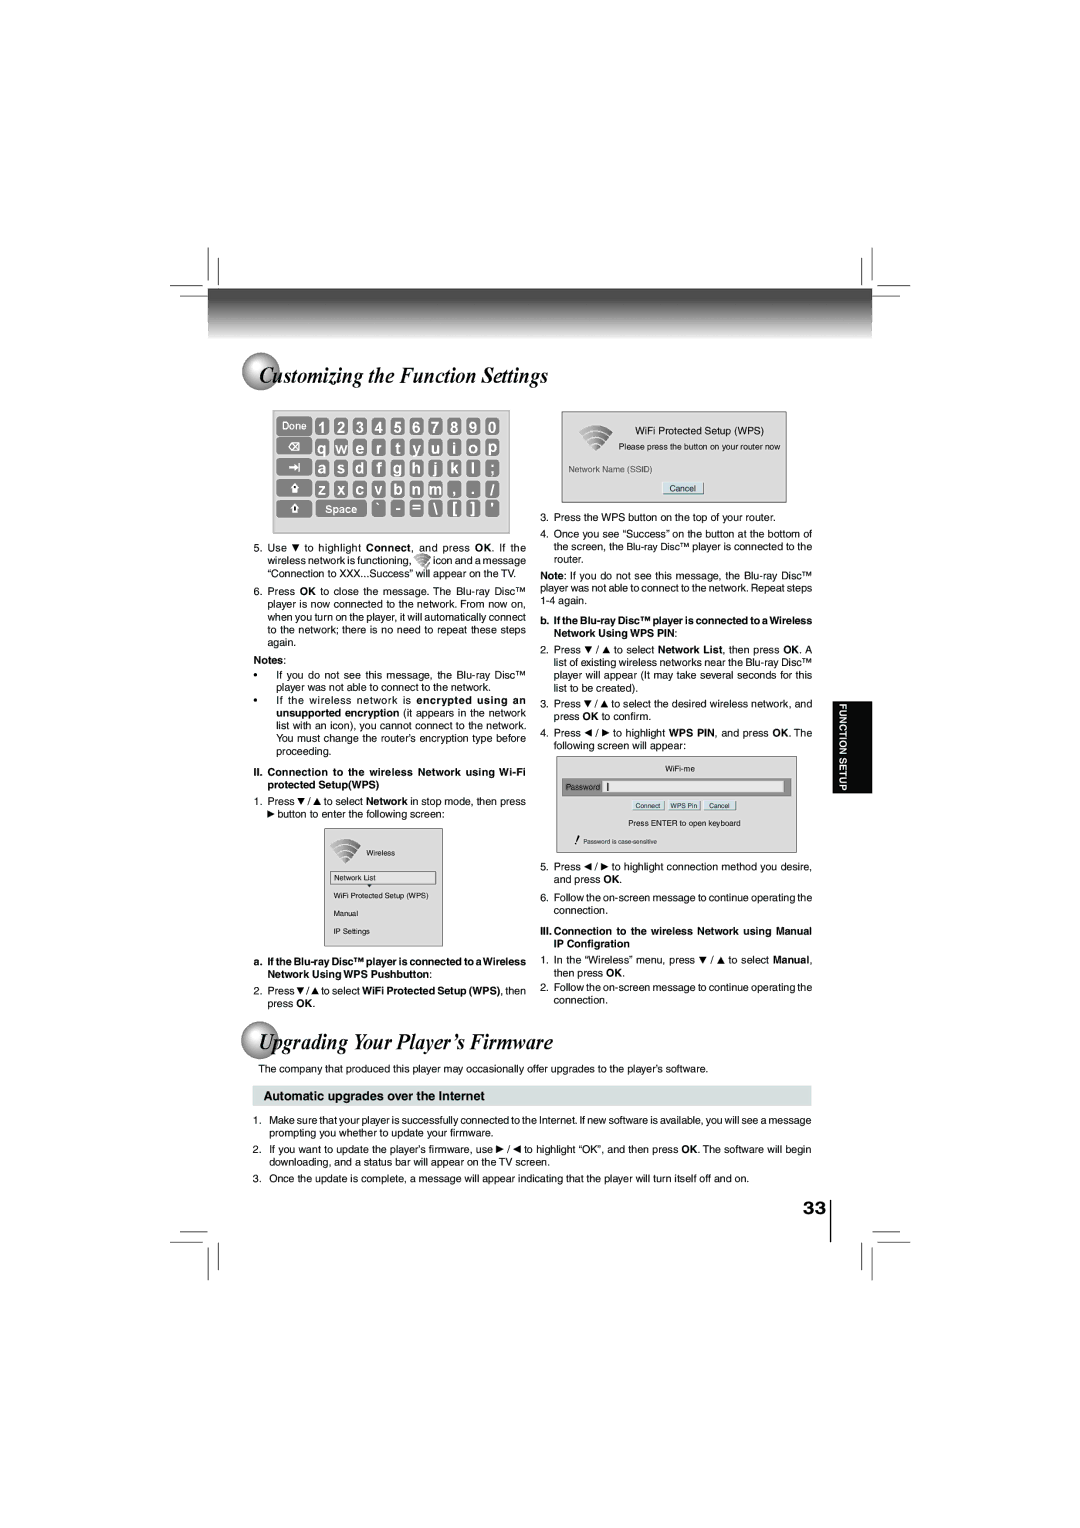
Done 1 2 3 4 5 6 7 8 9 0 ![]() q w e r t y u i o p
q w e r t y u i o p ![]() a s d f g h j k l ;
a s d f g h j k l ;
![]() z x c v b n m , . /
z x c v b n m , . / ![]() Space ` - = \ [ ] '
Space ` - = \ [ ] '
5.Use ![]() to highlight Connect, and press OK. If the
to highlight Connect, and press OK. If the
wireless network is functioning, ![]() icon and a message “Connection to XXX...Success” will appear on the TV.
icon and a message “Connection to XXX...Success” will appear on the TV.
6.Press OK to close the message. The
Notes:
•If you do not see this message, the
•If the wireless network is encrypted using an unsupported encryption (it appears in the network list with an icon), you cannot connect to the network. You must change the router’s encryption type before proceeding.
II.Connection to the wireless Network using
1.Press ![]() /
/ ![]() to select Network in stop mode, then press
to select Network in stop mode, then press ![]() button to enter the following screen:
button to enter the following screen:
Wireless |
Network List |
WiFi Protected Setup (WPS) |
Manual |
IP Settings |
a.If the
2.Press ![]() /
/ ![]() to select WiFi Protected Setup (WPS), then press OK.
to select WiFi Protected Setup (WPS), then press OK.
WiFi Protected Setup (WPS)
Please press the button on your router now
Network Name (SSID)
Cancel
3.Press the WPS button on the top of your router.
4.Once you see “Success” on the button at the bottom of the screen, the
Note: If you do not see this message, the
b.If the
2.Press ![]() /
/ ![]() to select Network List, then press OK. A list of existing wireless networks near the
to select Network List, then press OK. A list of existing wireless networks near the
3.Press ![]() /
/ ![]() to select the desired wireless network, and press OK to confirm.
to select the desired wireless network, and press OK to confirm.
4.Press ![]() /
/ ![]() to highlight WPS PIN, and press OK. The following screen will appear:
to highlight WPS PIN, and press OK. The following screen will appear:
Password
Connect WPS Pin Cancel
Press ENTER to open keyboard
Password is
5.Press ![]() /
/ ![]() to highlight connection method you desire, and press OK.
to highlight connection method you desire, and press OK.
6.Follow the
III.Connection to the wireless Network using Manual IP Configration
1.In the “Wireless” menu, press ![]() /
/ ![]() to select Manual, then press OK.
to select Manual, then press OK.
2.Follow the
FUNCTION SETUP
 Upgrading Your Player’s Firmware
The company that produced this player may occasionally offer upgrades to the player’s software.
Automatic upgrades over the Internet
1.Make sure that your player is successfully connected to the Internet. If new software is available, you will see a message prompting you whether to update your firmware.
2. If you want to update the player’s firmware, use / to highlight “OK”, and then press OK. The software will begin downloading, and a status bar will appear on the TV screen.
3. Once the update is complete, a message will appear indicating that the player will turn itself off and on.
33