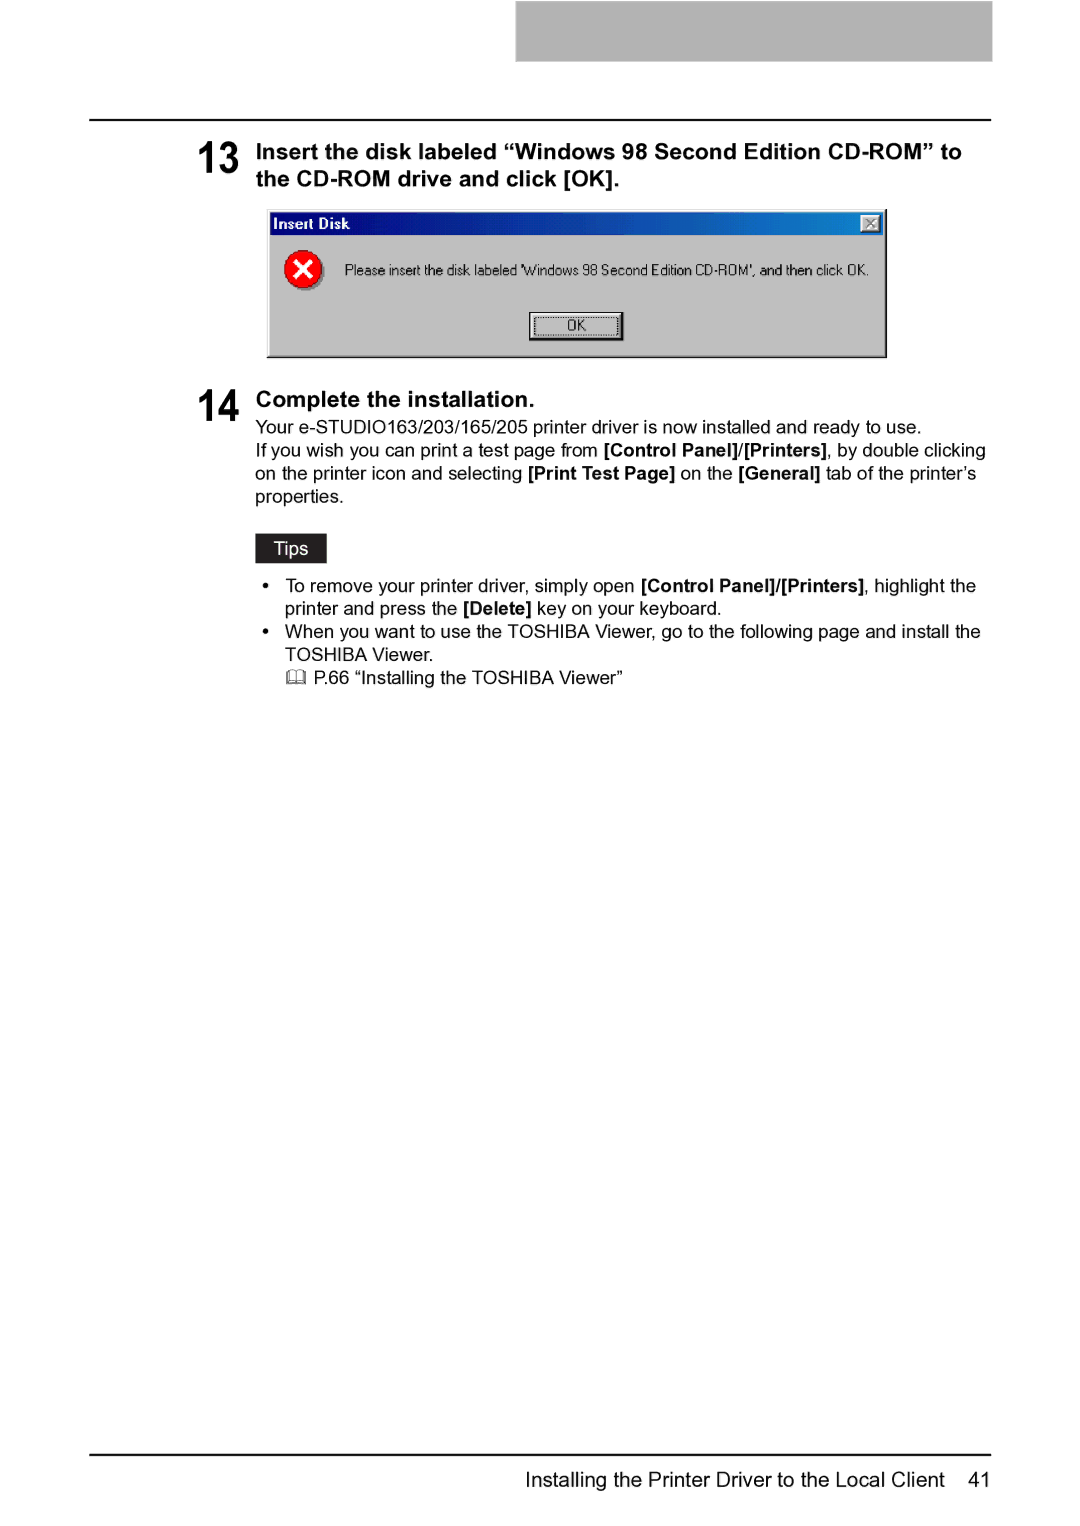
13 Insert the disk labeled “Windows 98 Second Edition
14 Complete the installation.
Your
If you wish you can print a test page from [Control Panel]/[Printers], by double clicking on the printer icon and selecting [Print Test Page] on the [General] tab of the printer’s properties.
yTo remove your printer driver, simply open [Control Panel]/[Printers], highlight the printer and press the [Delete] key on your keyboard.
yWhen you want to use the TOSHIBA Viewer, go to the following page and install the TOSHIBA Viewer.
P.66 “Installing the TOSHIBA Viewer”
