3 Installing the Switch
3.If installing a single switch only, go to “Connecting to a Power Source” at the end of this chapter.
4.If installing multiple switches, attach four adhesive feet to each one. Place each device squarely on top of the one below, in any order.
5.If also installing an RPS, place it close to the stack.
Installing an Optional SFP Transceiver
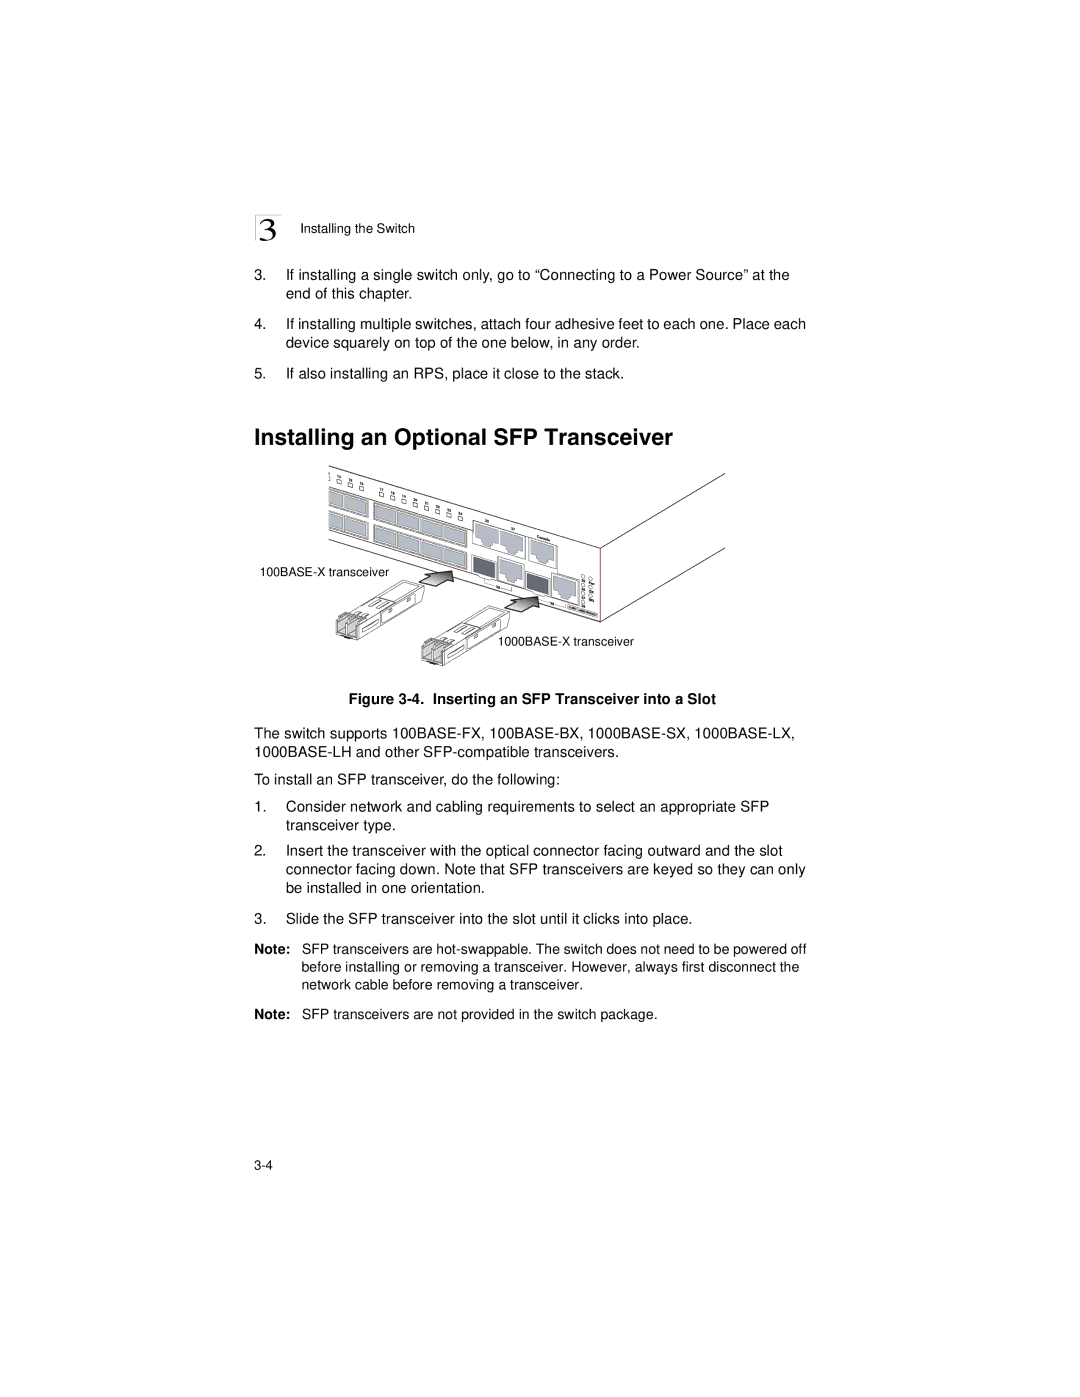
Figure 3-4. Inserting an SFP Transceiver into a Slot
The switch supports
To install an SFP transceiver, do the following:
1.Consider network and cabling requirements to select an appropriate SFP transceiver type.
2.Insert the transceiver with the optical connector facing outward and the slot connector facing down. Note that SFP transceivers are keyed so they can only be installed in one orientation.
3.Slide the SFP transceiver into the slot until it clicks into place.
Note: SFP transceivers are
Note: SFP transceivers are not provided in the switch package.