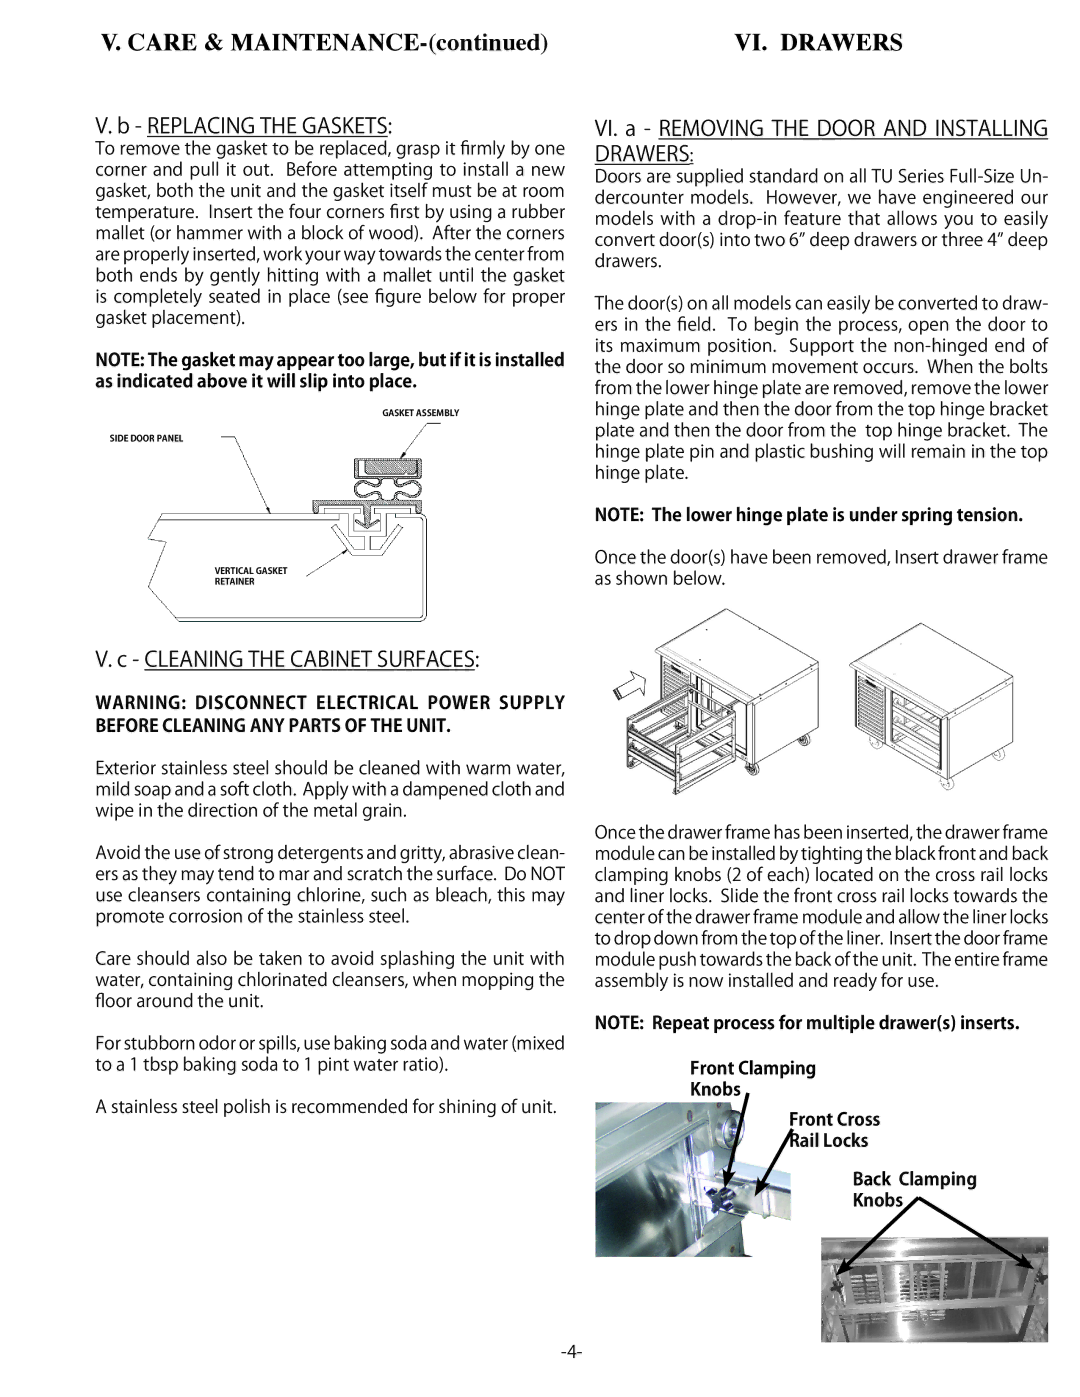
TU044HT, TU072LT, TU100HT, TU072HT, TU044LT specifications
Traulsen, a leader in commercial refrigeration, offers a range of innovative products designed to meet the needs of food service operators. Among these, the TU044LT, TU072HT, TU100HT, TU072LT, and TU044HT models stand out for their efficiency, reliability, and advanced features.The TU044LT is a low-temperature undercounter freezer that delivers exceptional performance in compact spaces. With a capacity of 44 cubic feet, it is ideal for restaurants with limited storage. Its energy-efficient design ensures lower operational costs, while the stainless steel exterior offers durability and easy cleaning. Equipped with advanced digital controls, this freezer maintains consistent temperatures, ensuring your ingredients remain fresh and safe.
Next in line is the TU072HT, a high-temperature unit designed for maximum efficiency. It provides ample storage with a capacity of 72 cubic feet and features a robust refrigeration system that operates quietly. The TU072HT is perfect for storing bulk ingredients, thanks to its adjustable shelving, which offers flexibility for users. Additionally, its self-closing doors enhance energy efficiency and help maintain the optimal internal temperature.
The TU100HT model takes this a step further with an even larger capacity of 100 cubic feet, making it ideal for high-volume establishments. Its advanced insulation technology ensures minimal energy consumption while maintaining superior temperature control. The TU100HT also comes equipped with a digital temperature display, allowing users to monitor and adjust settings easily. The heavy-duty construction ensures longevity, even in the busiest kitchens.
For those seeking a combination of features, the TU072LT provides both low-temperature and ample storage space. This model combines the technological advancements of Traulsen with a practical design, offering a significant 72 cubic feet of storage. Its eco-friendly refrigerant reduces environmental impact while ensuring maximum efficiency.
Lastly, the TU044HT model is a high-temperature reach-in unit with a compact design that does not compromise on capacity. This freezer is engineered to provide reliable performance with a focus on energy efficiency. The adjustable shelving and LED lighting improve visibility and accessibility, making it a practical choice for busy restaurants.
In summary, the Traulsen TU044LT, TU072HT, TU100HT, TU072LT, and TU044HT models exemplify quality and innovation in commercial refrigeration. With their varied capacities and cutting-edge technologies, these units are designed to enhance operational efficiency, reduce energy costs, and maintain the integrity of food products in any food service operation.

