 Control Buttons
-Setup Wizard: Click this button to setup the configuration
-Update Firmware: Click this button to update the firmware of the selected print server.
-Factory Reset: Click this button to reload the factory settings of the print server.
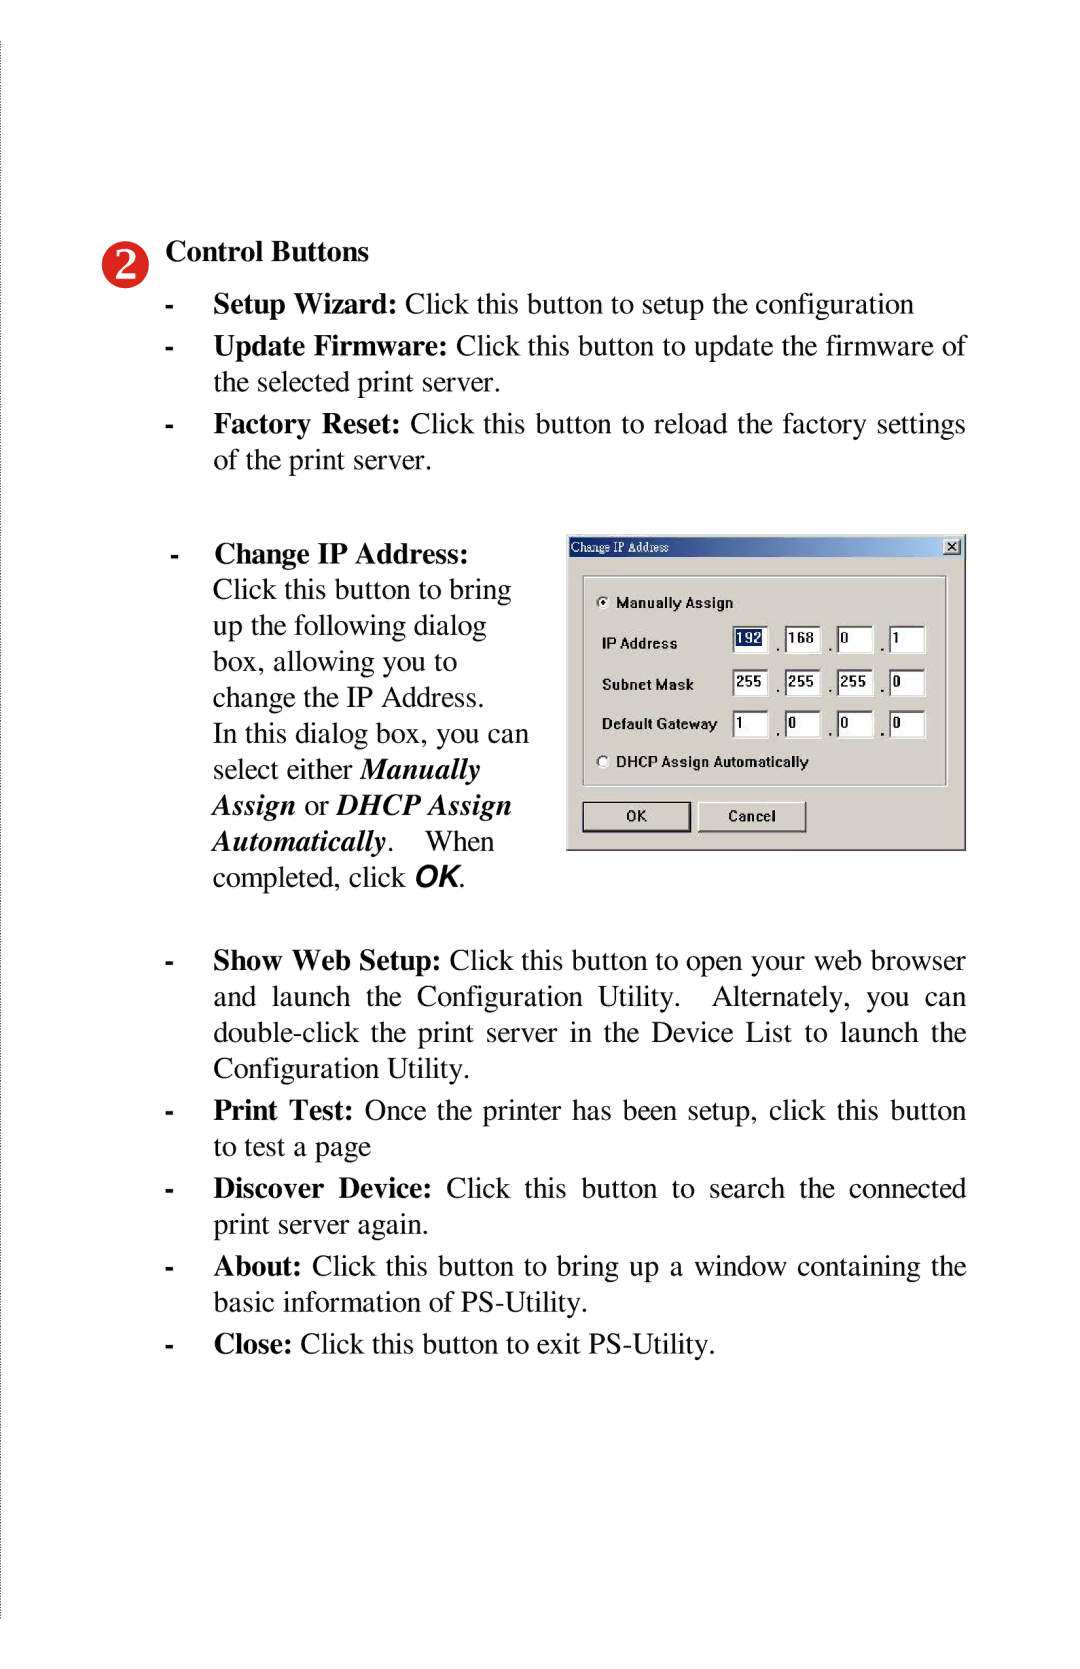
-Change IP Address: Click this button to bring up the following dialog box, allowing you to change the IP Address.
In this dialog box, you can select either Manually Assign or DHCP Assign Automatically. When completed, click OK.
-Show Web Setup: Click this button to open your web browser and launch the Configuration Utility. Alternately, you can
-Print Test: Once the printer has been setup, click this button to test a page
-Discover Device: Click this button to search the connected print server again.
-About: Click this button to bring up a window containing the basic information of
-Close: Click this button to exit
