Once the configuration is completed, click “Home” to return to the Welcome screen and select the desired Viewing Image either through ActiveX Mode or Java Mode as described in the next section.
Then, position the Internet Camera to the desired location appropriately for your purpose. Followed by adjustment of the Internet Camera focus, done manually by turning the lens clockwise or
View Image – ActiveX Mode
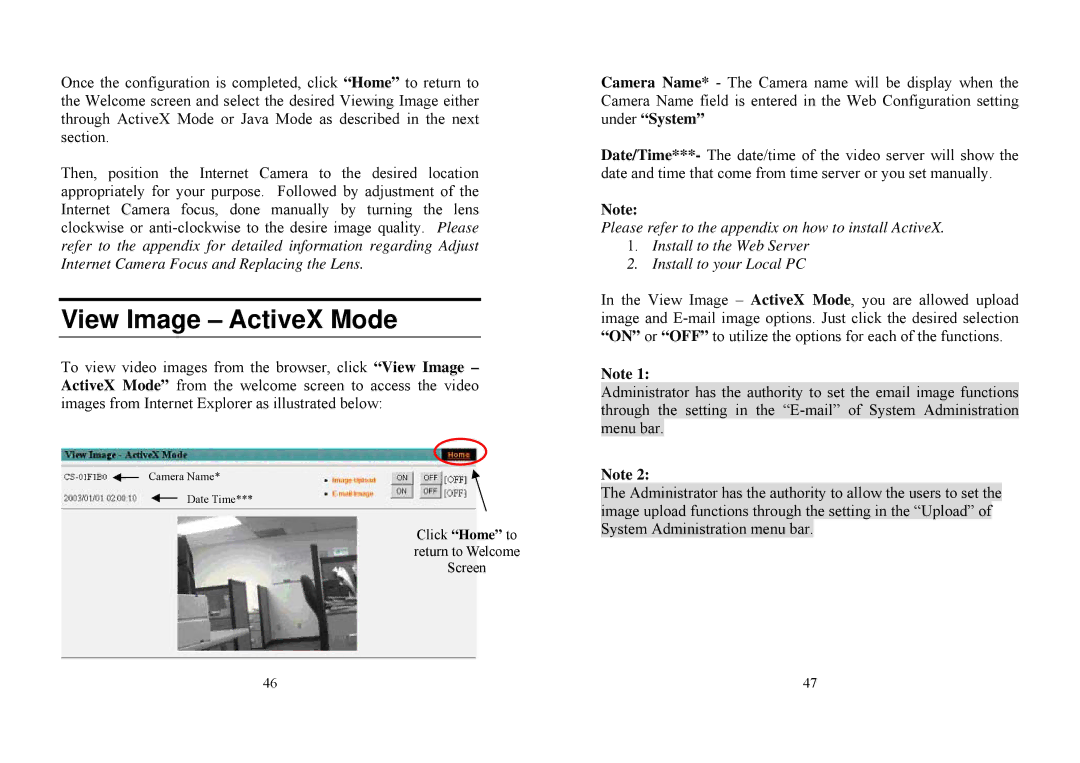
To view video images from the browser, click “View Image – ActiveX Mode” from the welcome screen to access the video images from Internet Explorer as illustrated below:
Camera Name*
Date Time***
Click “Home” to return to Welcome Screen
Camera Name* - The Camera name will be display when the Camera Name field is entered in the Web Configuration setting under “System”
Date/Time***- The date/time of the video server will show the date and time that come from time server or you set manually.
Note:
Please refer to the appendix on how to install ActiveX.
1.Install to the Web Server
2.Install to your Local PC
In the View Image – ActiveX Mode, you are allowed upload image and
Note 1:
Administrator has the authority to set the email image functions through the setting in the
Note 2:
The Administrator has the authority to allow the users to set the image upload functions through the setting in the “Upload” of System Administration menu bar.
46 | 47 |