Connection /
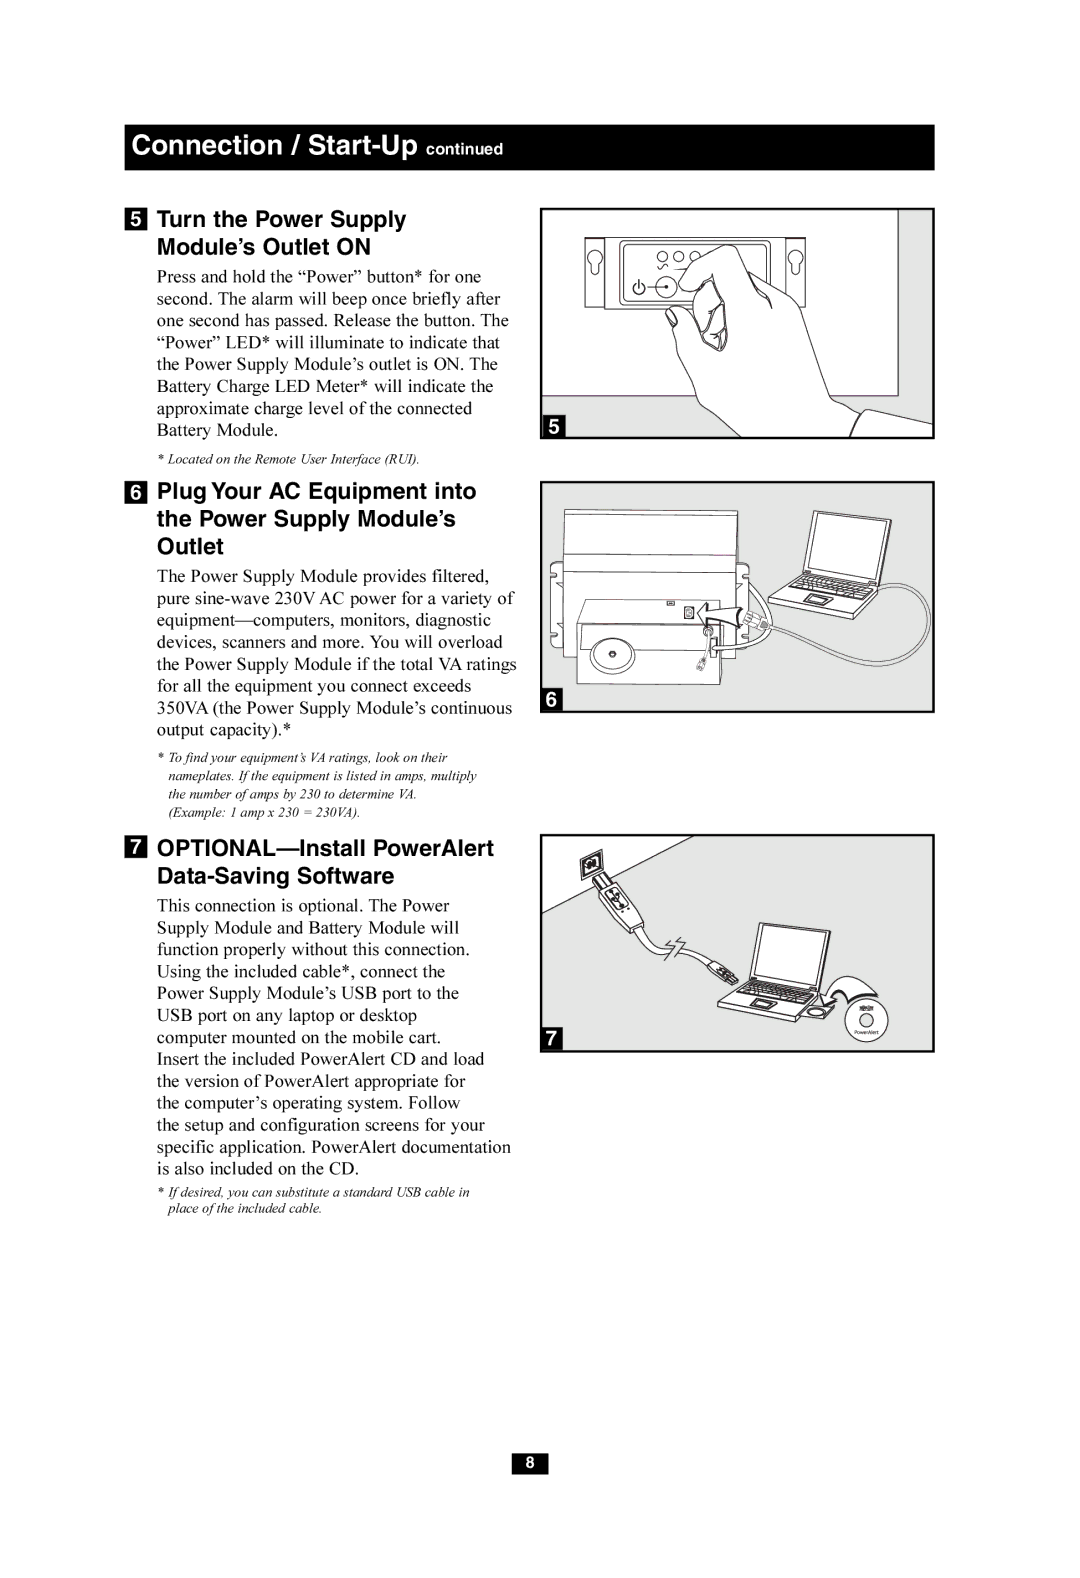
5Turn the Power Supply Module’s Outlet ON
Press and hold the “Power” button* for one second. The alarm will beep once briefly after one second has passed. Release the button. The “Power” LED* will illuminate to indicate that the Power Supply Module’s outlet is ON. The Battery Charge LED Meter* will indicate the approximate charge level of the connected Battery Module.
* Located on the Remote User Interface (RUI).
5 |
6 Plug Your AC Equipment into |
| |
the Power Supply Module’s |
| |
Outlet |
| |
The Power Supply Module provides filtered, |
| |
pure |
| |
| ||
devices, scanners and more. You will overload |
| |
the Power Supply Module if the total VA ratings |
| |
for all the equipment you connect exceeds | 6 | |
350VA (the Power Supply Module’s continuous | ||
| ||
output capacity).* |
|
*To find your equipment’s VA ratings, look on their nameplates. If the equipment is listed in amps, multiply the number of amps by 230 to determine VA. (Example: 1 amp x 230 = 230VA).
7 |
|
|
|
|
|
| This connection is optional. The Power |
|
| Supply Module and Battery Module will |
|
| function properly without this connection. |
|
| Using the included cable*, connect the |
|
| Power Supply Module’s USB port to the |
|
| USB port on any laptop or desktop |
|
| computer mounted on the mobile cart. | 7 |
| Insert the included PowerAlert CD and load |
|
| the version of PowerAlert appropriate for |
|
| the computer’s operating system. Follow |
|
| the setup and configuration screens for your |
|
| specific application. PowerAlert documentation |
|
| is also included on the CD. |
|
*If desired, you can substitute a standard USB cable in place of the included cable.
8