Section 2: Assembly
DANGER
Batteries produce explosive gases!
• Keep sparks, flame and cigarettes |
away. |
• Ventilate area when charging or using |
battery in an enclosed space. |
• Make sure venting path of battery is |
always open once battery is filled with |
acid. |
• Follow safety rules and instructions |
supplied by manufacturers of battery |
and charger unit. |
• During charging, do not leave battery |
unattended. Charging time need not |
DANGER
•Do not touch positive (+) battery terminal and any surrounding metal with tools, jewelry or other metal objects. Failure to comply could cause a short circuit that could cause electri- cal burns or an explosion of battery gases.
•Incorrect installation of the battery can result in electrical system damage. Follow installation instruc- tions carefully to avoid damage.
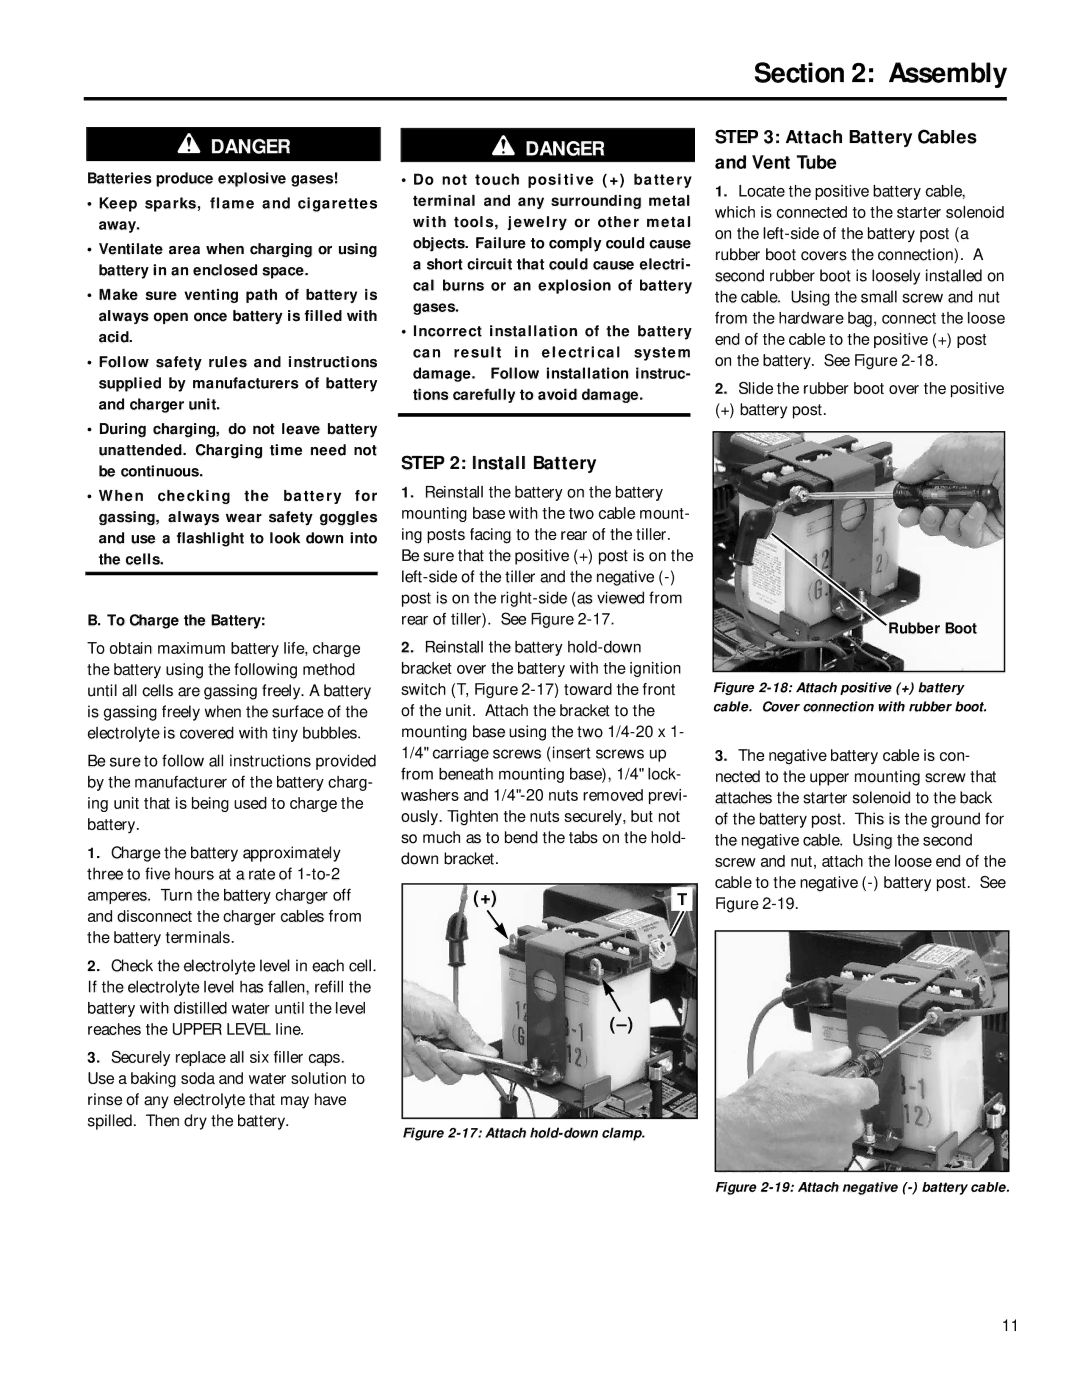
STEP 3: Attach Battery Cables and Vent Tube
1.Locate the positive battery cable, which is connected to the starter solenoid on the
2.Slide the rubber boot over the positive
(+) battery post.
be continuous. |
• When checking the battery for |
gassing, always wear safety goggles |
and use a flashlight to look down into |
the cells. |
B. To Charge the Battery: |
To obtain maximum battery life, charge the battery using the following method until all cells are gassing freely. A battery is gassing freely when the surface of the electrolyte is covered with tiny bubbles.
Be sure to follow all instructions provided by the manufacturer of the battery charg- ing unit that is being used to charge the battery.
1. Charge the battery approximately |
three to five hours at a rate of |
amperes. Turn the battery charger off |
and disconnect the charger cables from |
the battery terminals. |
2. Check the electrolyte level in each cell. |
If the electrolyte level has fallen, refill the |
battery with distilled water until the level |
reaches the UPPER LEVEL line. |
3. Securely replace all six filler caps. |
Use a baking soda and water solution to |
rinse of any electrolyte that may have |
spilled. Then dry the battery. |
STEP 2: Install Battery
1.Reinstall the battery on the battery mounting base with the two cable mount- ing posts facing to the rear of the tiller. Be sure that the positive (+) post is on the
2.Reinstall the battery
(+)T
Rubber Boot
Figure 2-18: Attach positive (+) battery cable. Cover connection with rubber boot.
3.The negative battery cable is con- nected to the upper mounting screw that attaches the starter solenoid to the back of the battery post. This is the ground for the negative cable. Using the second screw and nut, attach the loose end of the cable to the negative
Figure 2-17: Attach hold-down clamp.
Figure 2-19: Attach negative (-) battery cable.
11