NOTE: When installing the bell washer the concave (or cupped) side of the washer must be installed facing the in towards the chute.
Figure
5.Install the chute in the auger housing with the handle facing towards the rear of the snow thrower. See Figure
Side View
Figure
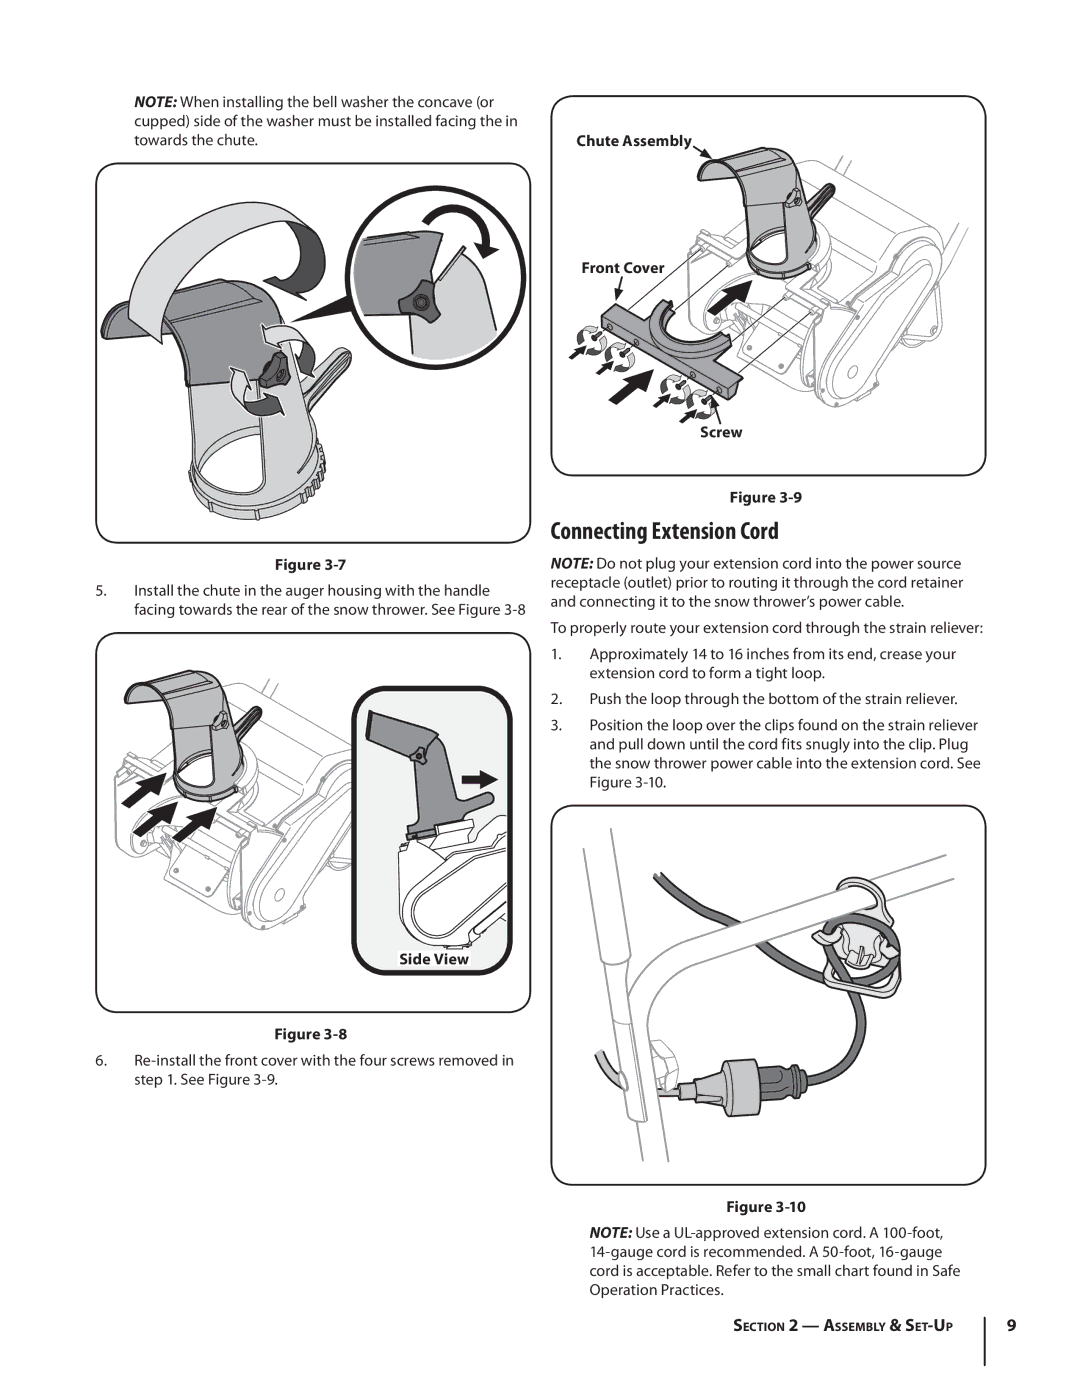
6.
Chute Assembly
Front Cover
Screw
Figure
Connecting Extension Cord
NOTE: Do not plug your extension cord into the power source receptacle (outlet) prior to routing it through the cord retainer and connecting it to the snow thrower’s power cable.
To properly route your extension cord through the strain reliever:
1.Approximately 14 to 16 inches from its end, crease your extension cord to form a tight loop.
2.Push the loop through the bottom of the strain reliever.
3.Position the loop over the clips found on the strain reliever and pull down until the cord fits snugly into the clip. Plug the snow thrower power cable into the extension cord. See
Figure
Figure
NOTE: Use a
Section 2 — Assembly &
9