user manual
NuQ series
Wall Mounting
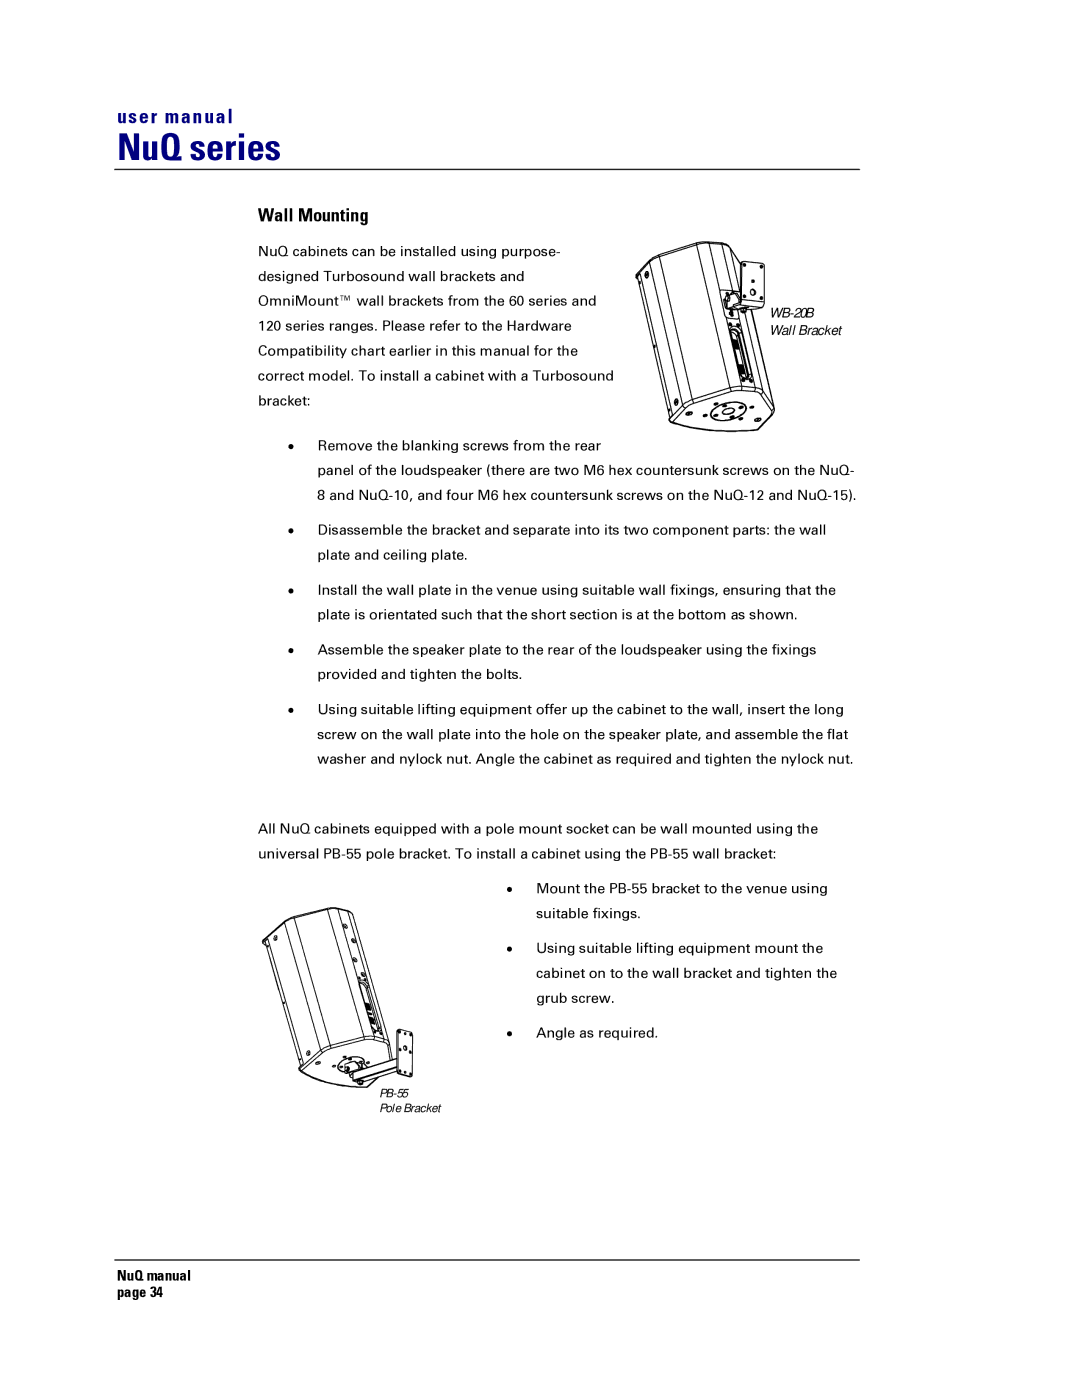
NuQ cabinets can be installed using purpose- designed Turbosound wall brackets and OmniMount™ wall brackets from the 60 series and 120 series ranges. Please refer to the Hardware Compatibility chart earlier in this manual for the correct model. To install a cabinet with a Turbosound bracket:
•Remove the blanking screws from the rear
panel of the loudspeaker (there are two M6 hex countersunk screws on the NuQ- 8 and
•Disassemble the bracket and separate into its two component parts: the wall plate and ceiling plate.
•Install the wall plate in the venue using suitable wall fixings, ensuring that the plate is orientated such that the short section is at the bottom as shown.
•Assemble the speaker plate to the rear of the loudspeaker using the fixings provided and tighten the bolts.
•Using suitable lifting equipment offer up the cabinet to the wall, insert the long screw on the wall plate into the hole on the speaker plate, and assemble the flat washer and nylock nut. Angle the cabinet as required and tighten the nylock nut.
All NuQ cabinets equipped with a pole mount socket can be wall mounted using the universal
• Mount the
• Using suitable lifting equipment mount the cabinet on to the wall bracket and tighten the grub screw.
• Angle as required.
Pole Bracket
NuQ manual page 34