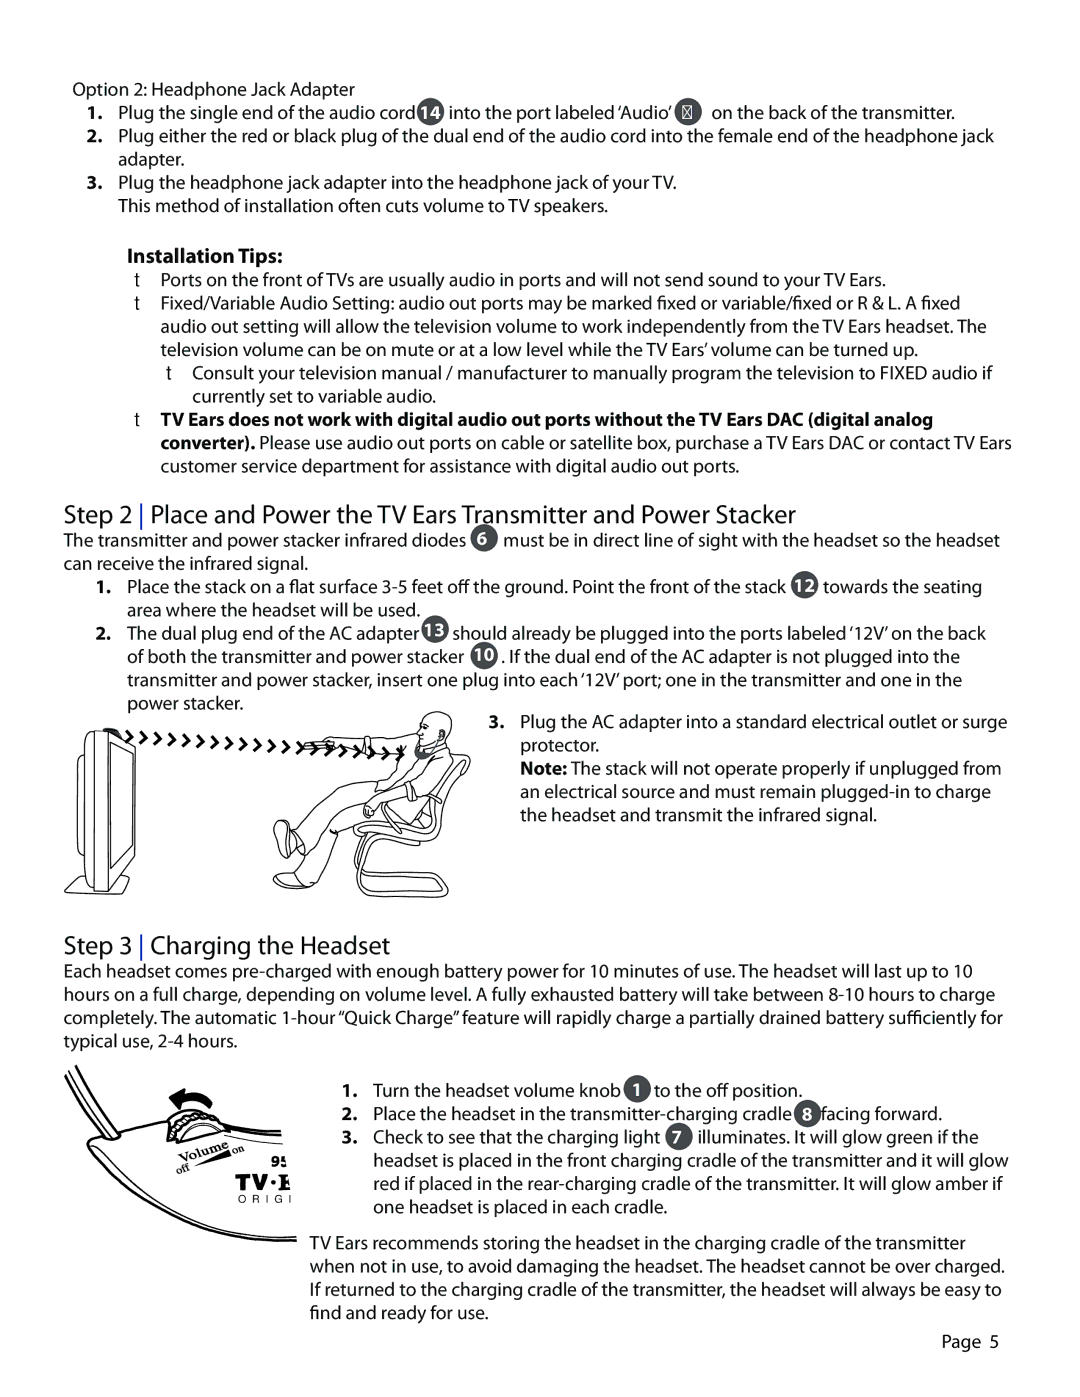
3. Plug the AC adapter into a standard electrical outlet or surge protector.
Note: The stack will not operate properly if unplugged from an electrical source and must remain plugged-in to charge the headset and transmit the infrared signal.

Option 2: Headphone Jack Adapter

1. Plug the single end of the audio cord 14 into the port labeled ‘Audio’ 9 on the back of the transmitter.

2.Plug either the red or black plug of the dual end of the audio cord into the female end of the headphone jack adapter.

3.Plug the headphone jack adapter into the headphone jack of your TV. This method of installation often cuts volume to TV speakers.

Installation Tips:

Ports on the front of TVs are usually audio in ports and will not send sound to your TV Ears.

Fixed/Variable Audio Setting: audio out ports may be marked fixed or variable/fixed or R & L. A fixed audio out setting will allow the television volume to work independently from the TV Ears headset. The television volume can be on mute or at a low level while the TV Ears’ volume can be turned up.

Consult your television manual / manufacturer to manually program the television to FIXED audio if currently set to variable audio.

TV Ears does not work with digital audio out ports without the TV Ears DAC (digital analog converter). Please use audio out ports on cable or satellite box, purchase a TV Ears DAC or contact TV Ears customer service department for assistance with digital audio out ports.

Step 2 Place and Power the TV Ears Transmitter and Power Stacker

The transmitter and power stacker infrared diodes 6

must be in direct line of sight with the headset so the headset

can receive the infrared signal.

ground. Point the front of the stack12 towards the seating

1. Place the stack on a flat surface 3-5 feet off the

area where the headset will be used.


2.The dual plug end of the AC adapter 13 should already be plugged into the ports labeled ‘12V’ on the back of both the transmitter and power stacker 10 . If the dual end of the AC adapter is not plugged into the transmitter and power stacker, insert one plug into each ‘12V’ port; one in the transmitter and one in the

power stacker.

Step 3 Charging the Headset

Each headset comes pre-charged with enough battery power for 10 minutes of use. The headset will last up to 10 hours on a full charge, depending on volume level. A fully exhausted battery will take between 8-10 hours to charge completely. The automatic 1-hour “Quick Charge” feature will rapidly charge a partially drained battery sufficiently for typical use, 2-4 hours.

1.Turn the headset volume knob 1 to the off position.

2.Place the headset in the transmitter-charging cradle 8 facing forward.

3. Check to see that the charging light 7 illuminates. It will glow green if the


headset is placed in the front charging cradle of the transmitter and it will glow

O R I G I

red if placed in the rear-charging cradle of the transmitter. It will glow amber if

one headset is placed in each cradle.


TV Ears recommends storing the headset in the charging cradle of the transmitter when not in use, to avoid damaging the headset. The headset cannot be over charged. If returned to the charging cradle of the transmitter, the headset will always be easy to find and ready for use.

Page 5

Page 5
Image 5
TV Ears Headphones Place and Power the TV Ears Transmitter and Power Stacker, Charging the Headset, Installation Tips

Headphones specifications

TV Ears headphones have become a game-changer for those seeking an enhanced audio experience while watching television. Designed primarily for individuals with hearing difficulties, they offer a range of features and technologies that cater to various auditory needs.

One of the standout characteristics of TV Ears headphones is their wireless capability, allowing users to enjoy their favorite shows without being tethered to the TV. This freedom enhances the viewing experience, enabling users to move around their living space while still receiving high-quality sound. The headphones typically use infrared technology to transmit audio signals from the TV, ensuring a clear and robust connection without any interference from other wireless devices.

The sound quality of TV Ears headphones is another highlight. Many models come equipped with a special circuitry that amplifies dialogue, making it easier to understand conversations in movies and TV shows. This feature is particularly beneficial for users with hearing impairments, as it helps them enjoy content without straining to catch every word. Additionally, some models allow for adjustable volume levels, so users can set the sound to their preferred level without affecting the audio output from the television itself.

Comfort is a key factor in the design of TV Ears headphones. They are often lightweight and feature cushioned ear pads, allowing for extended wear without discomfort. This is especially important for users who may spend hours watching their favorite series or movies.

Another notable technology found in some TV Ears models is the ability to connect to multiple devices, enabling users to switch easily between their television, computer, or other audio sources. This versatility makes them suitable for various media consumption scenarios.

Battery life is also a consideration for many users, and TV Ears headphones typically offer long-lasting performance, with some models featuring rechargeable batteries that can provide several hours of use on a single charge.

Overall, TV Ears headphones are a thoughtful solution for those who want to enjoy television without distractions or difficulties related to hearing. With their combination of wireless technology, sound enhancement features, comfort, and user-friendly design, they offer an exceptional audio experience that caters to a wide range of viewers. For anyone seeking to improve their TV watching experience, these headphones are undoubtedly worth considering.