2.9 Installing the CPU and Cooling Fan
AMD Athlon MP processors up to 1.4GHz can be used on this board. For more information on CPU com- patibility, check Tyan’s website at: http://www.tyan.com.
When installing your CPU, remember the following:
The CPU is a sensitive electronic component and can easily be damaged by static electricity
Do not touch the CPU pins with your fingers
You should be able to insert the CPU into the socket with virtually no force
Do not press down hard on the CPU as you might bend or break pins, or otherwise damage the
CPU
The CPU voltage will automatically be detected by the motherboard, so there is no need to set any jumpers or BIOS setting.
Installing the CPU
Before installing the CPU, check it for any visible damage. Make sure none of the pins are bent or miss- ing. Be sure where Pin 1 is on both the CPU and the socket. The following steps each have a correspond- ing picture next to it to help guide you through the installation.
Step 1
Step 2
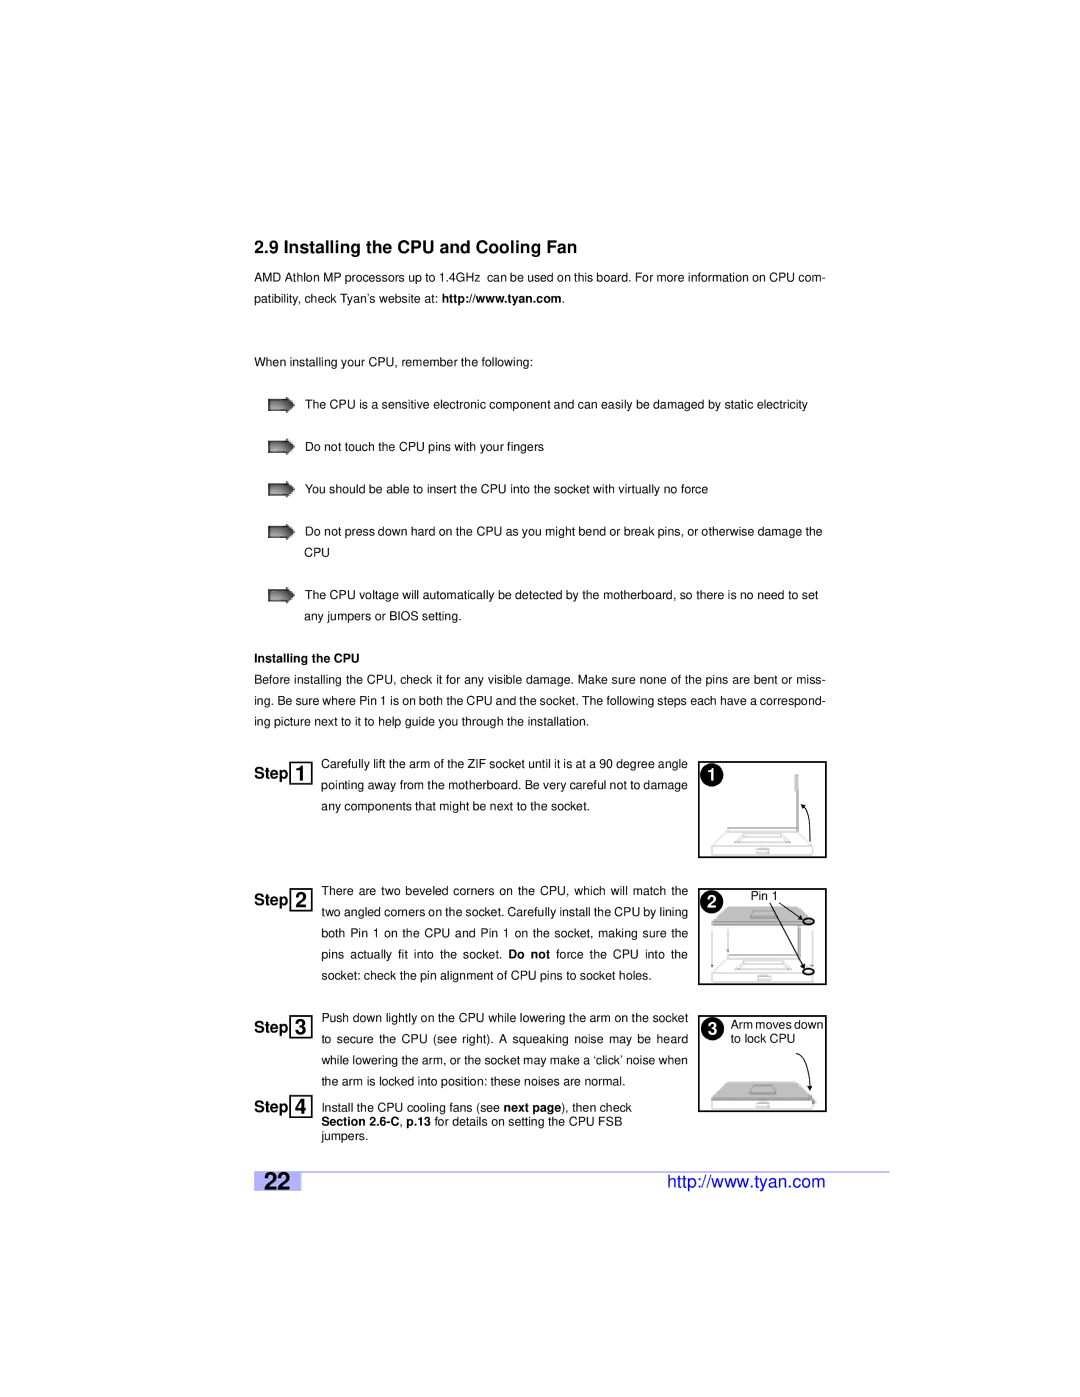
Carefully lift the arm of the ZIF socket until it is at a 90 degree angle pointing away from the motherboard. Be very careful not to damage any components that might be next to the socket.
There are two beveled corners on the CPU, which will match the two angled corners on the socket. Carefully install the CPU by lining both Pin 1 on the CPU and Pin 1 on the socket, making sure the pins actually fit into the socket. Do not force the CPU into the socket: check the pin alignment of CPU pins to socket holes.
1
2Pin 1
Step 3
Step 4
Push down lightly on the CPU while lowering the arm on the socket to secure the CPU (see right). A squeaking noise may be heard while lowering the arm, or the socket may make a ‘click’ noise when the arm is locked into position: these noises are normal.
Install the CPU cooling fans (see next page), then check Section
3Arm moves down to lock CPU
22
http://www.tyan.com
