User’s Manual
ADJUSTING ICE CUBE SIZE
On models equipped with an ice maker, the cube size may be adjusted by changing the amount of water injected into the ice maker assembly.
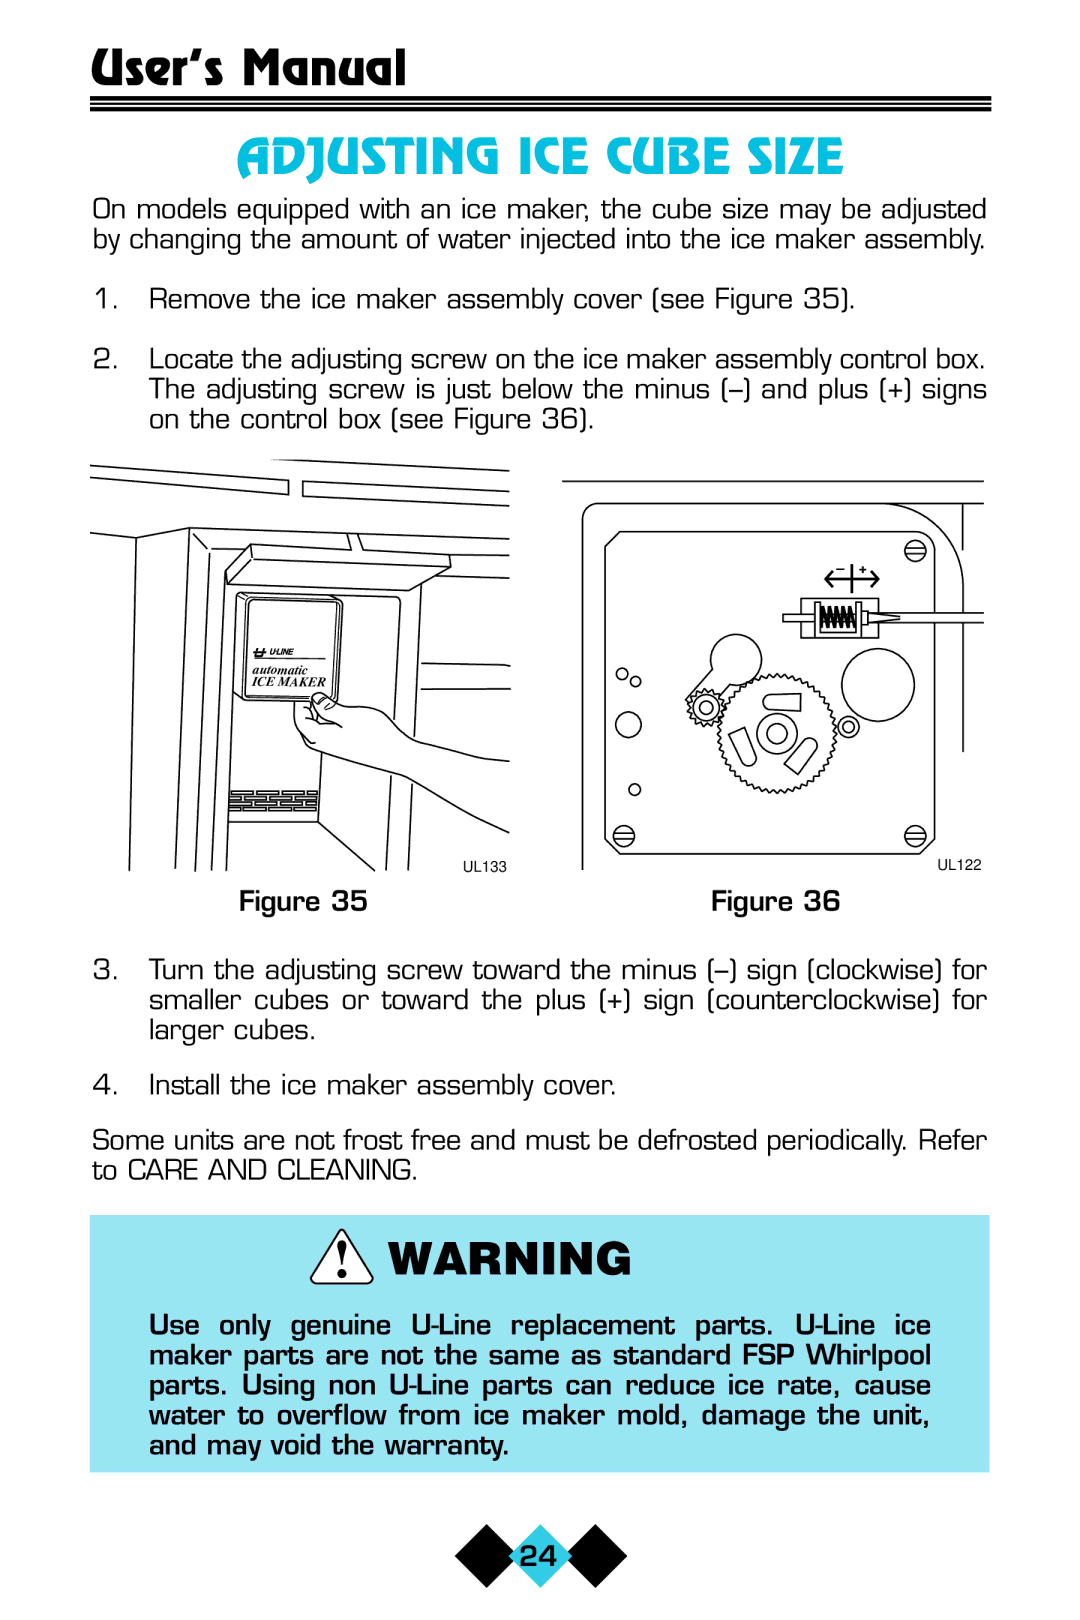
1.Remove the ice maker assembly cover (see Figure 35).
2.Locate the adjusting screw on the ice maker assembly control box. The adjusting screw is just below the minus
– +
automatic ICE MAKER
UL133 | UL122 |
Figure 35 | Figure 36 |
3.Turn the adjusting screw toward the minus
4.Install the ice maker assembly cover.
Some units are not frost free and must be defrosted periodically. Refer to CARE AND CLEANING.
!WARNING
Use only genuine
![]() 24
24 ![]()