Operation
LIGHTING THE MAIN BURNERS
1.Always open the Hood completely and always inspect the Grill and burners to confirm that all components are properly positioned before lighting the main burners.
WARNING: Never stand with your head directly over the Grill when preparing to light the main burners, to prevent possible bodily injury.
2.Always confirm that all of the burner control knobs are in the OFF position before opening the gas supply.
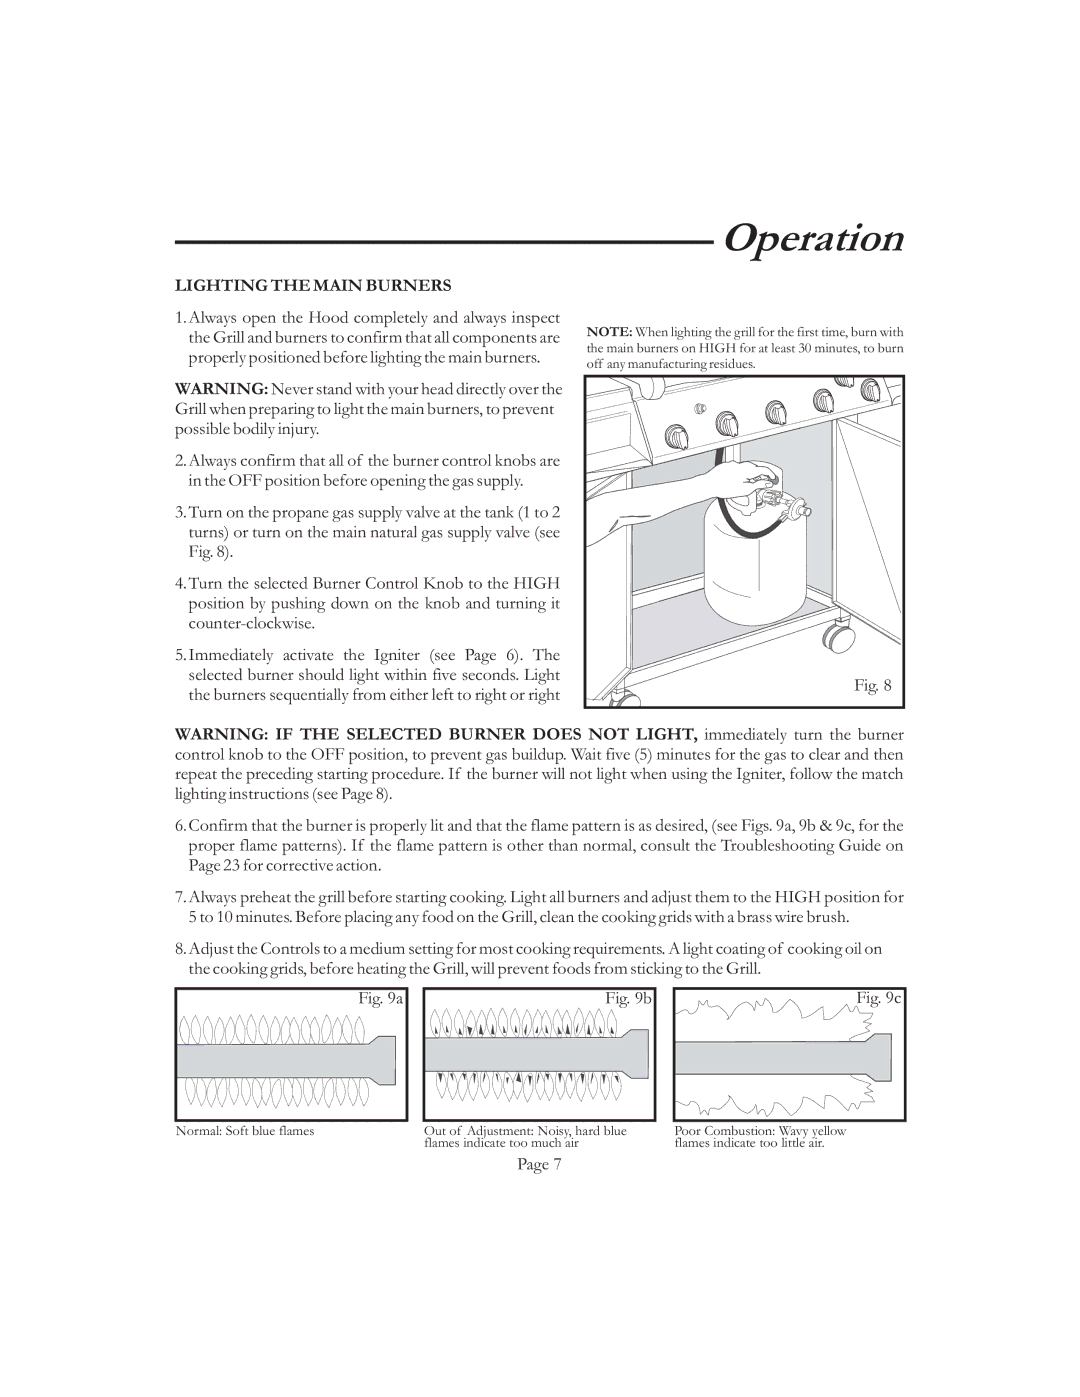
3.Turn on the propane gas supply valve at the tank (1 to 2 turns) or turn on the main natural gas supply valve (see Fig. 8).
4.Turn the selected Burner Control Knob to the HIGH position by pushing down on the knob and turning it
5.Immediately activate the Igniter (see Page 6). The selected burner should light within five seconds. Light the burners sequentially from either left to right or right
NOTE: When lighting the grill for the first time, burn with the main burners on HIGH for at least 30 minutes, to burn off any manufacturing residues.
Fig. 8 |
WARNING: IF THE SELECTED BURNER DOES NOT LIGHT, immediately turn the burner control knob to the OFF position, to prevent gas buildup. Wait five (5) minutes for the gas to clear and then repeat the preceding starting procedure. If the burner will not light when using the Igniter, follow the match lighting instructions (see Page 8).
6.Confirm that the burner is properly lit and that the flame pattern is as desired, (see Figs. 9a, 9b & 9c, for the proper flame patterns). If the flame pattern is other than normal, consult the Troubleshooting Guide on Page 23 for corrective action.
7.Always preheat the grill before starting cooking. Light all burners and adjust them to the HIGH position for 5 to 10 minutes. Before placing any food on the Grill, clean the cooking grids with a brass wire brush.
8.Adjust the Controls to a medium setting for most cooking requirements. A light coating of cooking oil on the cooking grids, before heating the Grill, will prevent foods from sticking to the Grill.
Fig. 9a
Fig. 9b
Fig. 9c
Normal: Soft blue flames | Out of Adjustment: Noisy, hard blue | Poor Combustion: Wavy yellow |
| flames indicate too much air | flames indicate too little air. |
Page 7