Settings

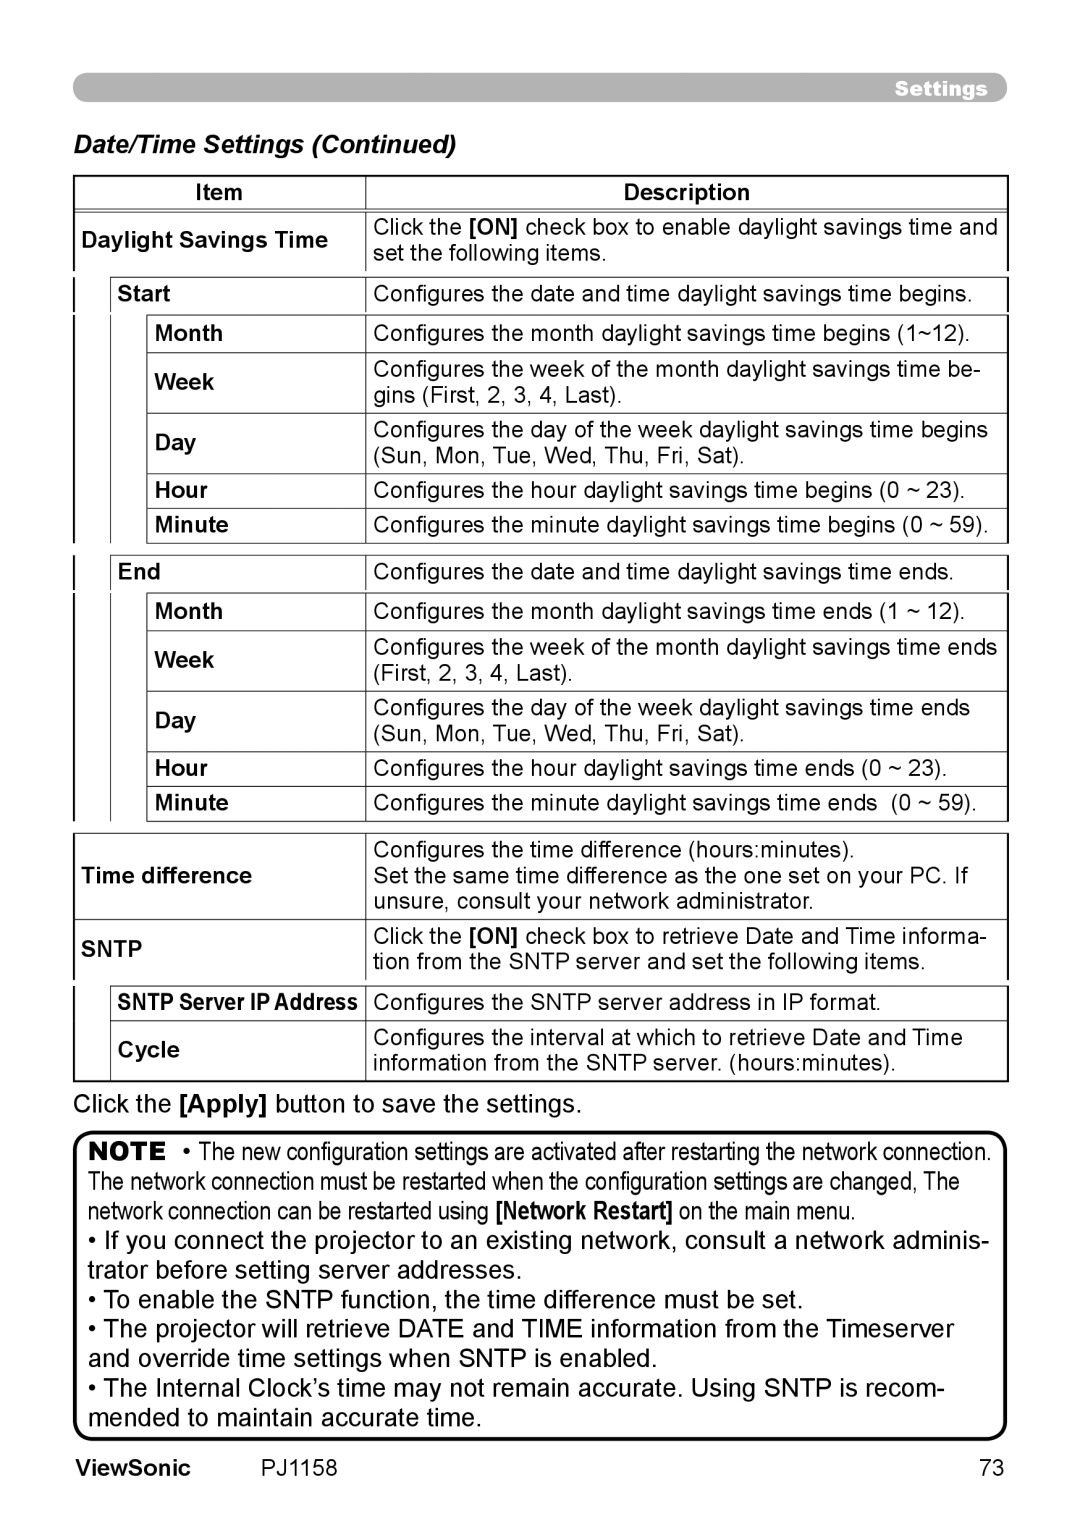
Date/Time Settings (Continued)

Item

Description

Daylight Savings Time

Click the [ON] check box to enable daylight savings time and

set the following items.


Start

Configures the date and time daylight savings time begins.


Month

Configures the month daylight savings time begins (1~12).


Week

Configures the week of the month daylight savings time be-


gins (First, 2, 3, 4, Last).


Day

Configures the day of the week daylight savings time begins


(Sun, Mon, Tue, Wed, Thu, Fri, Sat).


Hour

Configures the hour daylight savings time begins (0 ~ 23).


Minute

Configures the minute daylight savings time begins (0 ~ 59).


End

Configures the date and time daylight savings time ends.


Month

Configures the month daylight savings time ends (1 ~ 12).


Week

Configures the week of the month daylight savings time ends


(First, 2, 3, 4, Last).


Day

Configures the day of the week daylight savings time ends


(Sun, Mon, Tue, Wed, Thu, Fri, Sat).


Hour

Configures the hour daylight savings time ends (0 ~ 23).


Minute

Configures the minute daylight savings time ends (0 ~ 59).


Time difference

Configures the time difference (hours:minutes).

Set the same time difference as the one set on your PC. If


unsure, consult your network administrator.

SNTP

Click the [ON] check box to retrieve Date and Time informa-

tion from the SNTP server and set the following items.


SNTP Server IP Address

Configures the SNTP server address in IP format.


Cycle

Configures the interval at which to retrieve Date and Time


information from the SNTP server. (hours:minutes).


Click the [Apply] button to save the settings.

NOTE • The new configuration settings are activated after restarting the network connection. The network connection must be restarted when the configuration settings are changed, The network connection can be restarted using [Network Restart] on the main menu.

If you connect the projector to an existing network, consult a network adminis- trator before setting server addresses.

To enable the SNTP function, the time difference must be set.

The projector will retrieve DATE and TIME information from the Timeserver and override time settings when SNTP is enabled.

The Internal Clock’s time may not remain accurate. Using SNTP is recom- mended to maintain accurate time.

ViewSonic

PJ1158

73

Page 78
Image 78
ViewSonic PJ1158 manual Date/Time Settings, Sntp

PJ1158 specifications

The ViewSonic PJ1158 is a versatile and powerful projector designed to meet the demands of both business and educational environments. Known for its impressive performance and user-friendly features, the PJ1158 stands out as a reliable tool for presentations, lectures, and multimedia presentations.

One of the main features of the PJ1158 is its high brightness capability. With a brightness level of up to 4,000 ANSI lumens, this projector ensures clear and vibrant images even in well-lit rooms. This is crucial for environments where ambient light cannot be completely controlled, making the PJ1158 an excellent choice for conference rooms, classrooms, and auditoriums.

The resolution of the ViewSonic PJ1158 is another highlight, as it supports native XGA (1024x768) resolution. This level of clarity allows for detailed images and text, ensuring that audiences can easily read and comprehend the information presented. Additionally, the PJ1158 supports various resolutions, including up to 1080p, making it compatible with a wide range of video sources and formats.

In terms of connectivity, the PJ1158 offers a comprehensive selection of ports to accommodate various devices. It includes HDMI, VGA, and composite inputs, making it versatile for connecting laptops, DVD players, and other multimedia devices. The inclusion of USB ports also allows for easy plug-and-play functionality, enabling users to present directly from USB drives with minimal setup time.

The PJ1158 utilizes advanced DLP technology, which enhances image quality by providing sharpness, saturation, and contrast. The DLP chip ensures that images are smooth and free from the pixelation that can occur with other projector types. Furthermore, the PJ1158 is equipped with a long-lasting lamp life of up to 15,000 hours, significantly reducing maintenance costs and downtime.

For ease of use, the PJ1158 features a remote control and an intuitive interface, allowing users to navigate menus quickly and adjust settings effortlessly. The integrated 10-watt speaker provides adequate sound output for smaller venues, eliminating the need for external audio systems in many cases.

Overall, the ViewSonic PJ1158 excels in providing a combination of high brightness, resolution, versatile connectivity, and robust build quality. These features make it a solid choice for professionals and educators looking for an efficient and dependable projector for their presentations.