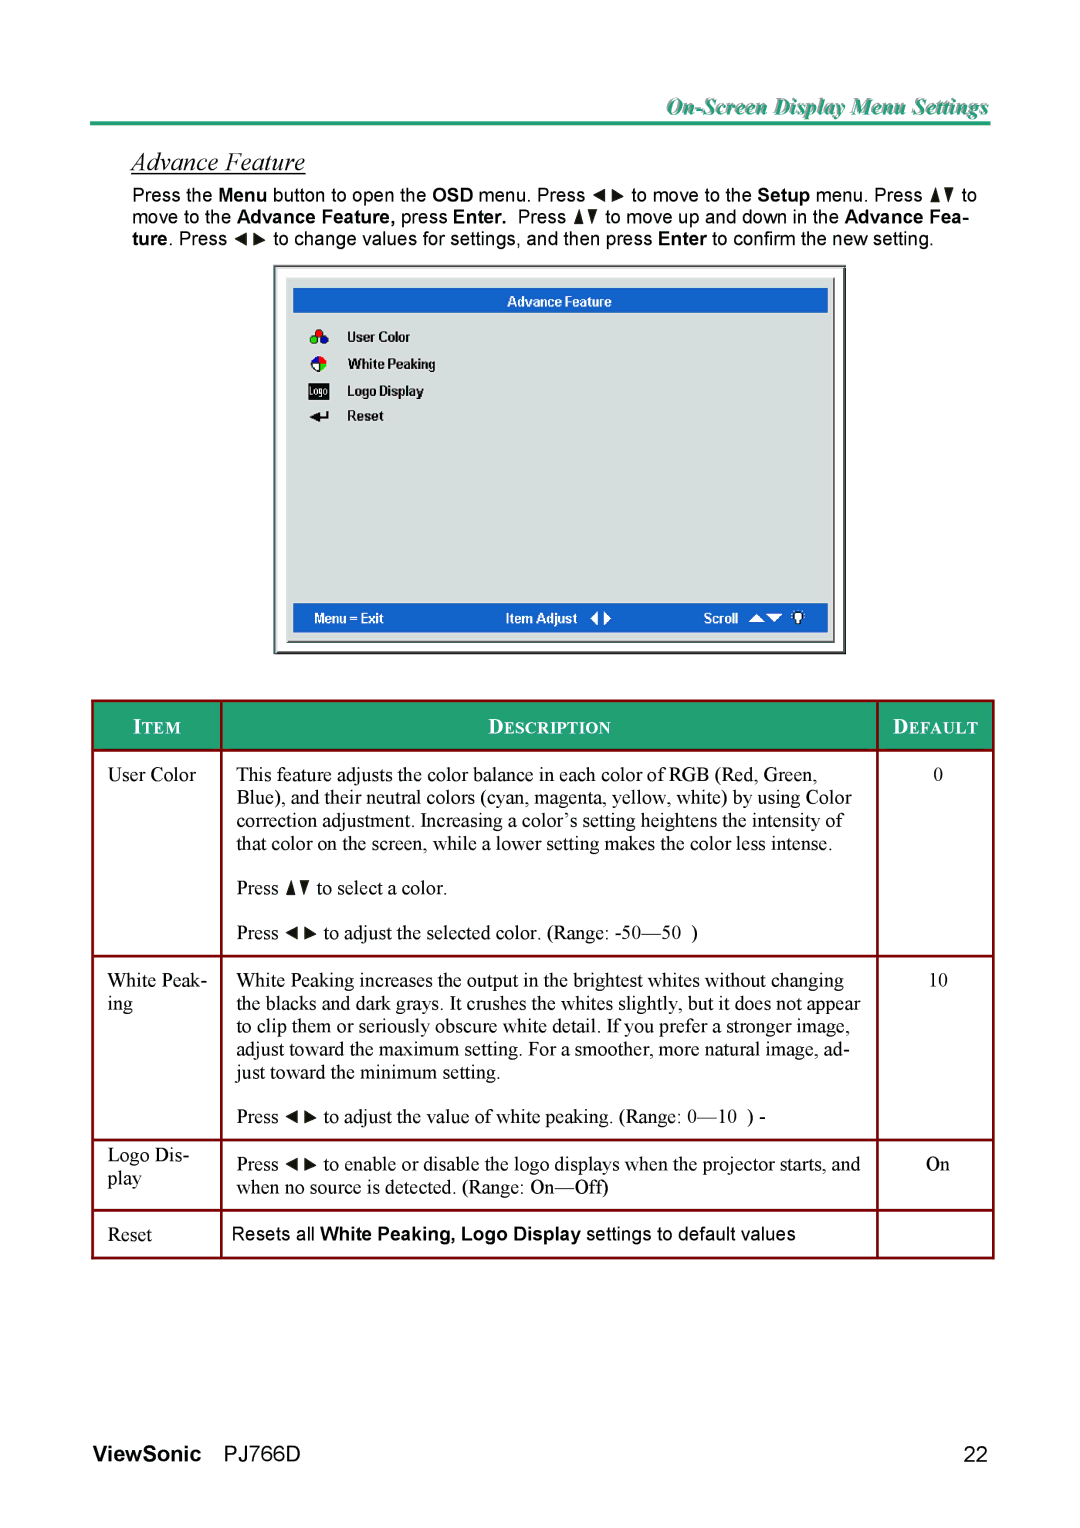
Advance Feature
Press the Menu button to open the OSD menu. Press ![]()
![]() to move to the Setup menu. Press
to move to the Setup menu. Press ![]()
![]() to move to the Advance Feature, press Enter. Press
to move to the Advance Feature, press Enter. Press ![]()
![]() to move up and down in the Advance Fea-
to move up and down in the Advance Fea-
ture. Press ![]()
![]() to change values for settings, and then press Enter to confirm the new setting.
to change values for settings, and then press Enter to confirm the new setting.
| ITEM |
|
| DESCRIPTION |
| DEFAULT |
|
|
|
|
|
| |
| User Color |
| This feature adjusts the color balance in each color of RGB (Red, Green, | 0 | ||
|
|
| Blue), and their neutral colors (cyan, magenta, yellow, white) by using Color |
|
| |
|
|
| correction adjustment. Increasing a color’s setting heightens the intensity of |
|
| |
|
|
| that color on the screen, while a lower setting makes the color less intense. |
|
| |
|
|
| Press | to select a color. |
|
|
|
|
| Press | to adjust the selected color. (Range: |
|
|
|
|
|
|
| ||
| White Peak- |
| White Peaking increases the output in the brightest whites without changing | 10 | ||
| ing |
| the blacks and dark grays. It crushes the whites slightly, but it does not appear |
|
| |
|
|
| to clip them or seriously obscure white detail. If you prefer a stronger image, |
|
| |
|
|
| adjust toward the maximum setting. For a smoother, more natural image, ad- |
|
| |
|
|
| just toward the minimum setting. |
|
| |
|
|
| Press | to adjust the value of white peaking. (Range: |
|
|
|
|
|
|
|
|
|
| Logo Dis- |
| Press | to enable or disable the logo displays when the projector starts, and |
| On |
| play |
|
| |||
|
| when no source is detected. (Range: |
|
| ||
|
|
|
|
| ||
|
|
|
|
|
| |
| Reset |
| Resets all White Peaking, Logo Display settings to default values |
|
| |
|
|
|
|
|
|
|
ViewSonic PJ766D | 22 |