ENGLISH
Using the TV Features
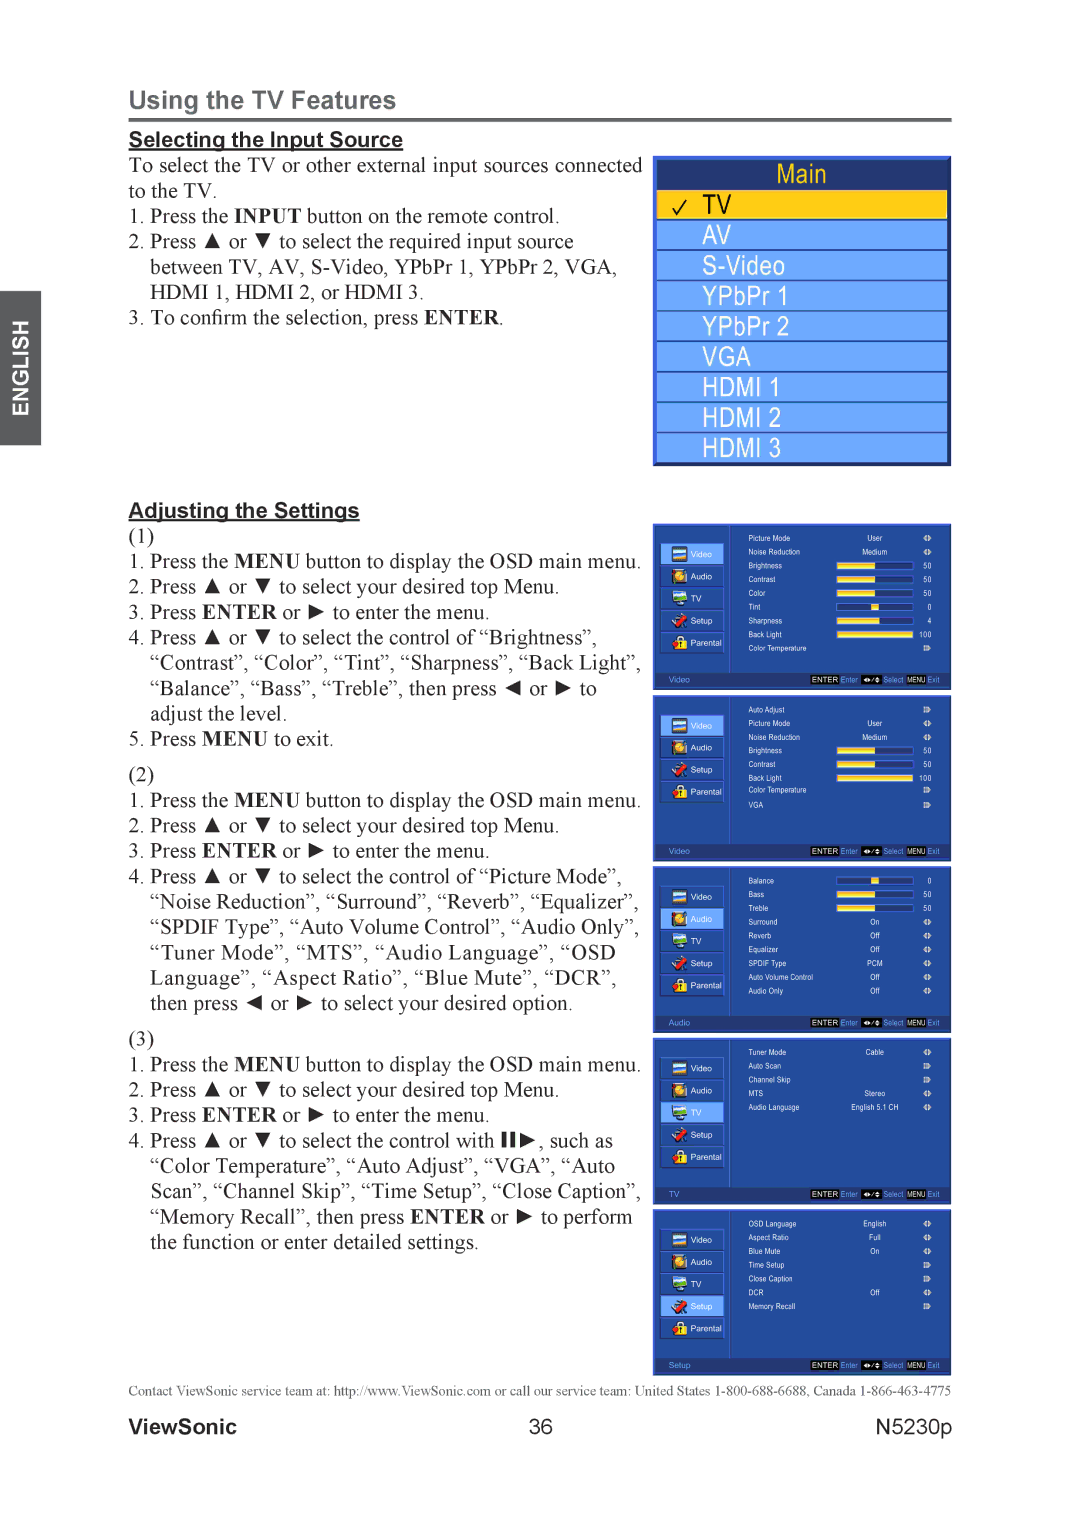
Selecting the Input Source
To select the TV or other external input sources connected to the TV.
1.Press the INPUT button on the remote control.
2.Press ▲ or ▼ to select the required input source between TV, AV,
3.To confirm the selection, press ENTER.
Adjusting the Settings
(1)
1.Press the MENU button to display the OSD main menu.
2.Press ▲ or ▼ to select your desired top Menu.
3.Press ENTER or ► to enter the menu.
4.Press ▲ or ▼ to select the control of “Brightness”,
“Contrast”, “Color”, “Tint”, “Sharpness”, “Back Light”,
“Balance”, “Bass”, “Treble”, then press ◄ or ► to adjust the level.
5.Press MENU to exit.
(2)
1.Press the MENU button to display the OSD main menu.
2.Press ▲ or ▼ to select your desired top Menu.
3.Press ENTER or ► to enter the menu.
4.Press ▲ or ▼ to select the control of “Picture Mode”,
“Noise Reduction”, “Surround”, “Reverb”, “Equalizer”, “SPDIF Type”, “Auto Volume Control”, “Audio Only”, “Tuner Mode”, “MTS”, “Audio Language”, “OSD Language”, “Aspect Ratio”, “Blue Mute”, “DCR”, then press ◄ or ► to select your desired option.
(3)
1.Press the MENU button to display the OSD main menu.
2.Press ▲ or ▼ to select your desired top Menu.
3.Press ENTER or ► to enter the menu.
4.Press ▲ or ▼ to select the control with II►, such as
“Color Temperature”, “Auto Adjust”, “VGA”, “Auto Scan”, “Channel Skip”, “Time Setup”, “Close Caption”, “Memory Recall”, then press ENTER or ► to perform the function or enter detailed settings.
Contact ViewSonic service team at: http://www.ViewSonic.com or call our service team: United States
ViewSonic | 36 | N5230p |