Getting Started
Component (YPbPr) connection
YPbPr provides better picture quality than the
*For YPbPr connection, connect the component video (YPbPr) and audio jacks to the corresponding
output jacks of your A/V device.
---VIDEO: YPbPr signal input [5]
---AUDIO: YPbPr signal audio input [6]
HDMI connection
HDMI
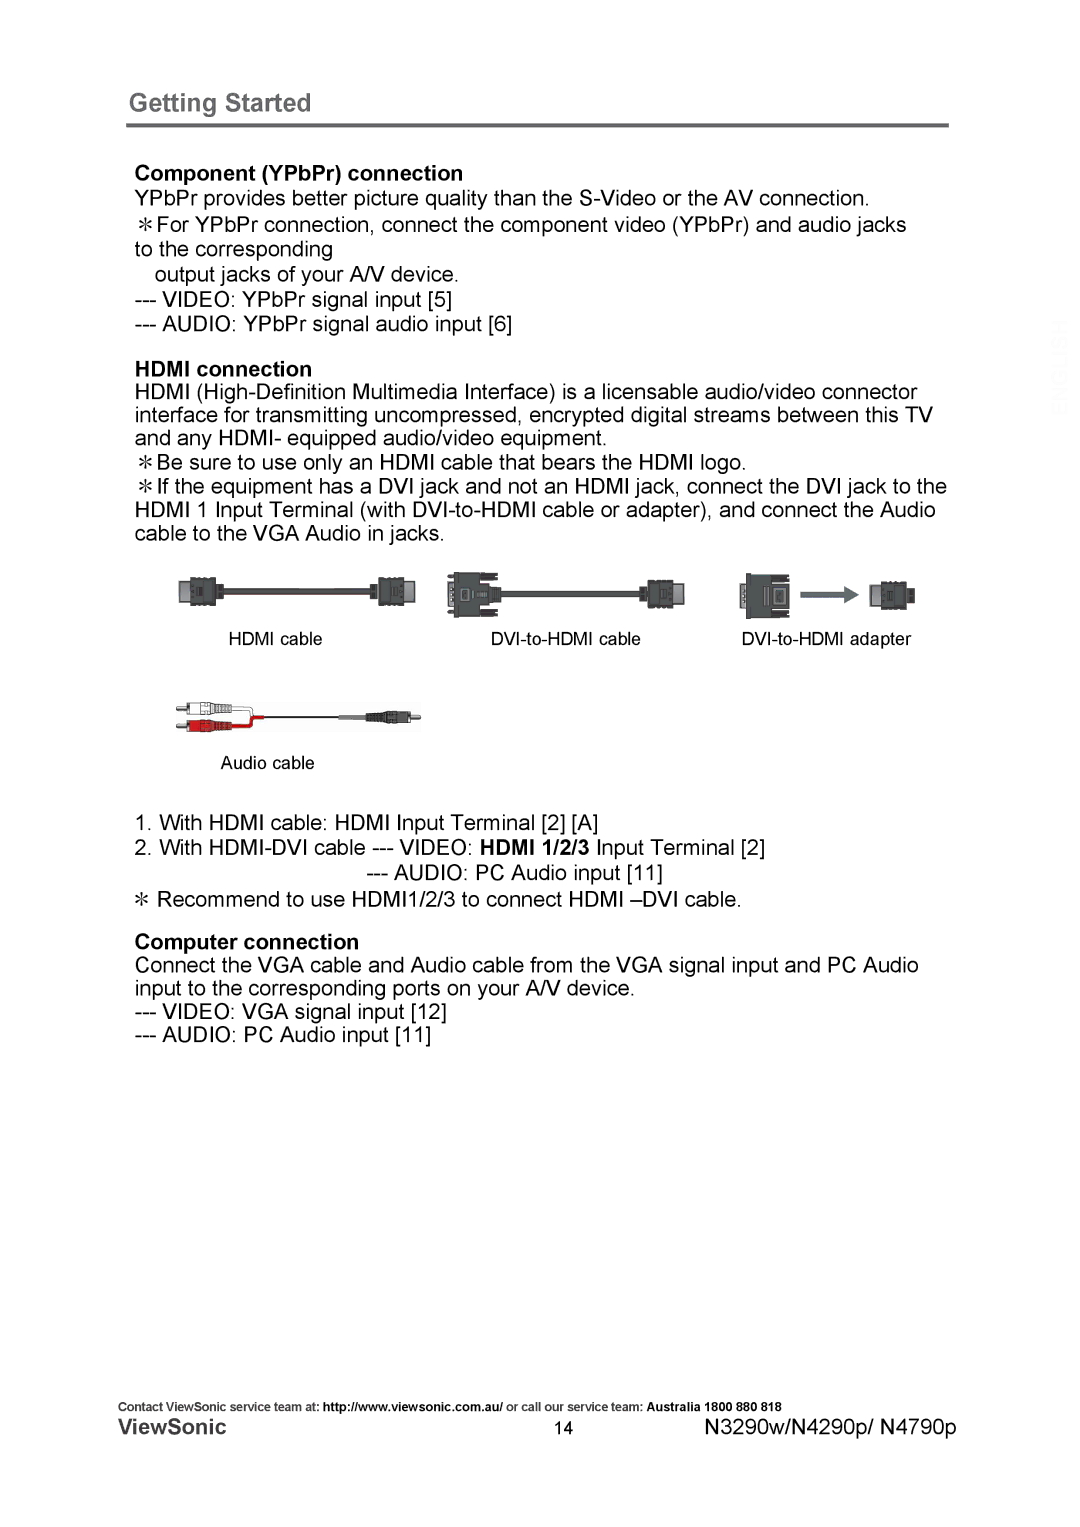
*Be sure to use only an HDMI cable that bears the HDMI logo.
*If the equipment has a DVI jack and not an HDMI jack, connect the DVI jack to the HDMI 1 Input Terminal (with
HDMI cable |
Audio cable
1.With HDMI cable: HDMI Input Terminal [2] [A]
2.With
---AUDIO: PC Audio input [11]
*Recommend to use HDMI1/2/3 to connect HDMI
Computer connection
Connect the VGA cable and Audio cable from the VGA signal input and PC Audio input to the corresponding ports on your A/V device.
---VIDEO: VGA signal input [12]
---AUDIO: PC Audio input [11]
Contact ViewSonic service team at: http://www.viewsonic.com.au/ or call our service team: Australia 1800 880 818
ViewSonic | 14 | N3290w/N4290p/ N4790p |
