STEP 3: CHECKING OUT YOUR SCANNER 11
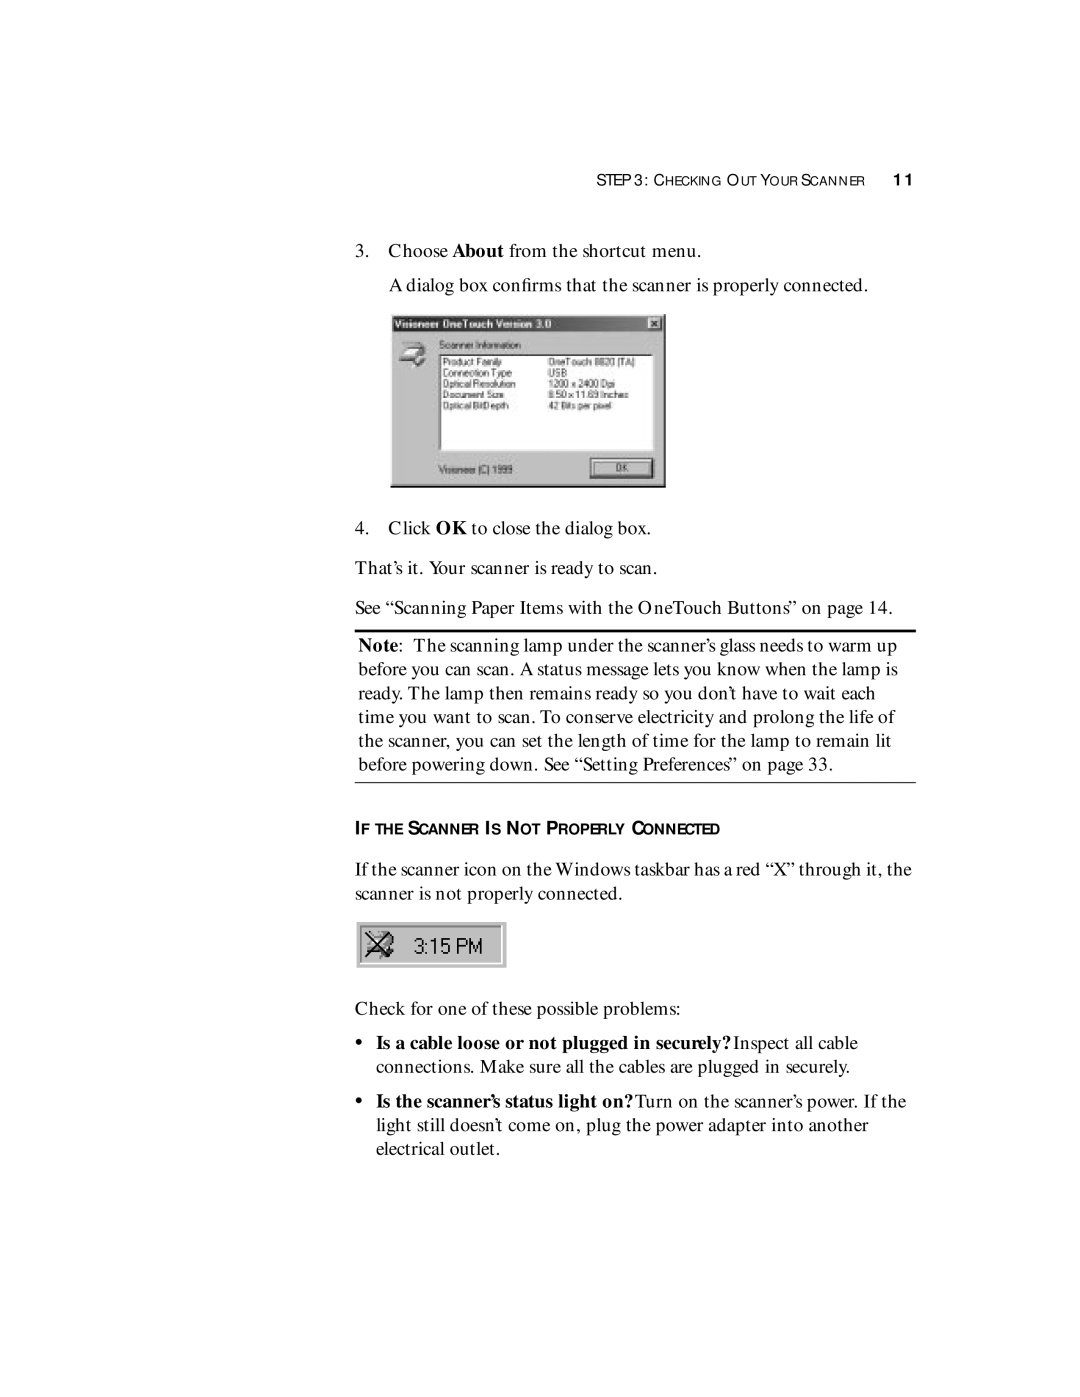
3.Choose About from the shortcut menu.
A dialog box confirms that the scanner is properly connected.
4.Click OK to close the dialog box. That’s it. Your scanner is ready to scan.
See “Scanning Paper Items with the OneTouch Buttons” on page 14.
Note: The scanning lamp under the scanner’s glass needs to warm up before you can scan. A status message lets you know when the lamp is ready. The lamp then remains ready so you don’t have to wait each time you want to scan. To conserve electricity and prolong the life of the scanner, you can set the length of time for the lamp to remain lit before powering down. See “Setting Preferences” on page 33.
IF THE SCANNER IS NOT PROPERLY CONNECTED
If the scanner icon on the Windows taskbar has a red “X” through it, the scanner is not properly connected.
Check for one of these possible problems:
•Is a cable loose or not plugged in securely? Inspect all cable connections. Make sure all the cables are plugged in securely.
•Is the scanner’s status light on? Turn on the scanner’s power. If the light still doesn’t come on, plug the power adapter into another electrical outlet.