VIVOTEK - A Leading Provider of Multimedia Communication Solutions
Video orientation:
White balance: Adjust the value for best color temperature. ■ Auto
The Network Camera automatically adjusts the color temperature of light in response to different light sources. The white balance setting defaults to Auto and works well in most situations.
■ Keep current value
Follow the steps below to manually set the white balance to compensate for the ambient lighting conditions.
1.Set the White balance to Auto.
2.Place a sheet of white paper in front of the lens; then allow the Network Camera to adjust the color temperature automatically.
Maximum Exposure Time: 1/30 S, 1/15 S, 1/5 S, and Auto.
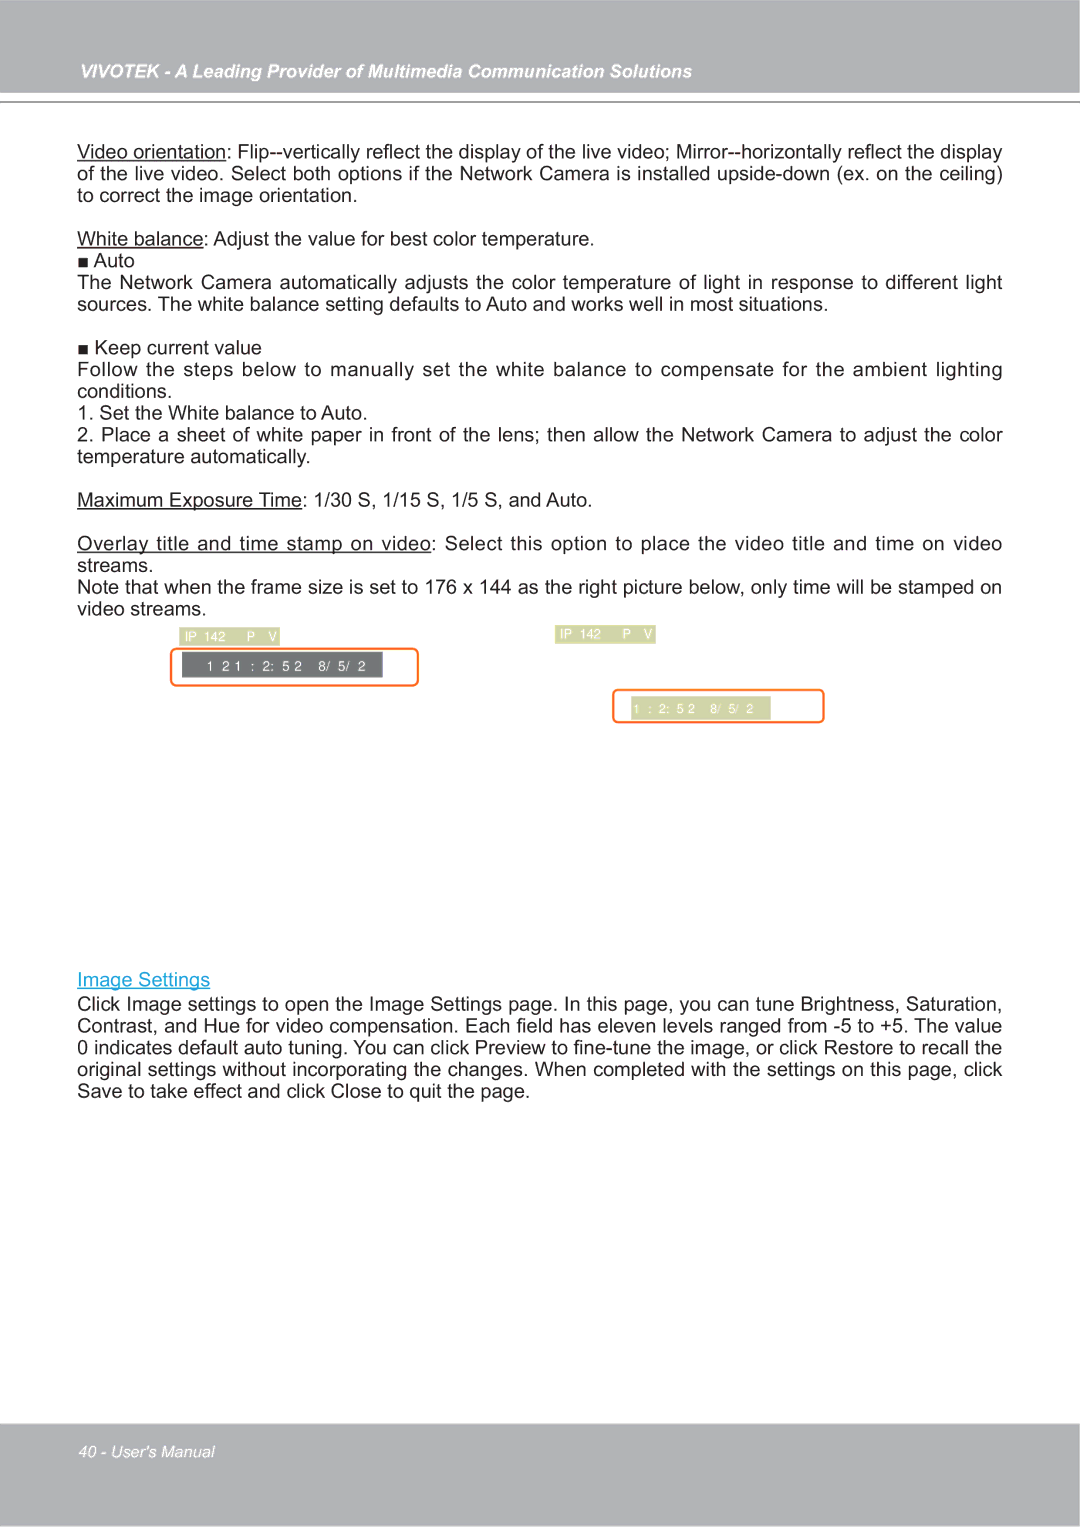
Overlay title and time stamp on video: Select this option to place the video title and time on video streams.
Note that when the frame size is set to 176 x 144 as the right picture below, only time will be stamped on video streams.
| IP 142 P V |
|
|
| IP 142 P V |
|
|
|
|
|
|
| 1 2 1 : 2: 5 2 | 8/ 5/ 2 |
|
| |
|
|
|
|
|
|
1 : 2: 5 2 8/ 5/ 2
Image Settings
Click Image settings to open the Image Settings page. In this page, you can tune Brightness, Saturation, Contrast, and Hue for video compensation. Each field has eleven levels ranged from
40 - User's Manual
