IP8352 specifications
The Vivotek IP8352 is a versatile and high-performing network camera designed for a range of surveillance applications. With its sleek and compact design, it caters to both indoor and outdoor installations, making it a popular choice for businesses and homeowners alike.One of the standout features of the IP8352 is its exceptional image quality. Equipped with a 2-megapixel sensor, it delivers high-definition video at resolutions up to 1920x1080 pixels. This ensures clear and detailed images, even in challenging lighting conditions. The camera also supports WDR (Wide Dynamic Range) technology, enabling it to capture balanced images in scenes with both bright and dark areas.
The IP8352 boasts an advanced IR-cut filter which allows it to capture clear images both day and night. With built-in IR illuminators, the camera can deliver black and white video up to 30 meters at night, providing continuous surveillance even in complete darkness.
Another impressive characteristic is the camera’s ability to provide real-time video streaming. It supports multiple video compression formats, including H.264 and MJPEG, facilitating efficient bandwidth usage without compromising quality. This feature is essential for systems where network resources are limited, allowing users to adjust the streaming settings based on their needs.
The Vivotek IP8352 is also equipped with Smart Stream technology, which optimizes bandwidth efficiency by allowing users to prioritize specific regions within the camera's field of view. This means that critical areas can be monitored more closely while other less important sections can use lower resolution, saving on storage and bandwidth.
Additionally, the camera features an IP66-rated housing, ensuring that it is dust-tight and capable of withstanding heavy rain and harsh environmental conditions. This durability makes it suitable for various applications, from retail stores to warehouses and outdoor settings.
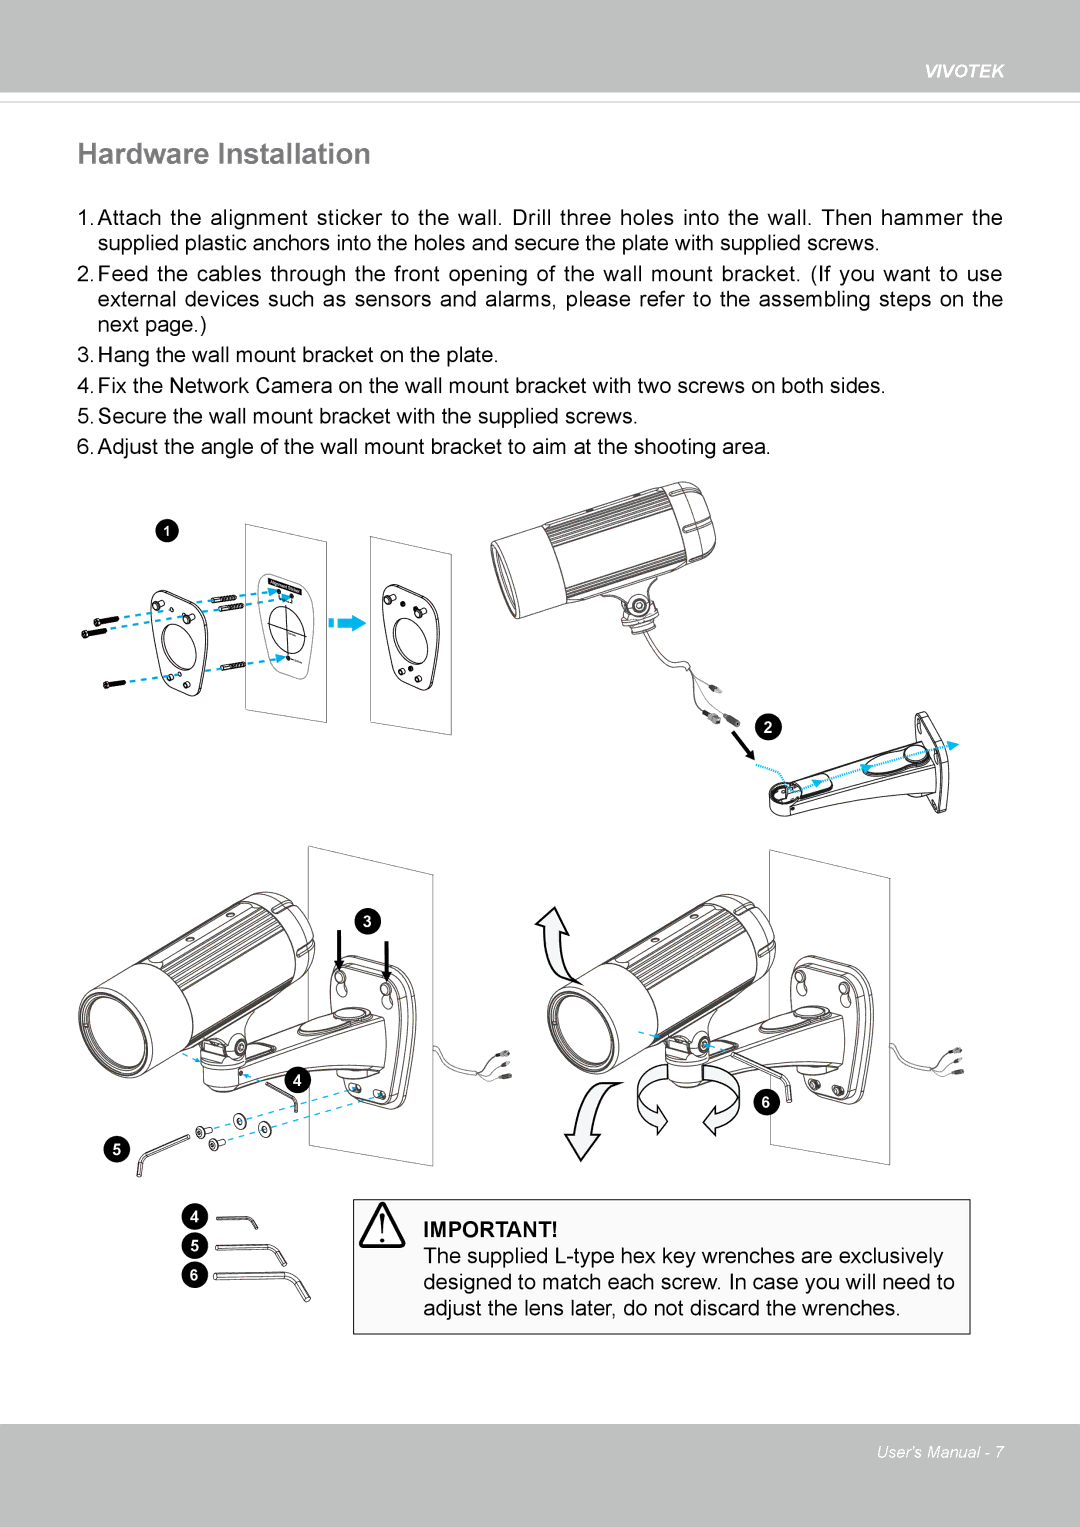
In terms of installation, the IP8352 supports Power over Ethernet (PoE), simplifying the installation process by allowing both power and data to be delivered through a single cable.
Overall, the Vivotek IP8352 combines high-definition video quality, advanced surveillance technologies, and robust construction, making it a highly effective solution for modern security needs. Its flexibility and features make it an ideal choice for enhancing security in diverse environments.

