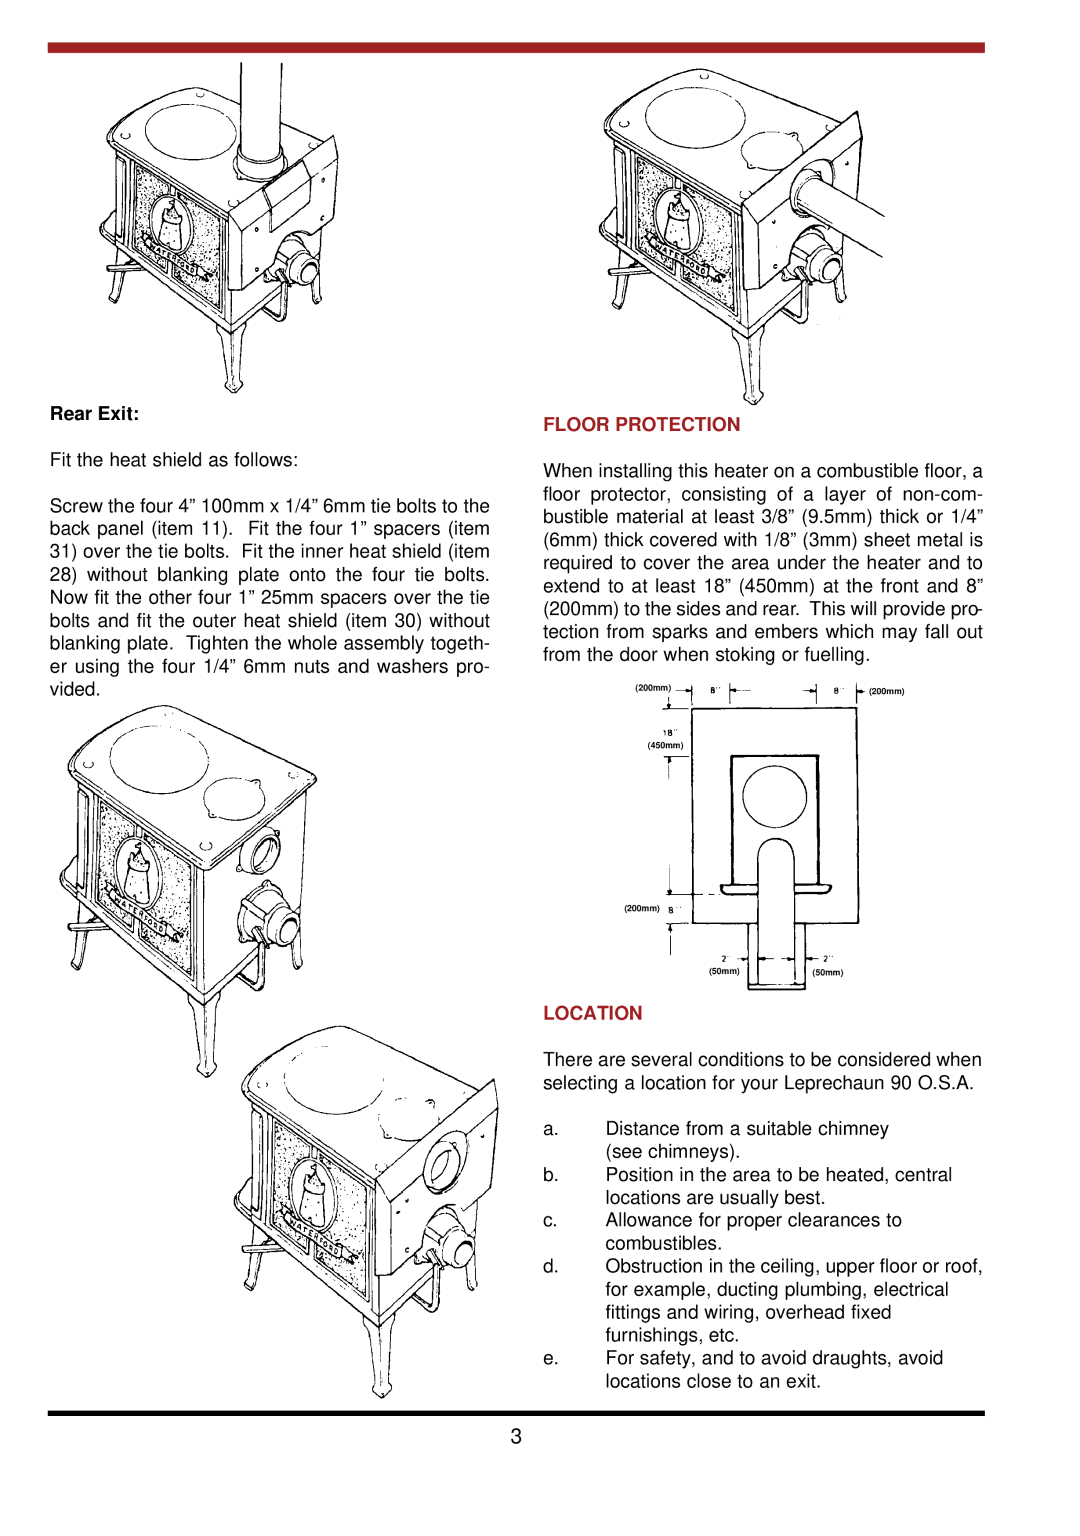
LEPRECHAUN 90 O.S.A specifications
The Waterford Appliances LEPRECHAUN 90 O.S.A is a remarkable addition to the world of cooking appliances, renowned for its blend of traditional craftsmanship and modern technology. This professional-grade range cooker is designed for home chefs who seek both performance and aesthetics in their kitchen. At the heart of the LEPRECHAUN 90 O.S.A is a commitment to delivering exceptional cooking results, supported by a suite of impressive features and innovations.One of the standout aspects of the LEPRECHAUN 90 is its powerful dual-fuel cooking system, which combines the precision of gas burners with the consistency of an electric oven. This dual-fuel configuration allows chefs to achieve precise temperature control and versatile cooking options. With five gas burners of varying sizes, including a high-output burner for rapid boiling and a gentle simmer burner for delicate sauces, the range is equipped to handle any culinary challenge.
The oven section of the LEPRECHAUN 90 O.S.A features a spacious main cavity that can accommodate large dishes, making it perfect for family gatherings or entertaining guests. It boasts multiple cooking functions, including conventional, fan-assisted, and grilling options, ensuring uniform heating and optimal cooking results. Additionally, the oven is equipped with advanced insulation technology, which promotes efficiency and helps maintain steady cooking temperatures while reducing energy consumption.
An integrated multifunctional grill adds to the versatility of this appliance, allowing users to prepare a wide variety of dishes from succulent grilled meats to deliciously crisp vegetables. The grill’s adjustable heat settings provide both searing and gentle cooking, catering to a broad spectrum of recipes.
Another notable feature is the integrated timer and digital display, which make it easy to monitor cooking times and temperatures. This modern touch complements the classic design of the LEPRECHAUN 90 O.S.A, featuring elegant, sturdy construction available in a variety of finishes to match any kitchen decor.
Safety is paramount, and Waterford Appliances has incorporated child safety locks on the oven doors and burners. The appliance also features a flame failure device that automatically cuts off the gas supply in the event of a flame extinguish, ensuring peace of mind while cooking.
In conclusion, the Waterford Appliances LEPRECHAUN 90 O.S.A beautifully combines style, functionality, and technology, making it an essential appliance for any serious home cook. With its array of features, it is designed to elevate the cooking experience, turning everyday meals into extraordinary culinary creations.

