
530163438 specifications
The Weed Eater 530163438 is a powerful and versatile lawn care tool that has gained popularity among homeowners and professional landscapers alike. This efficient string trimmer is designed to deliver high-performance cutting capability while prioritizing ease of use and reliability.One of the standout features of the Weed Eater 530163438 is its lightweight design, which enables users to maneuver the trimmer effortlessly. Weighing in at just over 10 pounds, it reduces fatigue during extended use, making it an ideal choice for tackling large yards or detailed landscaping projects. The trimmer’s balance and ergonomic handle allow for comfortable operation, ensuring that users can maintain control while trimming around flower beds, walkways, and fences.
Equipped with a robust two-stroke engine, the Weed Eater 530163438 provides sufficient power to handle tough grasses and weeds. The engine is designed for efficient fuel consumption, allowing longer run times without frequent refueling. This feature is particularly beneficial for professional landscapers who require reliable performance throughout their workday.
The dual-line cutting system of the Weed Eater 530163438 ensures a clean and precise cut every time. It utilizes a bump feed mechanism, which allows users to easily advance the line by tapping the head on the ground. This feature minimizes interruptions and enhances productivity, making it easier to manage various landscaping tasks efficiently.
Another noteworthy characteristic of the Weed Eater 530163438 is its versatility. The trimmer comes with different attachments, allowing users to convert it into various tools, such as a blower or edger. This adaptability makes it a valuable addition to any outdoor toolkit, capable of handling an array of tasks beyond just trimming.
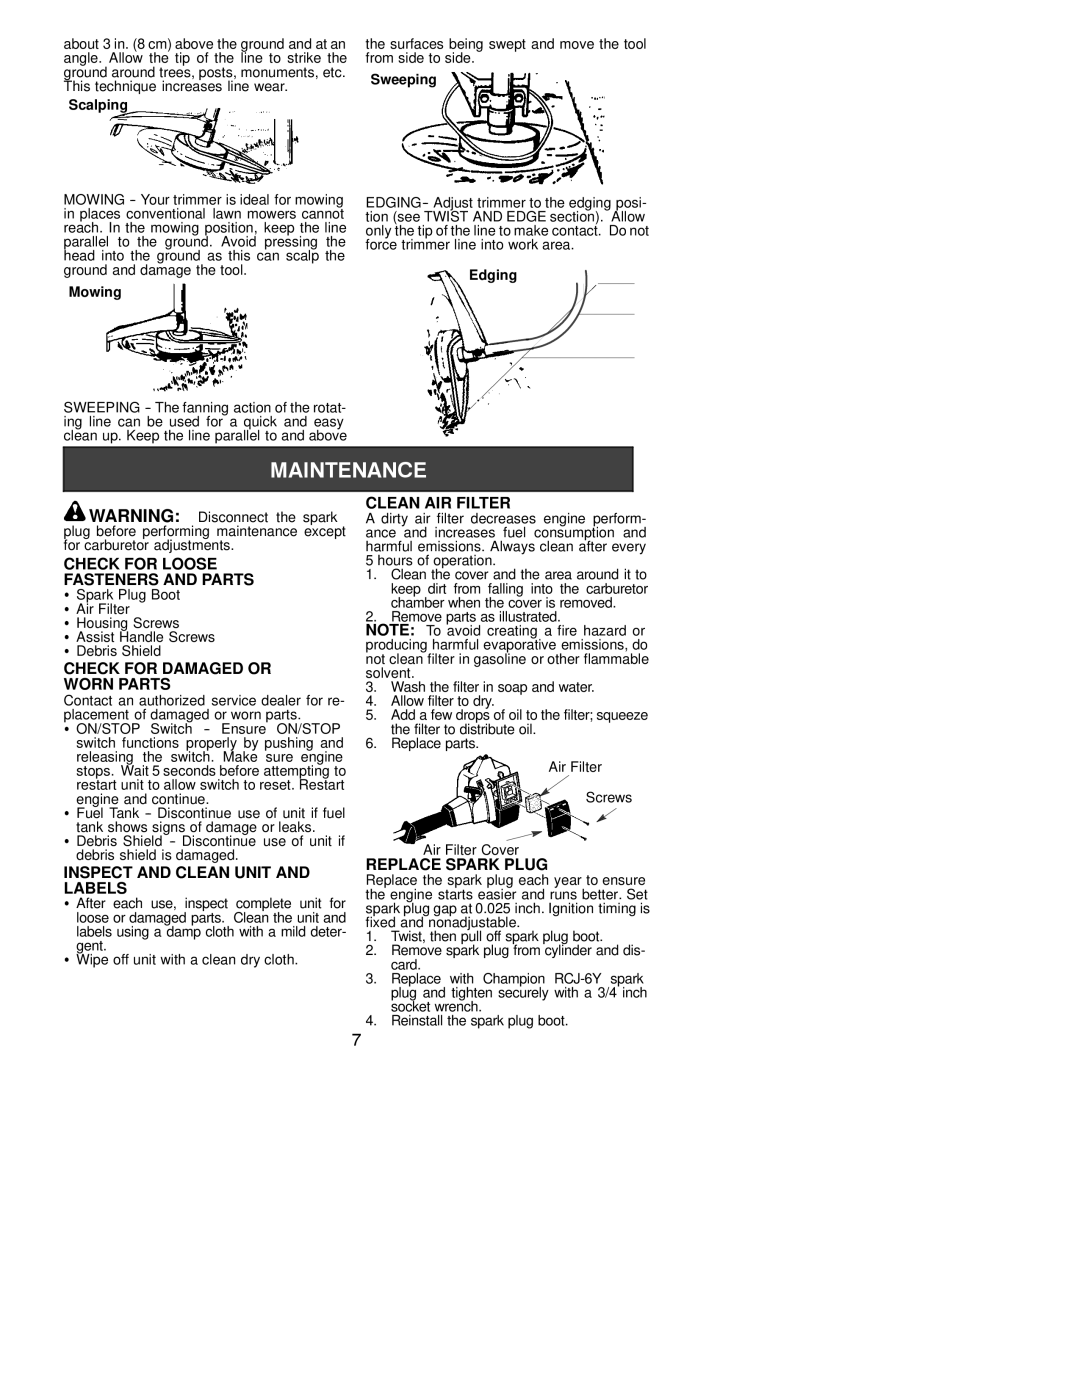
Durability is also built into the design of the Weed Eater 530163438. Constructed with high-quality materials, it withstands the rigors of outdoor use while maintaining its performance over time. Furthermore, the ease of maintenance, including accessible air filters and spark plugs, ensures that users can keep the trimmer in peak condition with minimal effort.
In conclusion, the Weed Eater 530163438 is a feature-rich string trimmer that combines ease of use, power, and versatility. Its lightweight build, efficient engine, dual-line cutting system, and adaptability make it an excellent choice for both amateur gardeners and landscaping professionals seeking a reliable tool to maintain their outdoor spaces.