USING YOUR SMOOTHIE SIGNATURE™ II
CONTROL BUTTONS:
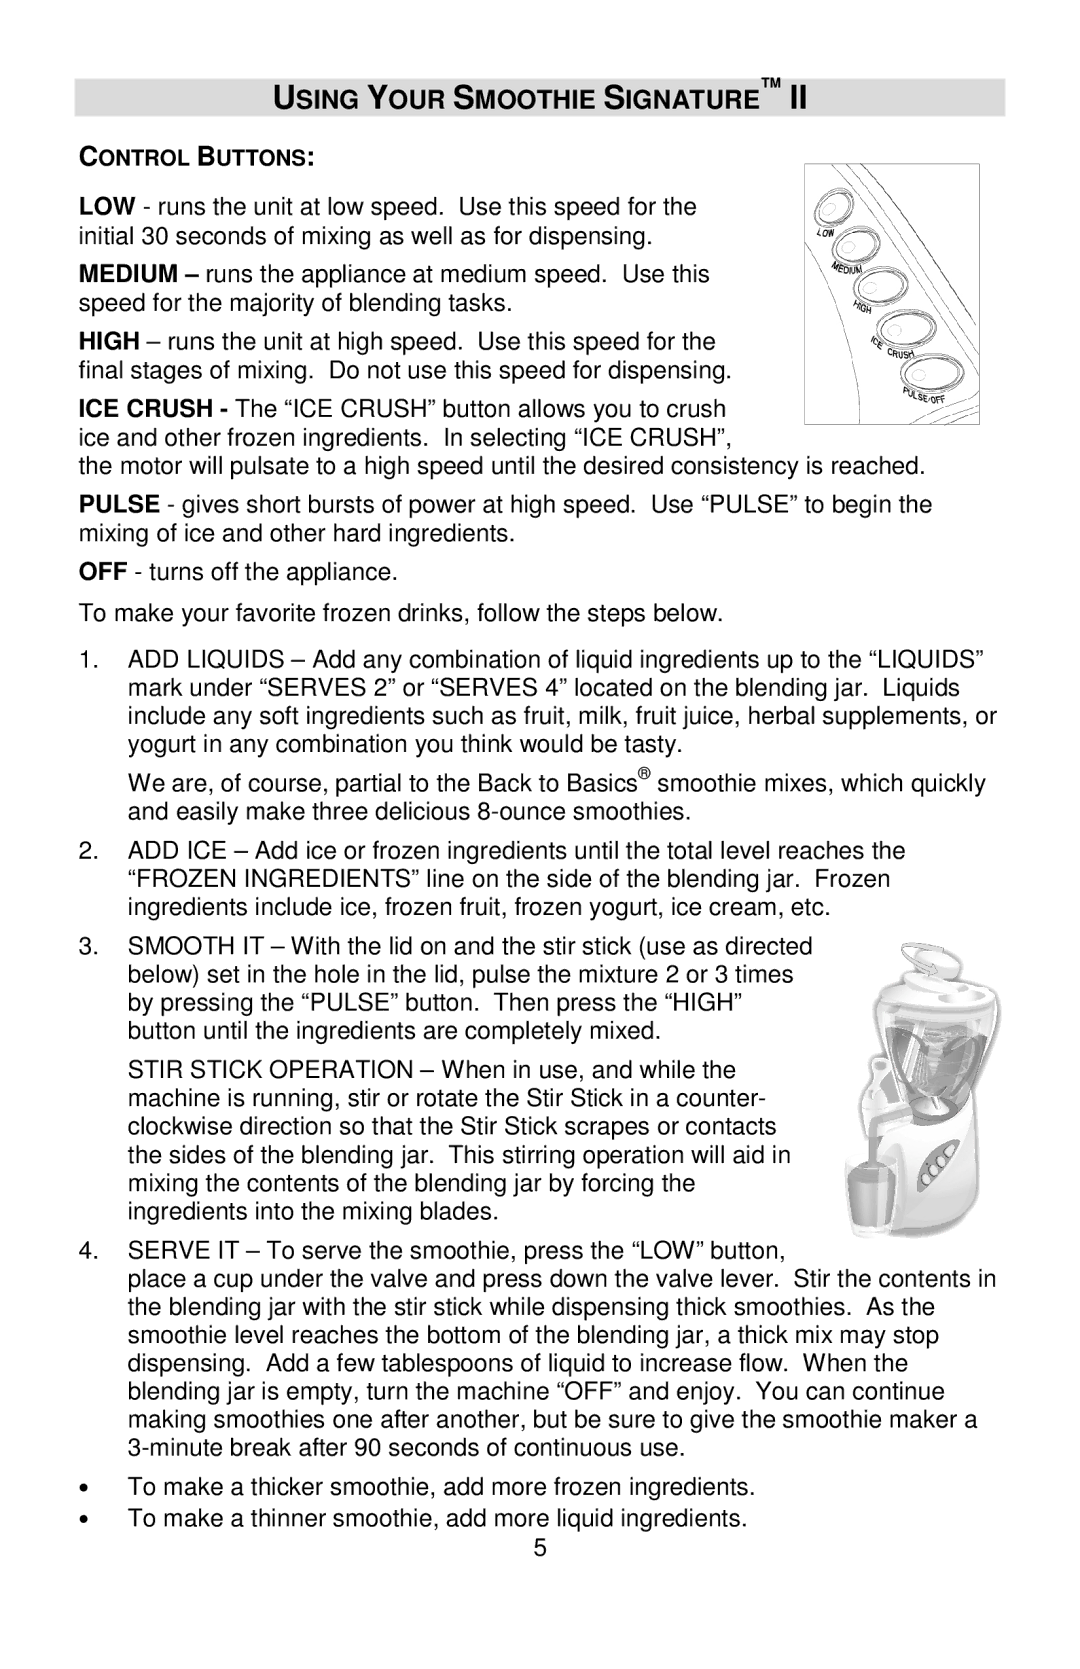
LOW - runs the unit at low speed. Use this speed for the initial 30 seconds of mixing as well as for dispensing.
MEDIUM – runs the appliance at medium speed. Use this speed for the majority of blending tasks.
HIGH – runs the unit at high speed. Use this speed for the final stages of mixing. Do not use this speed for dispensing.
ICE CRUSH - The “ICE CRUSH” button allows you to crush ice and other frozen ingredients. In selecting “ICE CRUSH”,
the motor will pulsate to a high speed until the desired consistency is reached.
PULSE - gives short bursts of power at high speed. Use “PULSE” to begin the mixing of ice and other hard ingredients.
OFF - turns off the appliance.
To make your favorite frozen drinks, follow the steps below.
1.ADD LIQUIDS – Add any combination of liquid ingredients up to the “LIQUIDS” mark under “SERVES 2” or “SERVES 4” located on the blending jar. Liquids include any soft ingredients such as fruit, milk, fruit juice, herbal supplements, or yogurt in any combination you think would be tasty.
We are, of course, partial to the Back to Basics® smoothie mixes, which quickly and easily make three delicious
2.ADD ICE – Add ice or frozen ingredients until the total level reaches the “FROZEN INGREDIENTS” line on the side of the blending jar. Frozen ingredients include ice, frozen fruit, frozen yogurt, ice cream, etc.
3.SMOOTH IT – With the lid on and the stir stick (use as directed below) set in the hole in the lid, pulse the mixture 2 or 3 times by pressing the “PULSE” button. Then press the “HIGH” button until the ingredients are completely mixed.
STIR STICK OPERATION – When in use, and while the machine is running, stir or rotate the Stir Stick in a counter- clockwise direction so that the Stir Stick scrapes or contacts the sides of the blending jar. This stirring operation will aid in mixing the contents of the blending jar by forcing the ingredients into the mixing blades.
4.SERVE IT – To serve the smoothie, press the “LOW” button,
place a cup under the valve and press down the valve lever. Stir the contents in the blending jar with the stir stick while dispensing thick smoothies. As the smoothie level reaches the bottom of the blending jar, a thick mix may stop dispensing. Add a few tablespoons of liquid to increase flow. When the blending jar is empty, turn the machine “OFF” and enjoy. You can continue making smoothies one after another, but be sure to give the smoothie maker a
•To make a thicker smoothie, add more frozen ingredients.
•To make a thinner smoothie, add more liquid ingredients. 5
