2.Remove the cartridge cap by sliding it off the end of the old cartridge. The cap will slide to the left or right. DO NOT DISCARD THE CAP.
3.Take the new cartridge out of its packaging and remove protective cover from
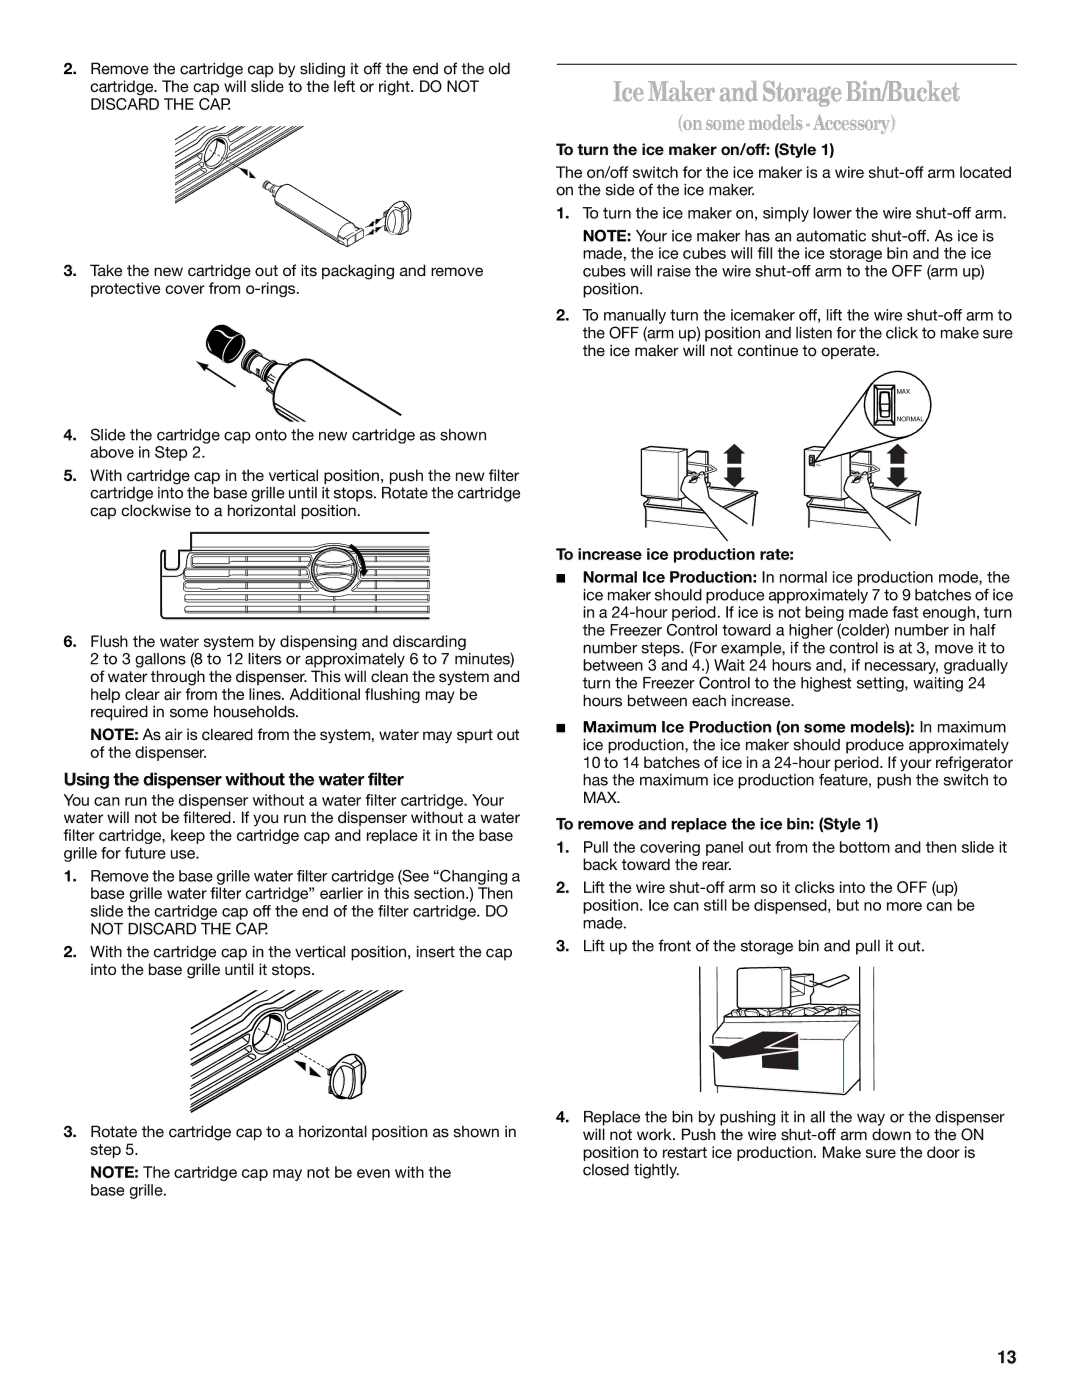
4.Slide the cartridge cap onto the new cartridge as shown above in Step 2.
5.With cartridge cap in the vertical position, push the new filter cartridge into the base grille until it stops. Rotate the cartridge cap clockwise to a horizontal position.
6.Flush the water system by dispensing and discarding
2 to 3 gallons (8 to 12 liters or approximately 6 to 7 minutes) of water through the dispenser. This will clean the system and help clear air from the lines. Additional flushing may be required in some households.
NOTE: As air is cleared from the system, water may spurt out of the dispenser.
Using the dispenser without the water filter
You can run the dispenser without a water filter cartridge. Your water will not be filtered. If you run the dispenser without a water filter cartridge, keep the cartridge cap and replace it in the base grille for future use.
1.Remove the base grille water filter cartridge (See “Changing a base grille water filter cartridge” earlier in this section.) Then slide the cartridge cap off the end of the filter cartridge. DO NOT DISCARD THE CAP.
2.With the cartridge cap in the vertical position, insert the cap into the base grille until it stops.
3.Rotate the cartridge cap to a horizontal position as shown in step 5.
NOTE: The cartridge cap may not be even with the base grille.
Ice Maker and Storage Bin/Bucket
(on some models -Accessory)
To turn the ice maker on/off: (Style 1)
The on/off switch for the ice maker is a wire
1.To turn the ice maker on, simply lower the wire
NOTE: Your ice maker has an automatic
2.To manually turn the icemaker off, lift the wire
MAX
NORMAL
To increase ice production rate:
■Normal Ice Production: In normal ice production mode, the ice maker should produce approximately 7 to 9 batches of ice in a
■Maximum Ice Production (on some models): In maximum ice production, the ice maker should produce approximately 10 to 14 batches of ice in a
To remove and replace the ice bin: (Style 1)
1.Pull the covering panel out from the bottom and then slide it back toward the rear.
2.Lift the wire
3.Lift up the front of the storage bin and pull it out.
4.Replace the bin by pushing it in all the way or the dispenser will not work. Push the wire
13