INSTALLING YOUR REFRIGERATOR
Removing the doors and handles
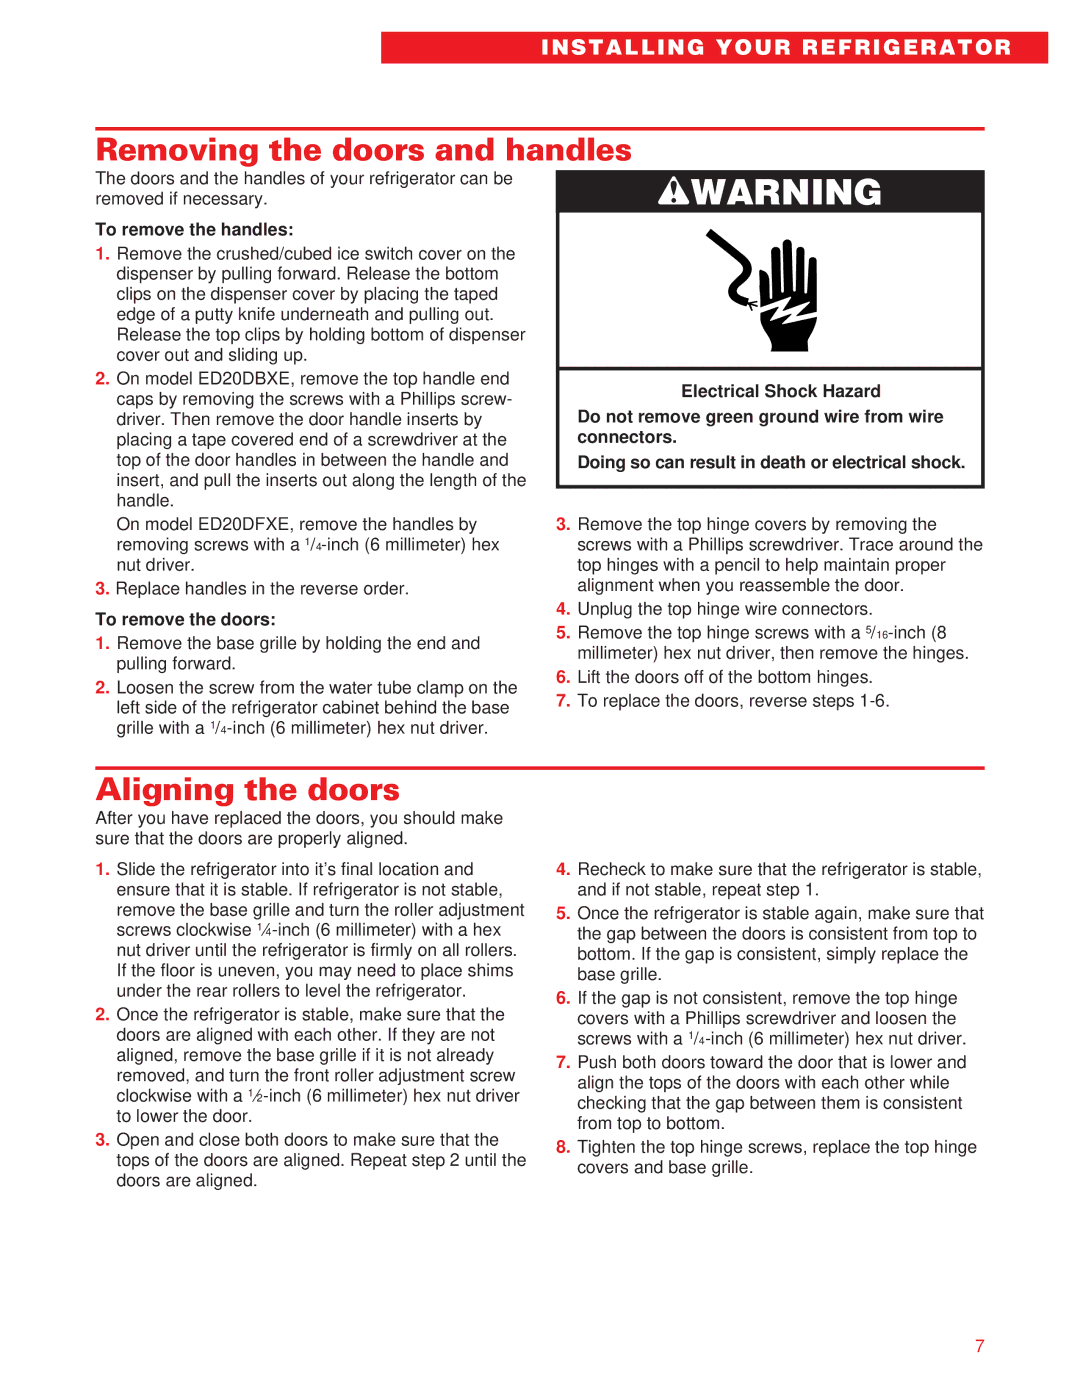
The doors and the handles of your refrigerator can be | wWARNING | |
removed if necessary. | ||
To remove the handles: |
| |
1. Remove the crushed/cubed ice switch cover on the |
| |
dispenser by pulling forward. Release the bottom |
| |
clips on the dispenser cover by placing the taped |
| |
edge of a putty knife underneath and pulling out. |
| |
Release the top clips by holding bottom of dispenser |
| |
cover out and sliding up. |
| |
2. On model ED20DBXE, remove the top handle end | Electrical Shock Hazard | |
caps by removing the screws with a Phillips screw- | ||
Do not remove green ground wire from wire | ||
driver. Then remove the door handle inserts by | ||
placing a tape covered end of a screwdriver at the | connectors. | |
top of the door handles in between the handle and | Doing so can result in death or electrical shock. | |
insert, and pull the inserts out along the length of the |
| |
handle. |
|
On model ED20DFXE, remove the handles by removing screws with a
3.Replace handles in the reverse order.
To remove the doors:
1.Remove the base grille by holding the end and pulling forward.
2.Loosen the screw from the water tube clamp on the left side of the refrigerator cabinet behind the base grille with a
3.Remove the top hinge covers by removing the screws with a Phillips screwdriver. Trace around the top hinges with a pencil to help maintain proper alignment when you reassemble the door.
4.Unplug the top hinge wire connectors.
5.Remove the top hinge screws with a
6.Lift the doors off of the bottom hinges.
7.To replace the doors, reverse steps
Aligning the doors
After you have replaced the doors, you should make sure that the doors are properly aligned.
1.Slide the refrigerator into it’s final location and ensure that it is stable. If refrigerator is not stable, remove the base grille and turn the roller adjustment screws clockwise
2.Once the refrigerator is stable, make sure that the doors are aligned with each other. If they are not aligned, remove the base grille if it is not already removed, and turn the front roller adjustment screw clockwise with a
3.Open and close both doors to make sure that the tops of the doors are aligned. Repeat step 2 until the doors are aligned.
4.Recheck to make sure that the refrigerator is stable, and if not stable, repeat step 1.
5.Once the refrigerator is stable again, make sure that the gap between the doors is consistent from top to bottom. If the gap is consistent, simply replace the base grille.
6.If the gap is not consistent, remove the top hinge covers with a Phillips screwdriver and loosen the screws with a
7.Push both doors toward the door that is lower and align the tops of the doors with each other while checking that the gap between them is consistent from top to bottom.
8.Tighten the top hinge screws, replace the top hinge covers and base grille.
7